

How it works
Whop embeds React Native apps as experiences that run on multiple platforms:- Mobile (iOS/Android): Apps run natively inside the Whop mobile app with full platform integration
- Web: Apps run in the browser with automatic fallbacks for platform-specific features
- Universal Code: Write once, deploy everywhere with platform-specific optimizations
Getting started
System requirements
Before you begin, make sure your system meets the following requirements:- Node.js 22 or later
- pnpm 9.15 or later
node -v and pnpm -v.
Create your app
Create a new Whop React Native app using the CLI:Configure environment variables
Create a.env.local file in the root directory:
- Go to the Whop Developer Dashboard
- Create a new app or select an existing one
- Copy the environment variables from the app settings
Views
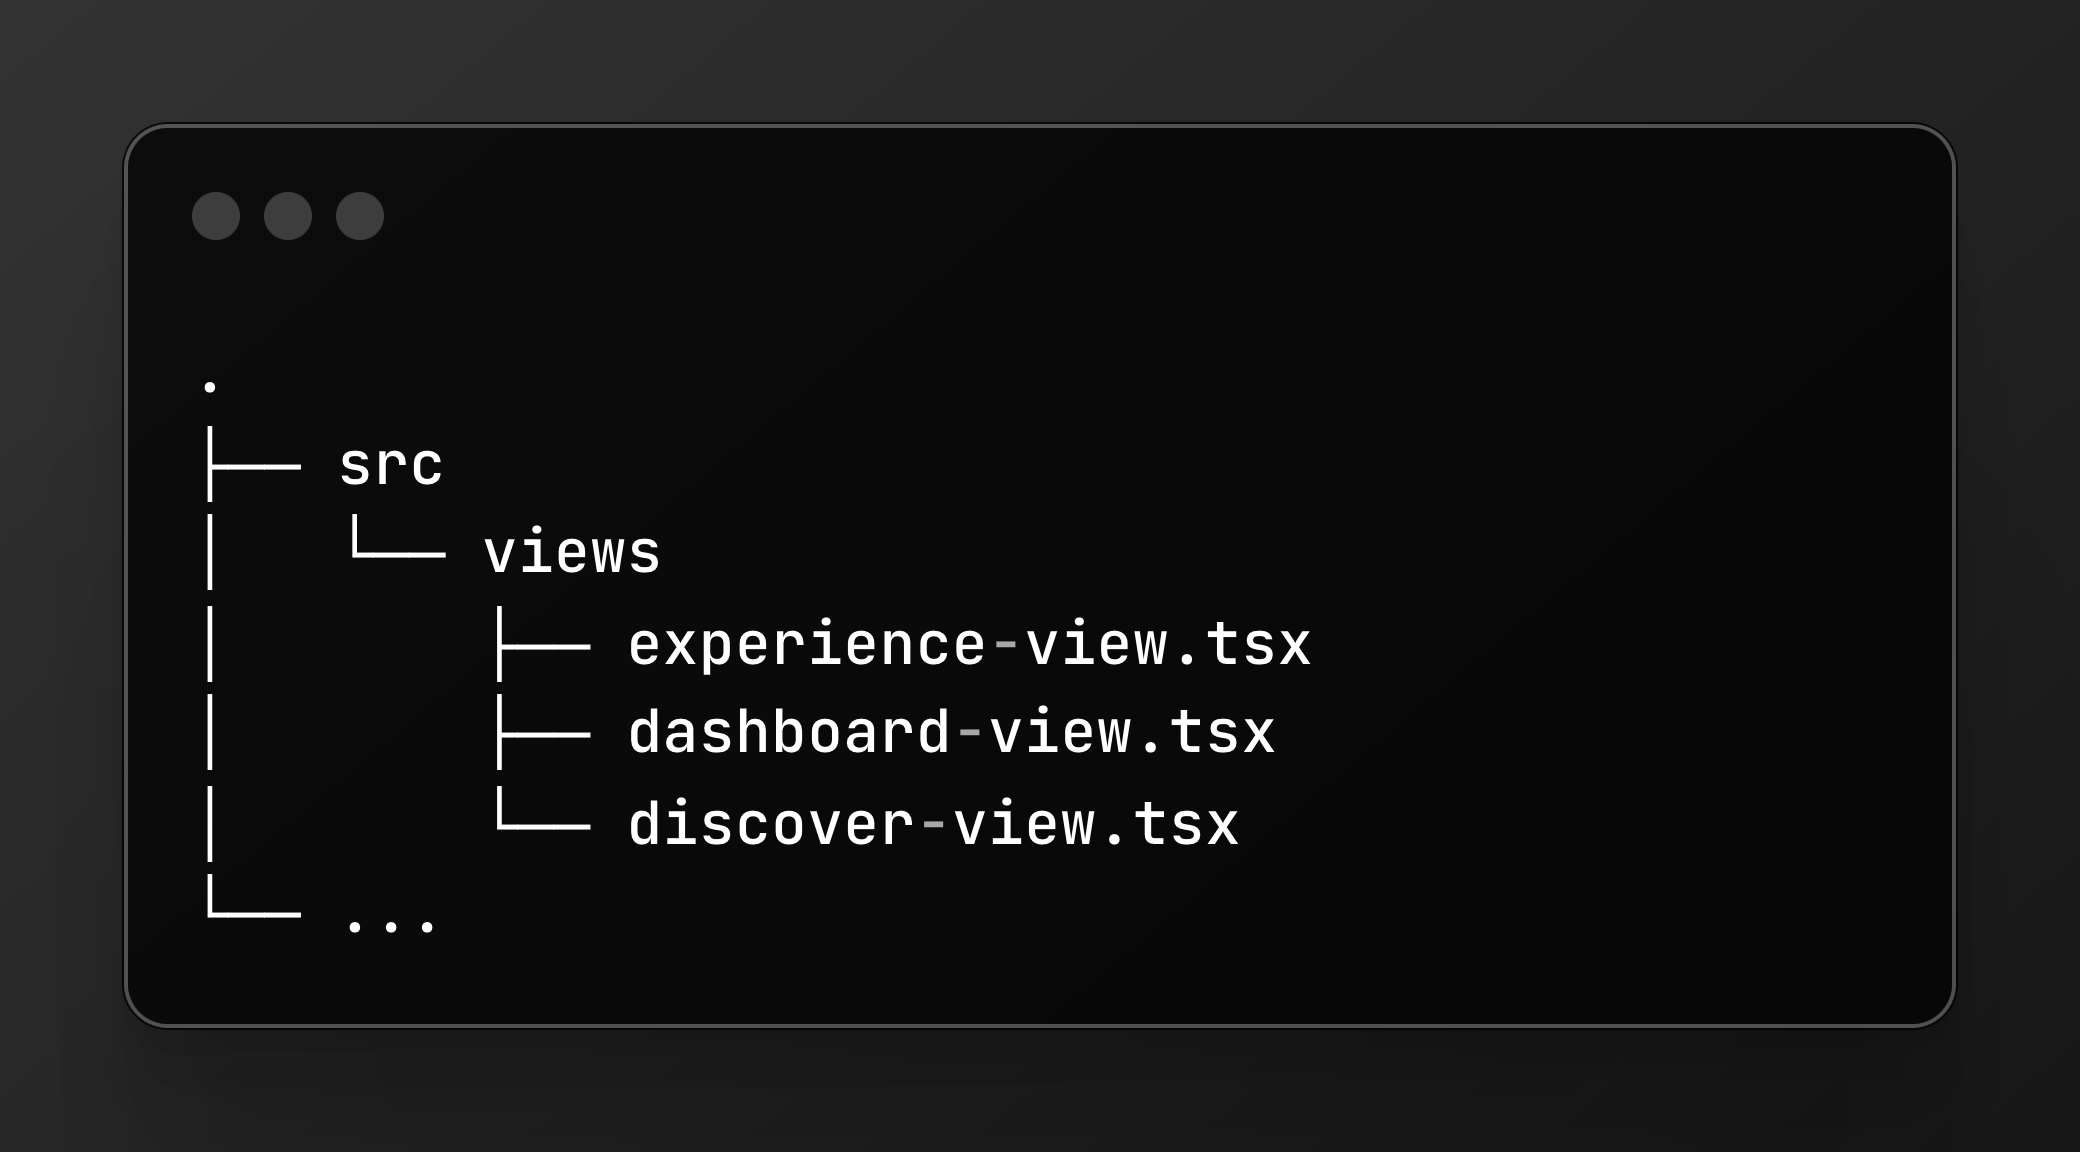
Experience view
The main view for experience apps. This is where users interact with your app content.experienceId- The experience IDcompanyId- The account that owns this experiencecurrentUserId- The authenticated user (ornullif not logged in)path- Navigation path as array (e.g.,["courses", "123"])params- Query parameters as object
Dashboard view
For account dashboard integrations where sellers manage their business.companyId- The account IDcurrentUserId- The authenticated userpath- Navigation path as arrayparams- Query parameters
Discover view (optional)
For marketplace/discovery experiences where users browse content.Fetching data
Using the Whop SDK
The Whop SDK is available out of the box for client-side data fetching:TanStack Query is a good choice for data
fetching because it handles caching, loading states, and refetching automatically.
Making authenticated API requests
For server-side operations, create API routes and call them from your React Native app:1
Set your API base URL
Configure your API origin in the developer dashboard under Base URL.
2
Create an API endpoint
3
Call from React Native
Use the
apiOrigin to make authenticated requests:It’s important to use the
apiOrigin for authenticated requests. This ensures
requests go through Whop’s proxy with proper authentication headers.Example: Check access to an experience
Styling
Color themes
React Native provides auseColorScheme hook to detect the device’s color scheme. This works automatically in Whop apps:
Using Radix UI colors
For a comprehensive color system with automatic dark mode, use theuseColors hook pattern with Radix UI colors:
Navigation
Use the internal navigation APIs to navigate between screens and present modals:Navigate to a new screen
path and params as props to your view component.
Go back
Present a sheet or modal
Get current route
Platform-specific features
Navigation bar
Configure the navigation bar title and description:Screen orientation
Control the screen orientation:Haptic feedback
Provide haptic feedback on mobile devices:"selection"- Light selection feedback"impactLight"|"impactMedium"|"impactHeavy"- Impact feedback"notificationSuccess"|"notificationWarning"|"notificationError"- Notification feedback
Local caching
Store data locally on the device:Host app details
Get information about the Whop app:In-app purchases
Accept payments directly within your app:Using third-party libraries
Most React Native libraries work out of the box. Here are the recommended versions for common libraries:Deploying
Build and deploy
Theship command builds your app for all platforms and uploads it as a development build:
The
ship command deploys as a development build, which is safe to run on
existing production apps. It won’t affect your live users.Development and production builds
Development Builds:- Deployed with
pnpm ship - Only visible when you enable Dev mode (shake phone)
- Safe to test without affecting production users
- You can deploy it anytime
- Promoted from development builds via the dashboard
- Visible to all users
- Requires approval/review
- Test it before promotion
Preview your app
After deploying a development build, preview it on your device:Build commands
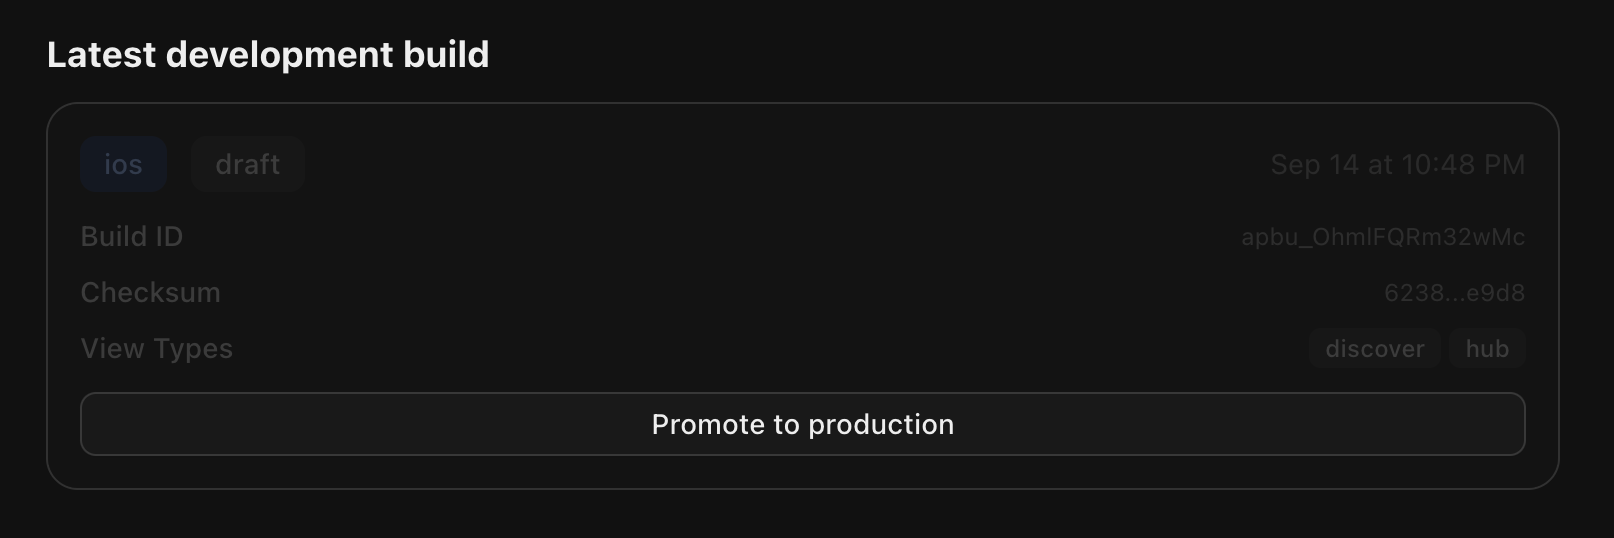
Additional commands for managing builds:Promoting to production
- Deploy a development build:
pnpm ship - Test in Dev mode (shake to enable)
- Go to your app dashboard
- Navigate to the Builds tab
- Select your development build
- Select Promote to Production
Rollback
From the builds screen, you can also instantly roll back to a previous production build and push it live to all users across Whop.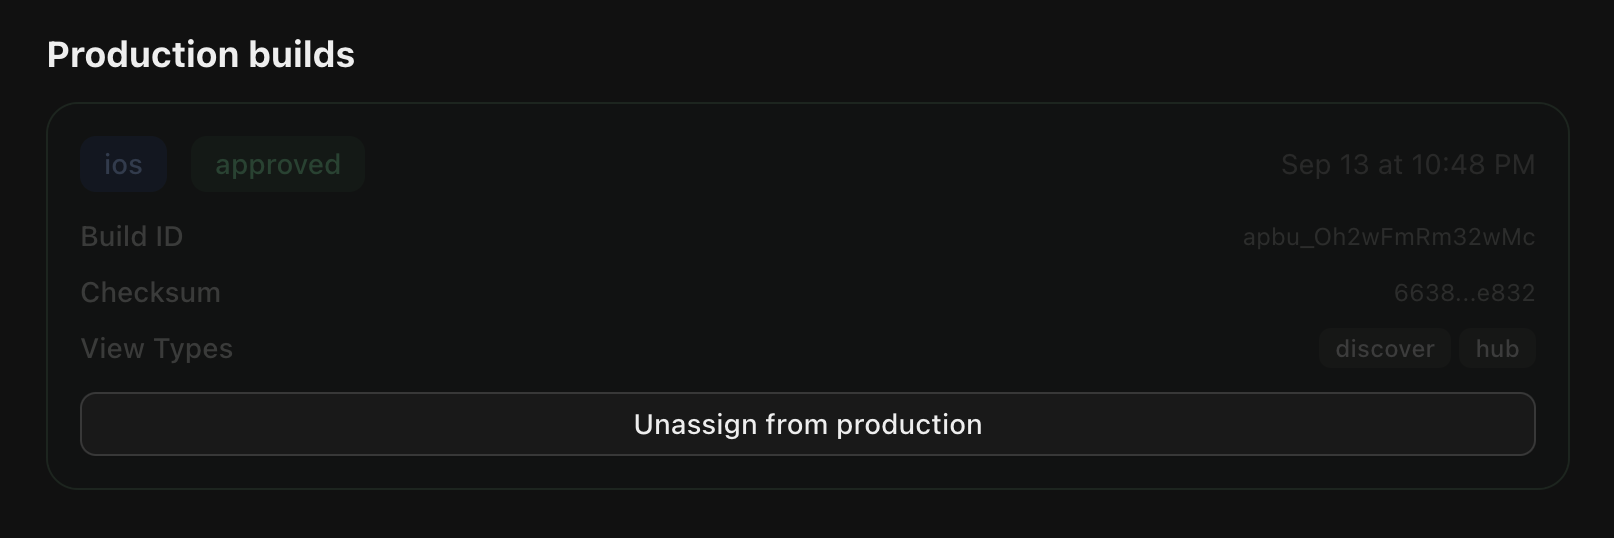
Command-line interface reference
The@whop/react-native CLI provides commands for building and deploying your app:
Commands
Build process
When you runpnpm ship, the CLI:
- Generates Entrypoints - Creates platform-specific entry files that register your views
- Bundles Code:
- Mobile (iOS/Android): Uses Metro bundler + Hermes bytecode compiler
- Web: Uses esbuild with React Native Web aliases
- Packages Assets - Collects and optimizes images and other assets
- Uploads to Whop - Creates a development build in your app dashboard
- Generates Install Link - Provides QR code for testing
Build output
Troubleshooting
Development build not showing
Problem: You deployed a development build but can’t see it in the app. Solution: Shake your phone to enable Dev mode. Development builds are visible only when Dev mode is active.Build failures
Problem: Build fails with Metro or esbuild errors. Solutions:- Run
pnpm cleanto clear build cache - Check that you installed all dependencies:
pnpm install - Verify Node.js version:
node -v(should be 22+) - Check for syntax errors in your views
Application programming interface requests not working
Problem: API requests return 401 or authentication errors. Solutions:- Verify you’re using
apiOriginfrom__internal_execSync("getAppApiOrigin", {}) - Check that
.env.localsetsWHOP_API_KEY - Confirm your API endpoint calls
whopSdk.verifyUserToken(request.headers) - Verify that the dashboard sets the base URL correctly
Views not found
Problem: Build succeeds but views don’t render. Solutions:- Check that view files exist in
src/views/ - Verify exports match:
export function ExperienceView(props: ExperienceViewProps) - Make sure view files end with
.tsxor.jsx
Libraries not working
Problem: Third-party library causes crashes on mobile. Solutions:- Verify the library supports React Native (not just web)
- Use recommended versions from the Using Libraries section
- Check if the library requires native modules (if so and not in recommended, it isn’t supported)
Platform-specific issues
Problem: App works on one platform but not another. Solutions:- Use
Platform.OSto detect platform and provide fallbacks - Test on all platforms before promoting to production
- Check if you’re using platform-specific APIs incorrectly
Next steps
- Set up authentication for your API routes
- Accept payments with in-app purchases
- Use webhooks to handle events