The dashboard view is a business-focused view that allows creators to access apps directly from their dashboard. This view is designed for apps that help businesses grow and manage operations.
Dashboard View

Configure

1

Go to your app's hosting settings

  1. Go to the developer dashboard
  2. Create a new app or select an existing one
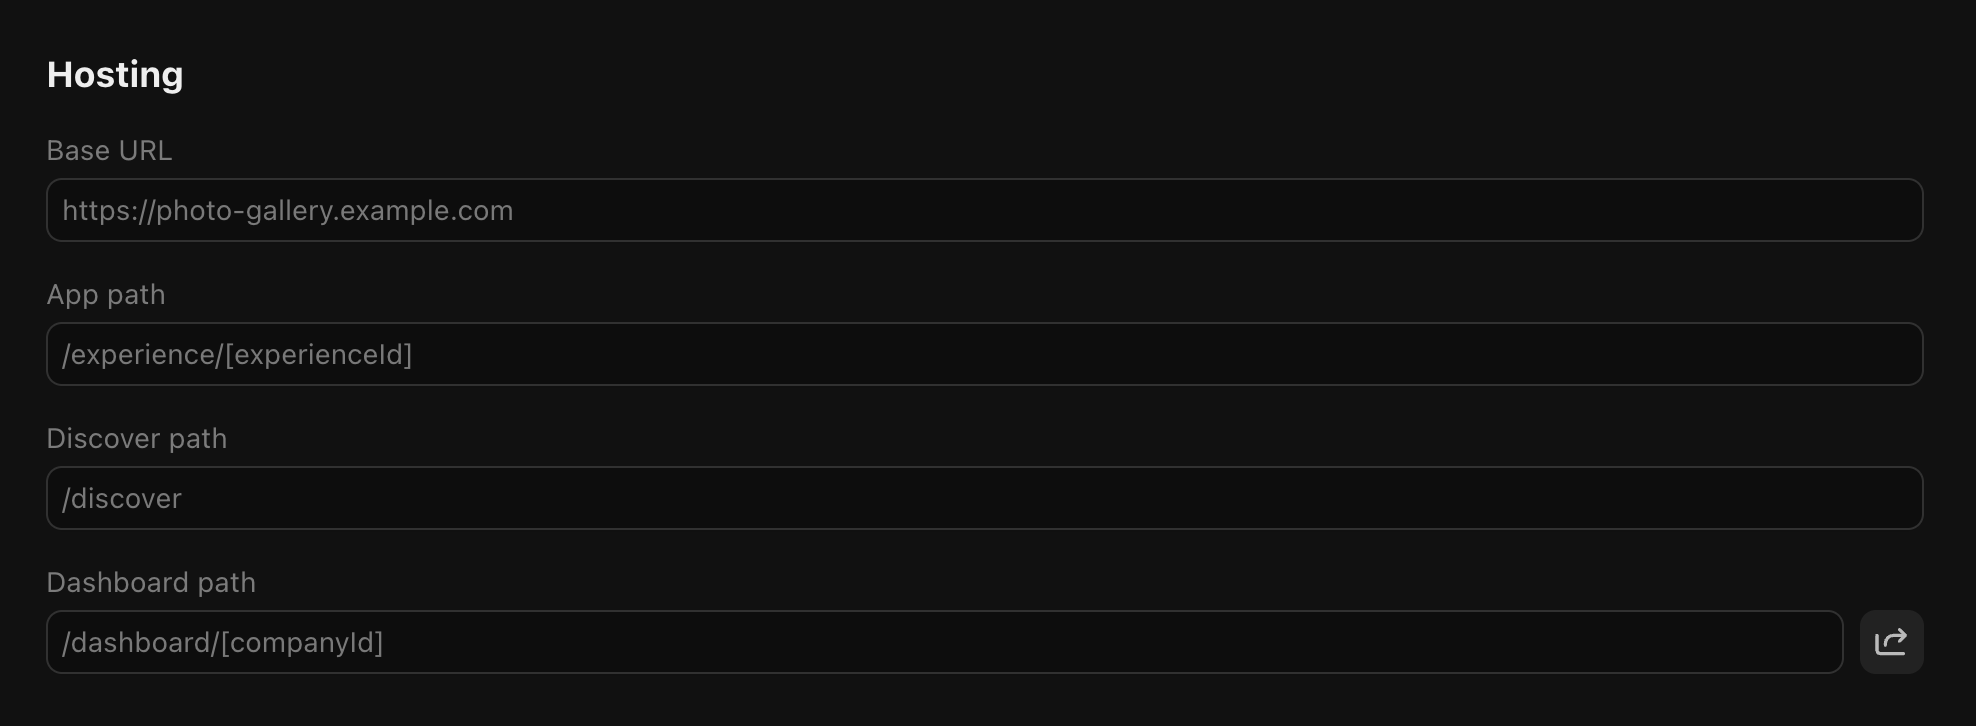
  3. Scroll down to the Hosting section
App Settings
2

Enter your path

Enter your path for the dashboard view. The recommended default path is /dashboard/[companyId].
Dashboard View Path
  • [companyId] is used to provide the accessed company ID: /dashboard/[companyId] -> /dashboard/biz_***
  • [restPath] is used for deep linking to specific sections of your app: /dashboard/[companyId]/[restPath] -> /dashboard/biz_***/posts/1

Preview

1

Install your app

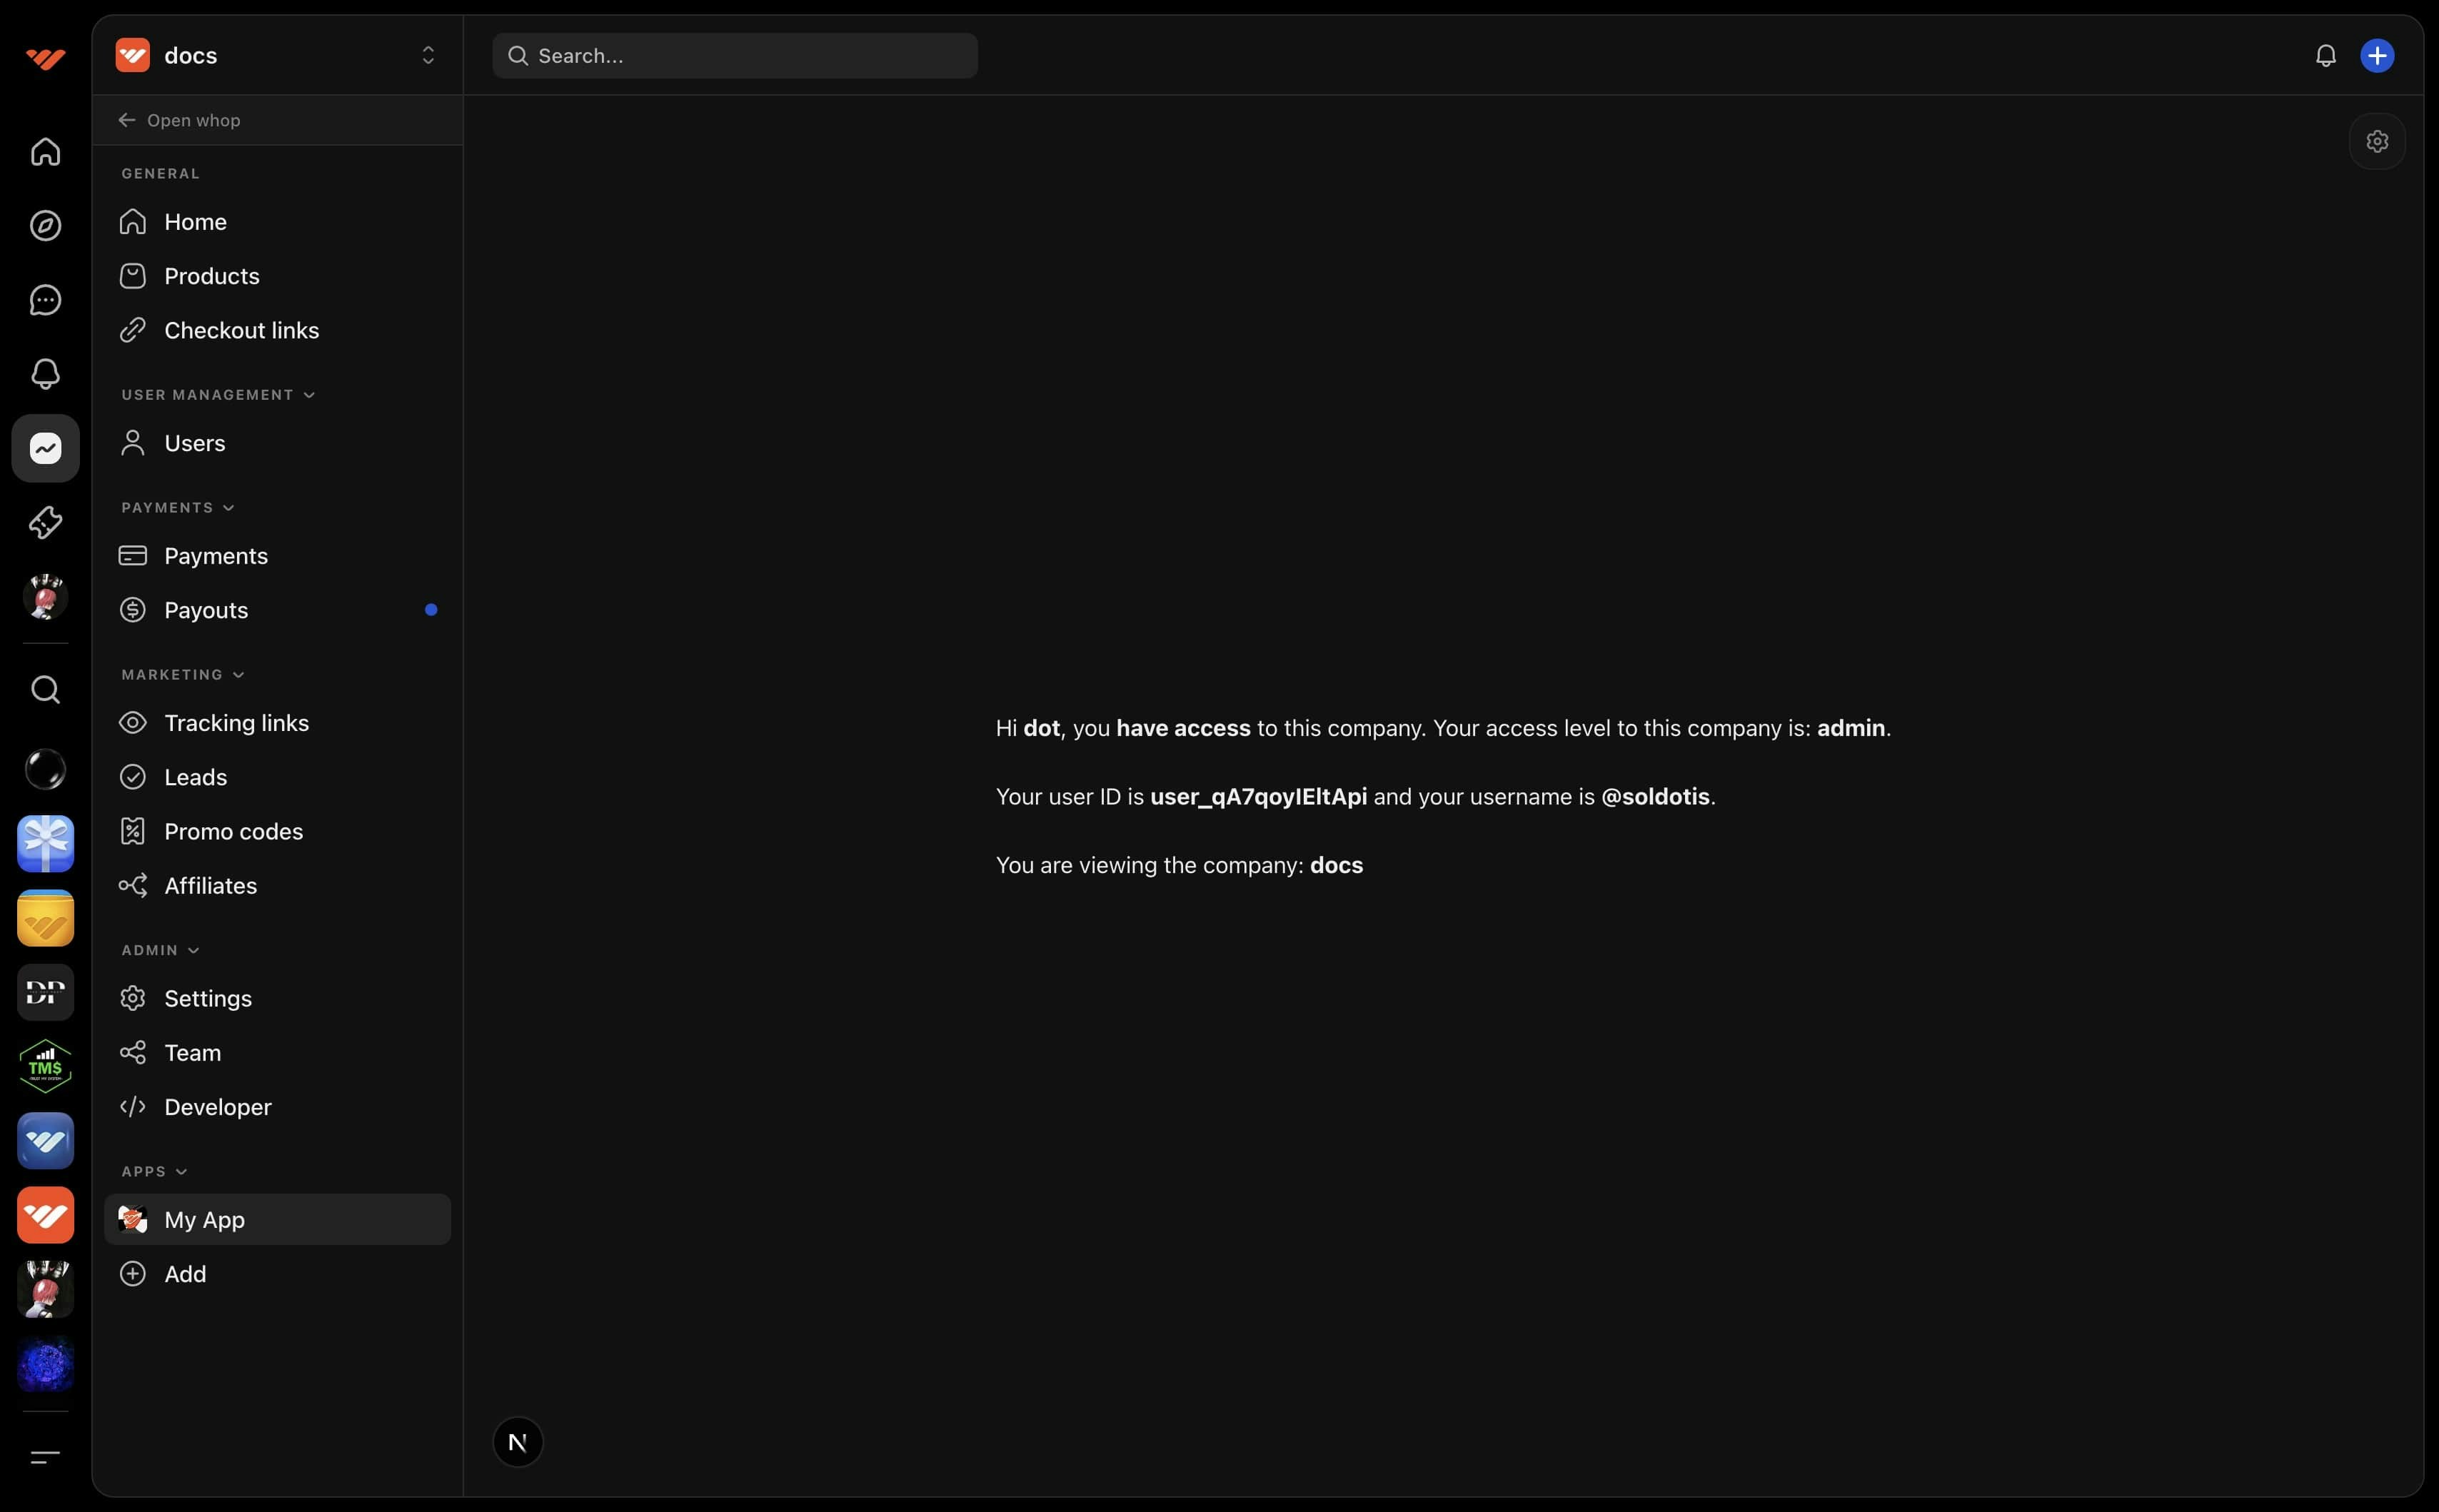
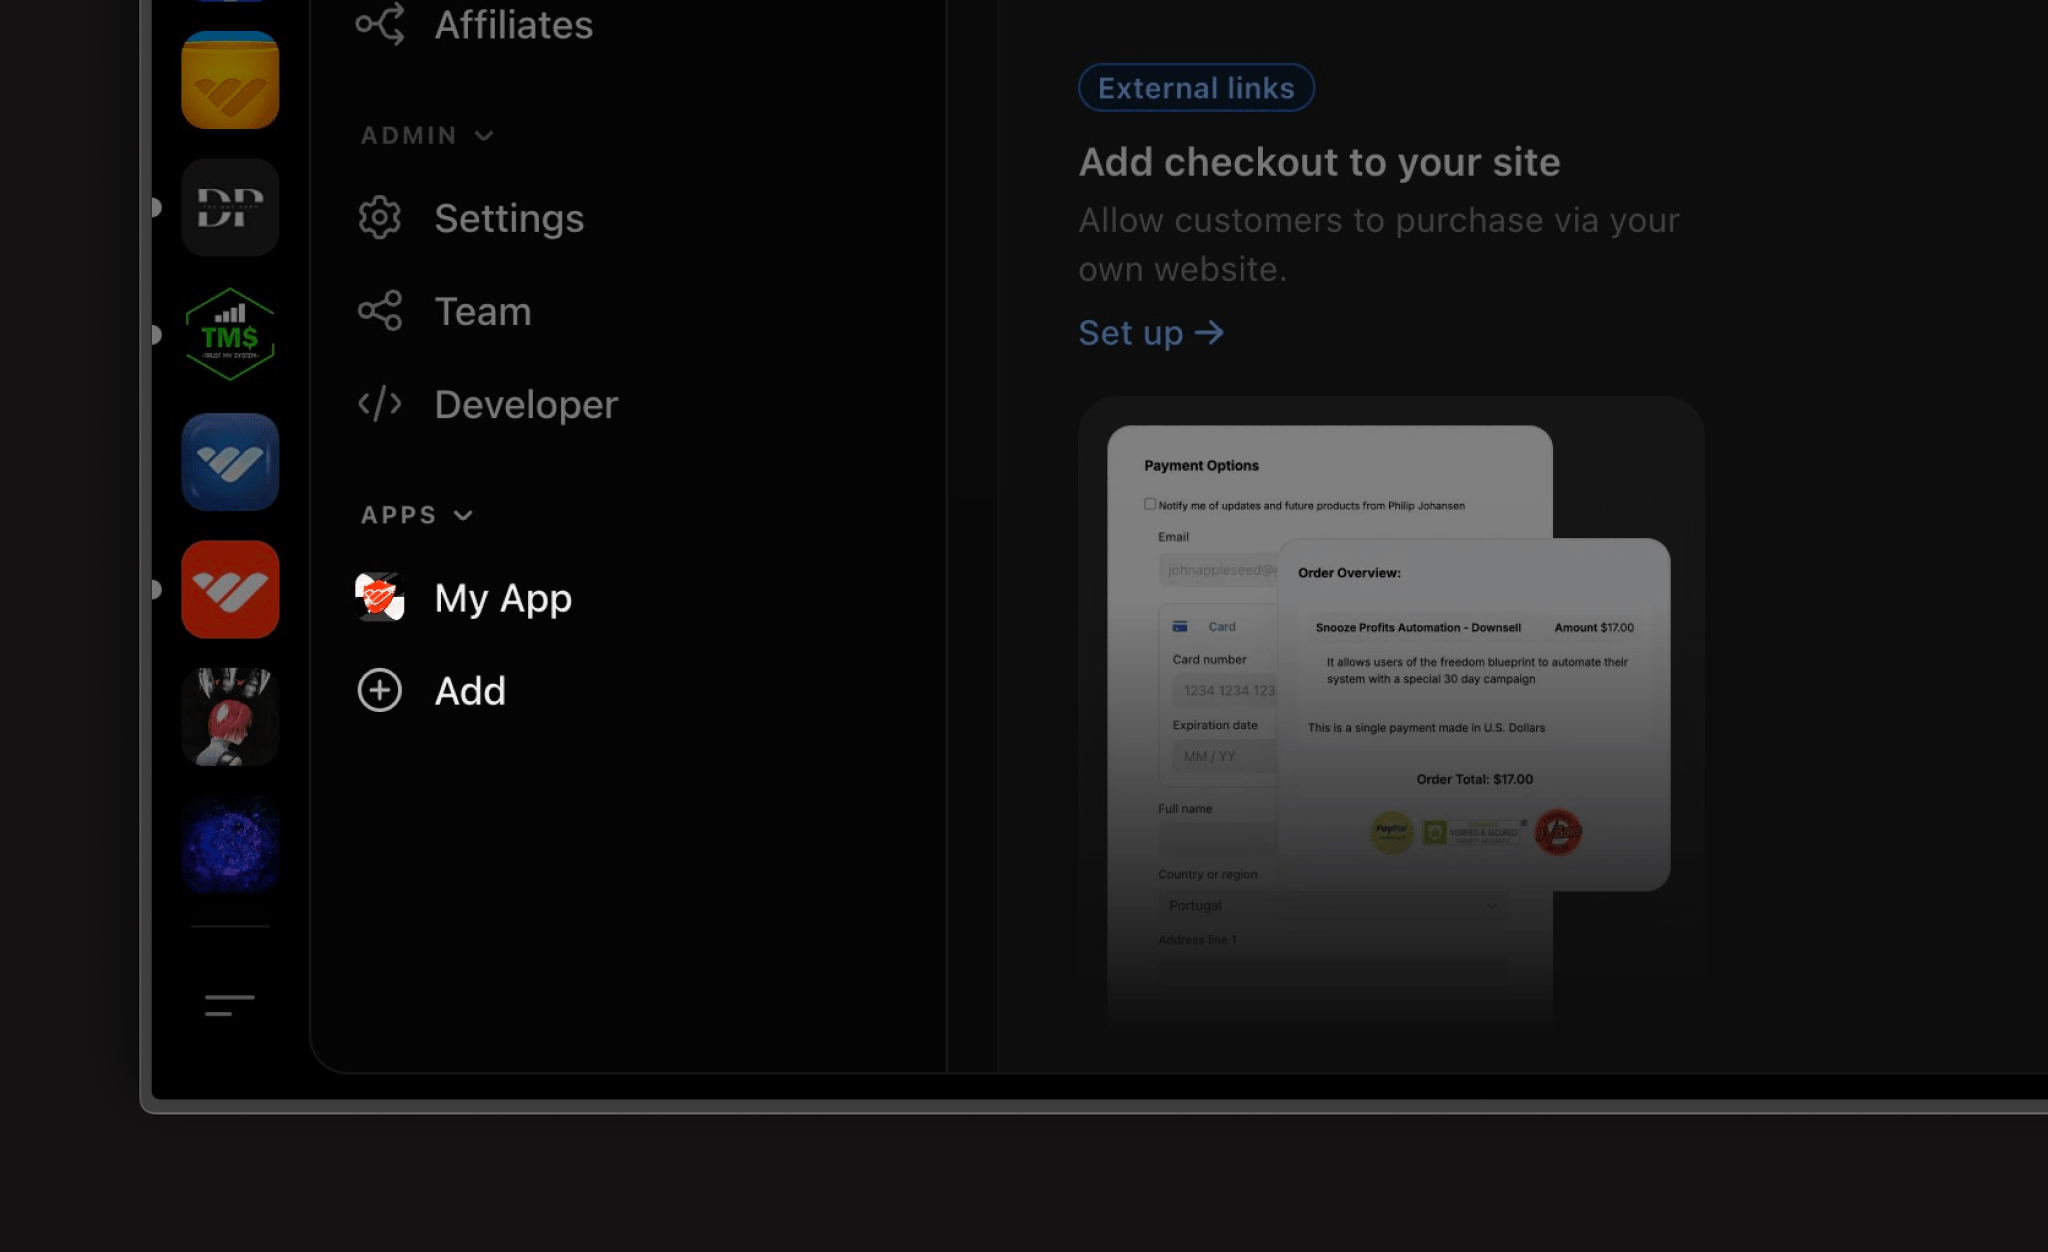
Click the preview button next to the field, this will take you to your app’s dashboard view. You will be prompted to install your app if you haven’t already.
Preview App Button
If you’ve already installed your app, you can access it from your dashboard under the apps section.
Dashboard Sidebar Apps Section
2

Set the environment

  1. Open the dev tools by clicking the cog button
  2. Set the environment to localhost

Validate access

You can check if a user is an authorized member of a company by using the SDK method checkIfUserHasAccessToCompany.
  const access = await whopSdk.access.checkIfUserHasAccessToCompany({
    companyId: "biz_***",
    userId: "user_***",
  });

  // No access
  // ^? { hasAccess: false, accessLevel: "no_access" }

  // Admin access
  // ^? { hasAccess: true, accessLevel: "admin" }
See Validate company access for more information.

Examples

I