Keep
WHOP_API_KEY on your server. Do not put Account API keys in browser code, mobile apps, or public repositories.Set up your account
Sign up for Whop
Go to whop.com/new and create your Whop account. The onboarding flow creates your first business, which is the Account that owns API keys, products, webhooks, and payments.
Open the dashboard
After onboarding, open whop.com/dashboard. If you have more than one business, choose the one you want to build against from the business switcher.
Create an API key
For the quickest path, create an Account API key. Use this when your server acts on behalf of your own business. Building a Whop App? Learn when to use App API keys and OAuth tokens.Create an Account API key
In Account API Keys, click Create. Name the key something you can recognize later, like
Local development or Production payments.Choose permissions
For the first SDK call below, use the Admin role or grant the read permissions listed on Retrieve Requesting Account. For production, switch to a narrower custom permission set once you know exactly which endpoints you use.

Install the SDK
.env:
Make your first call
Retrieve the Account tied to your API key. This confirms your key and permissions are wired correctly and prints your Account ID, which starts withbiz_.
See a webhook
Whop sends a webhook to your server when something happens in your business, likepayment.succeeded or membership.activated.
Create a local webhook endpoint
Add a
POST endpoint in your app and expose it with ngrok, Cloudflare Tunnel, or another HTTPS tunnel while developing.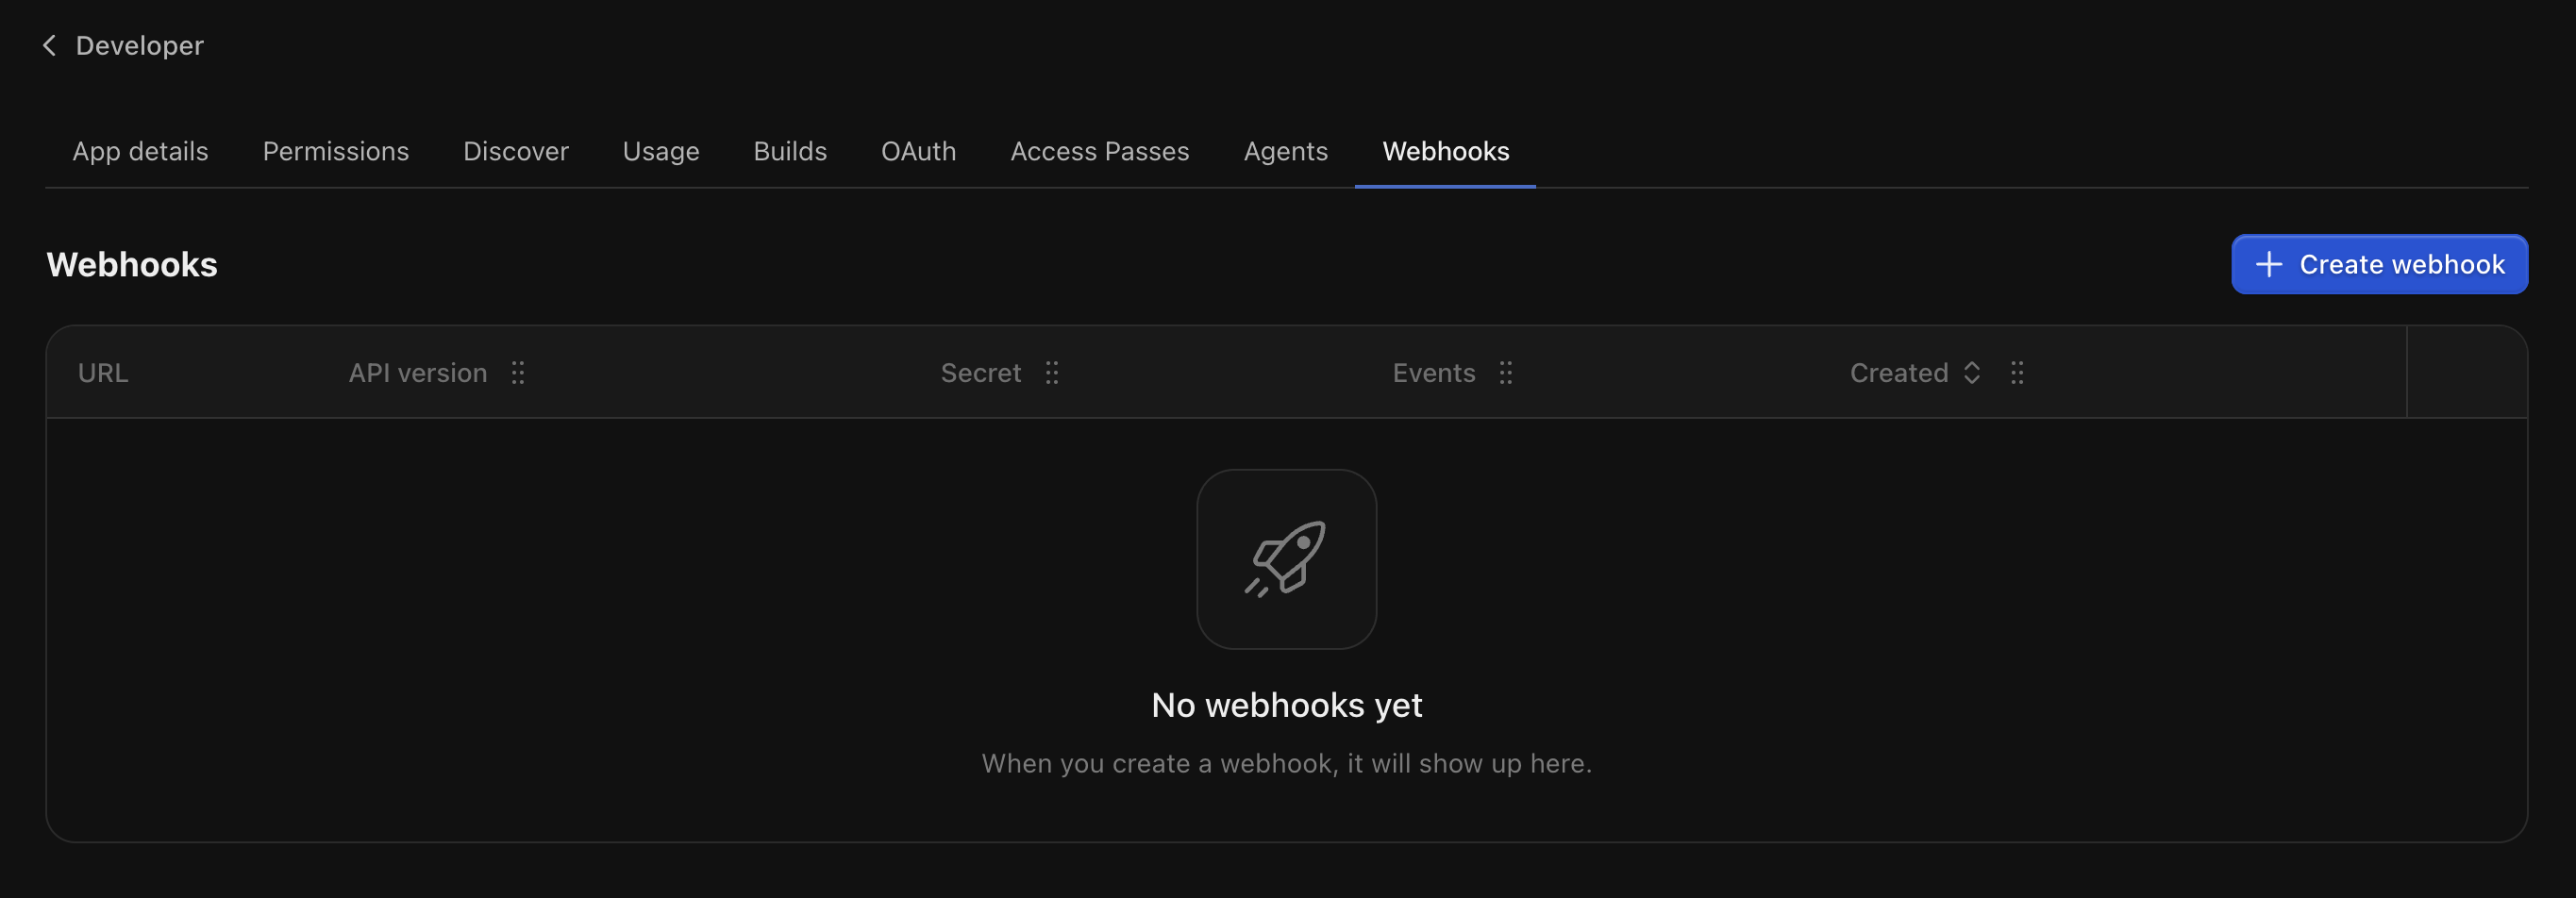
Enter your URL and events
Paste your HTTPS endpoint, keep the API version on 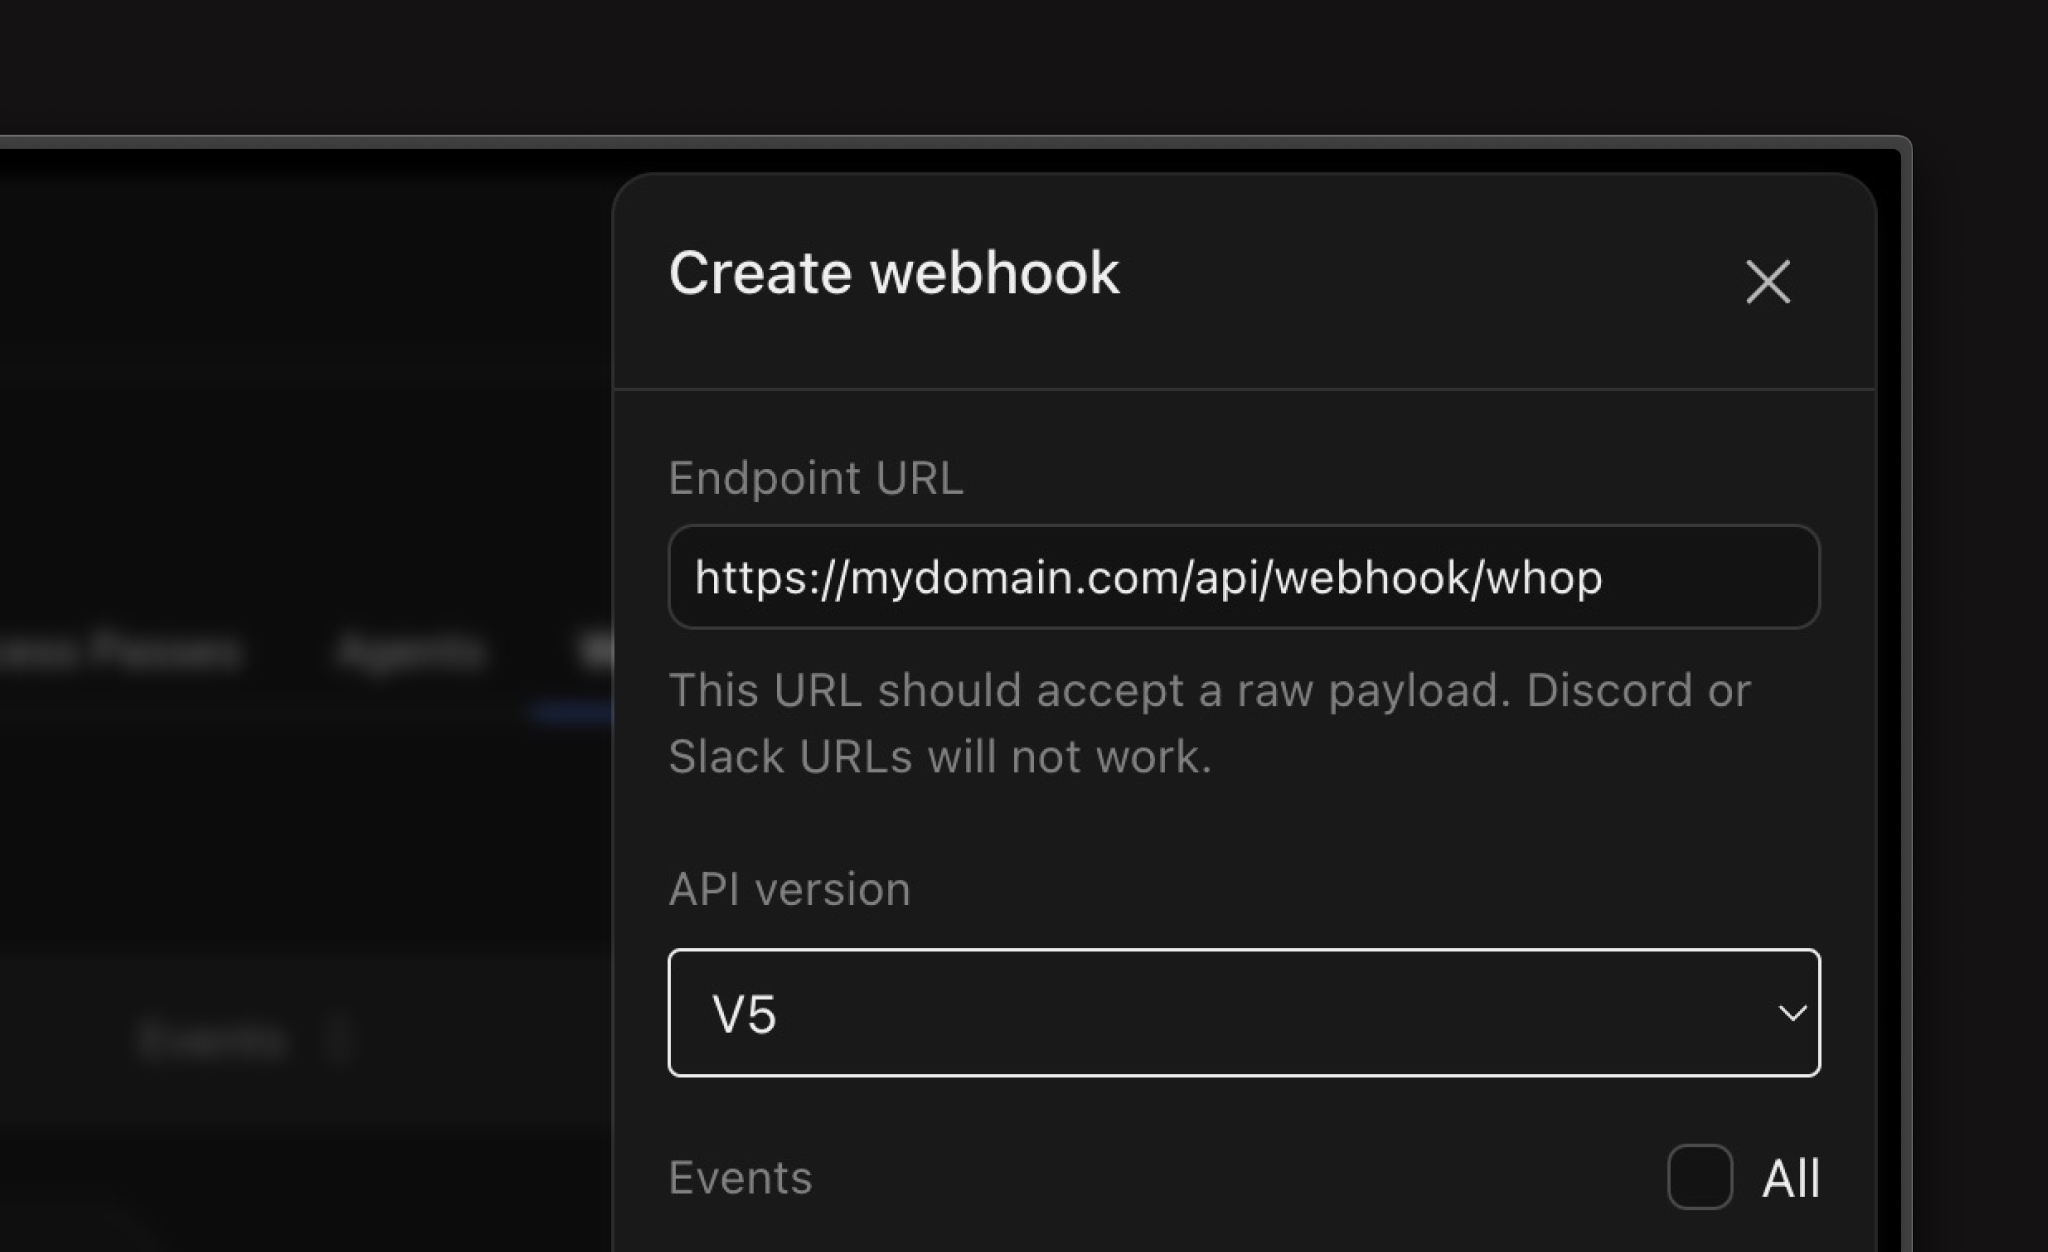
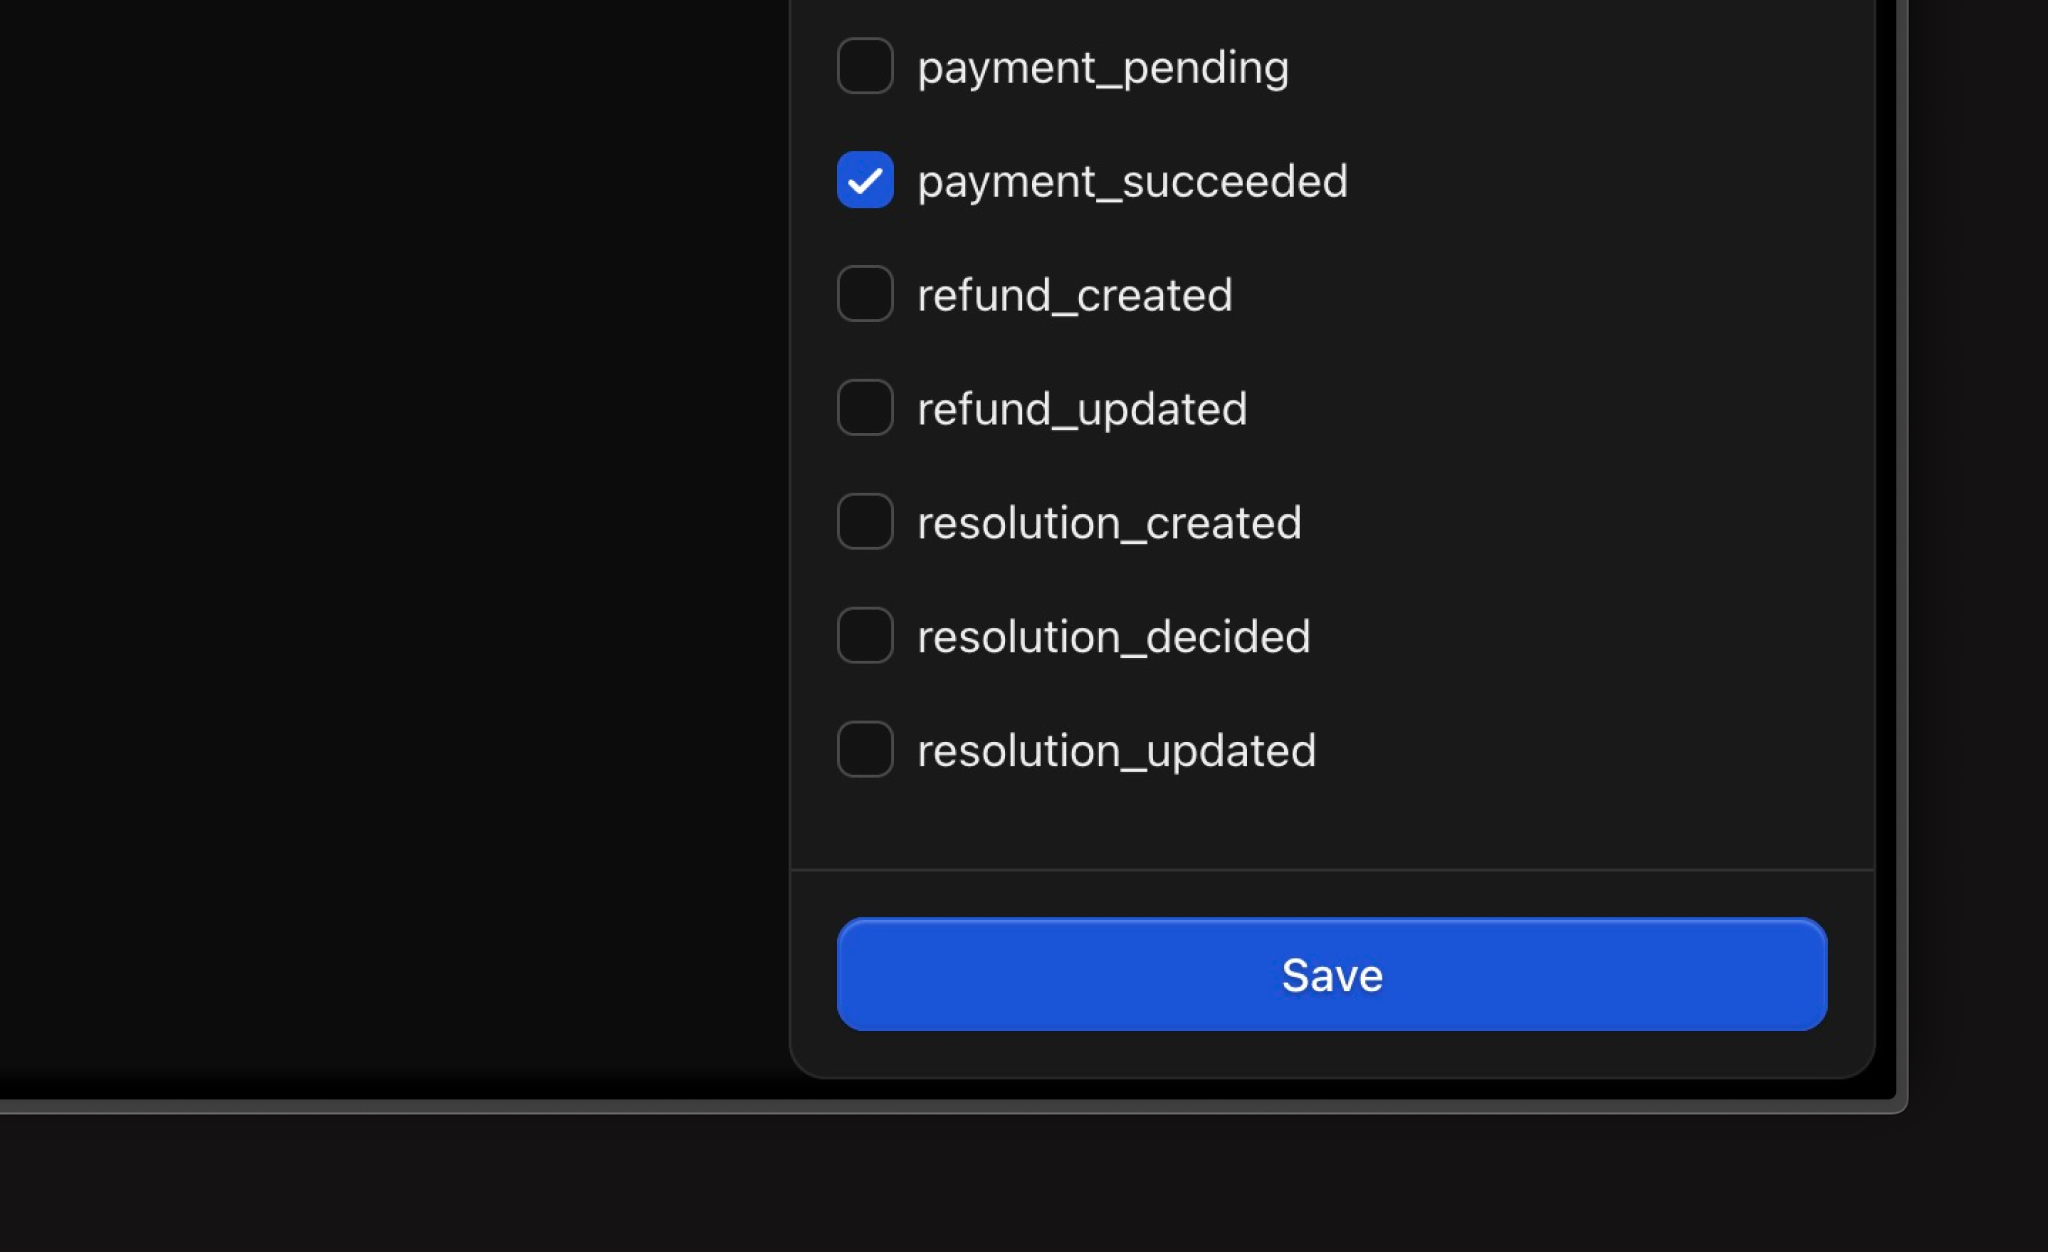
v1, and select the events you want to receive.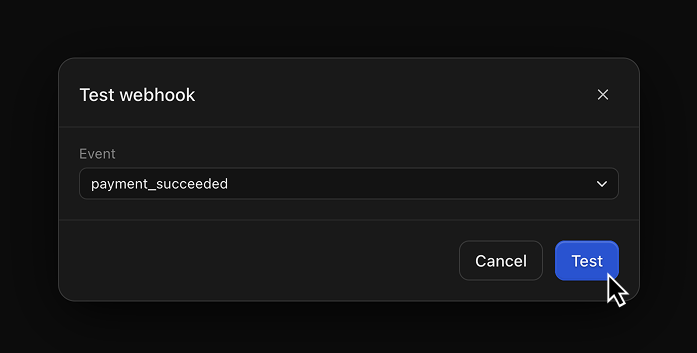
Next steps
Accept payments
Create checkout links or embedded checkout flows.
Validate webhooks
Verify signatures and handle payment events safely.
API walkthrough
Explore endpoints, SDK examples, and required permissions.