

Keep
WHOP_API_KEY on your server. Don’t put Account API keys in browser code, mobile apps, or public repositories.Set up your account
1
Sign up for Whop
Go to whop.com/start and create your Whop account. The onboarding flow creates your first business, which is the Account that owns API keys, products, webhooks, and payments.
2
Open the dashboard
After onboarding, open whop.com/dashboard. If you have more than one business, choose the one you want to build against from the business switcher.
3
Open Developer
Select Dashboard ↗ in the top-right corner of these docs to open your developer dashboard directly.
Create an API key
For the quickest path, create an Account API key. Use this when your server acts on behalf of your own business.1
Create an Account API key
In Account API Keys, select Create. Name the key something you can recognize later, like
Local development or Production payments.2
Choose permissions
For the first call below, use the Admin role or grant the read permissions listed on Retrieve Requesting Account. For production, switch to a narrower custom permission set once you know exactly which endpoints you use.
3
Copy the key
Copy the key when Whop shows it. Store it in your local 
.env file as WHOP_API_KEY.Choose your key type
Most integrations start with an Account API key and never need the others. Auth & API keys covers every credential type and how to scope one down.Account API keys
Use an Account API key when your server fetches data or performs actions for your own Account and its connected accounts. This is the key the steps above create.App API keys
Use an App API key when you build an app and need to reach data on the accounts that installed it.- In the dashboard, open Apps.
- Select Create app and give your app a name. You can change the name later.
- Your key is the hidden value after
WHOP_API_KEYin the Environment variables section. Use the reveal button to show it, then store it somewhere safe.
OAuth tokens
Use an OAuth token when you want users to sign in with their Whop account and grant your app permission to act for them. An OAuth token is scoped to what that individual user can access, rather than to your app’s own permissions. Reach for it when you need “Sign in with Whop,” access to a user’s memberships or profile, or actions taken as a specific user. See the OAuth guide for the full flow.Install the SDK
.env:
Make your first call
Retrieve the account tied to your API key. This confirms your key and permissions work, and prints your account ID, which starts withbiz_.
That’s your account. The key works.
Do something real
One call creates a variant and returns apurchase_url, a live checkout page anyone can pay you at. The inline compatibility property is still named plan. Open the URL in your browser.
plan_id instead of the inline plan. You can’t send both. Create Checkout Configuration lists every option, including recurring pricing, trials, and redirect URLs.
See a webhook
Whop sends a webhook to your server when something happens in your business, likepayment.succeeded or membership.activated.
1
Create a local webhook endpoint
Add a
POST endpoint in your app and expose it with ngrok, Cloudflare Tunnel, or another HTTPS tunnel while developing.2
Create the webhook in the dashboard
Open Developer > Webhooks, then select Create webhook.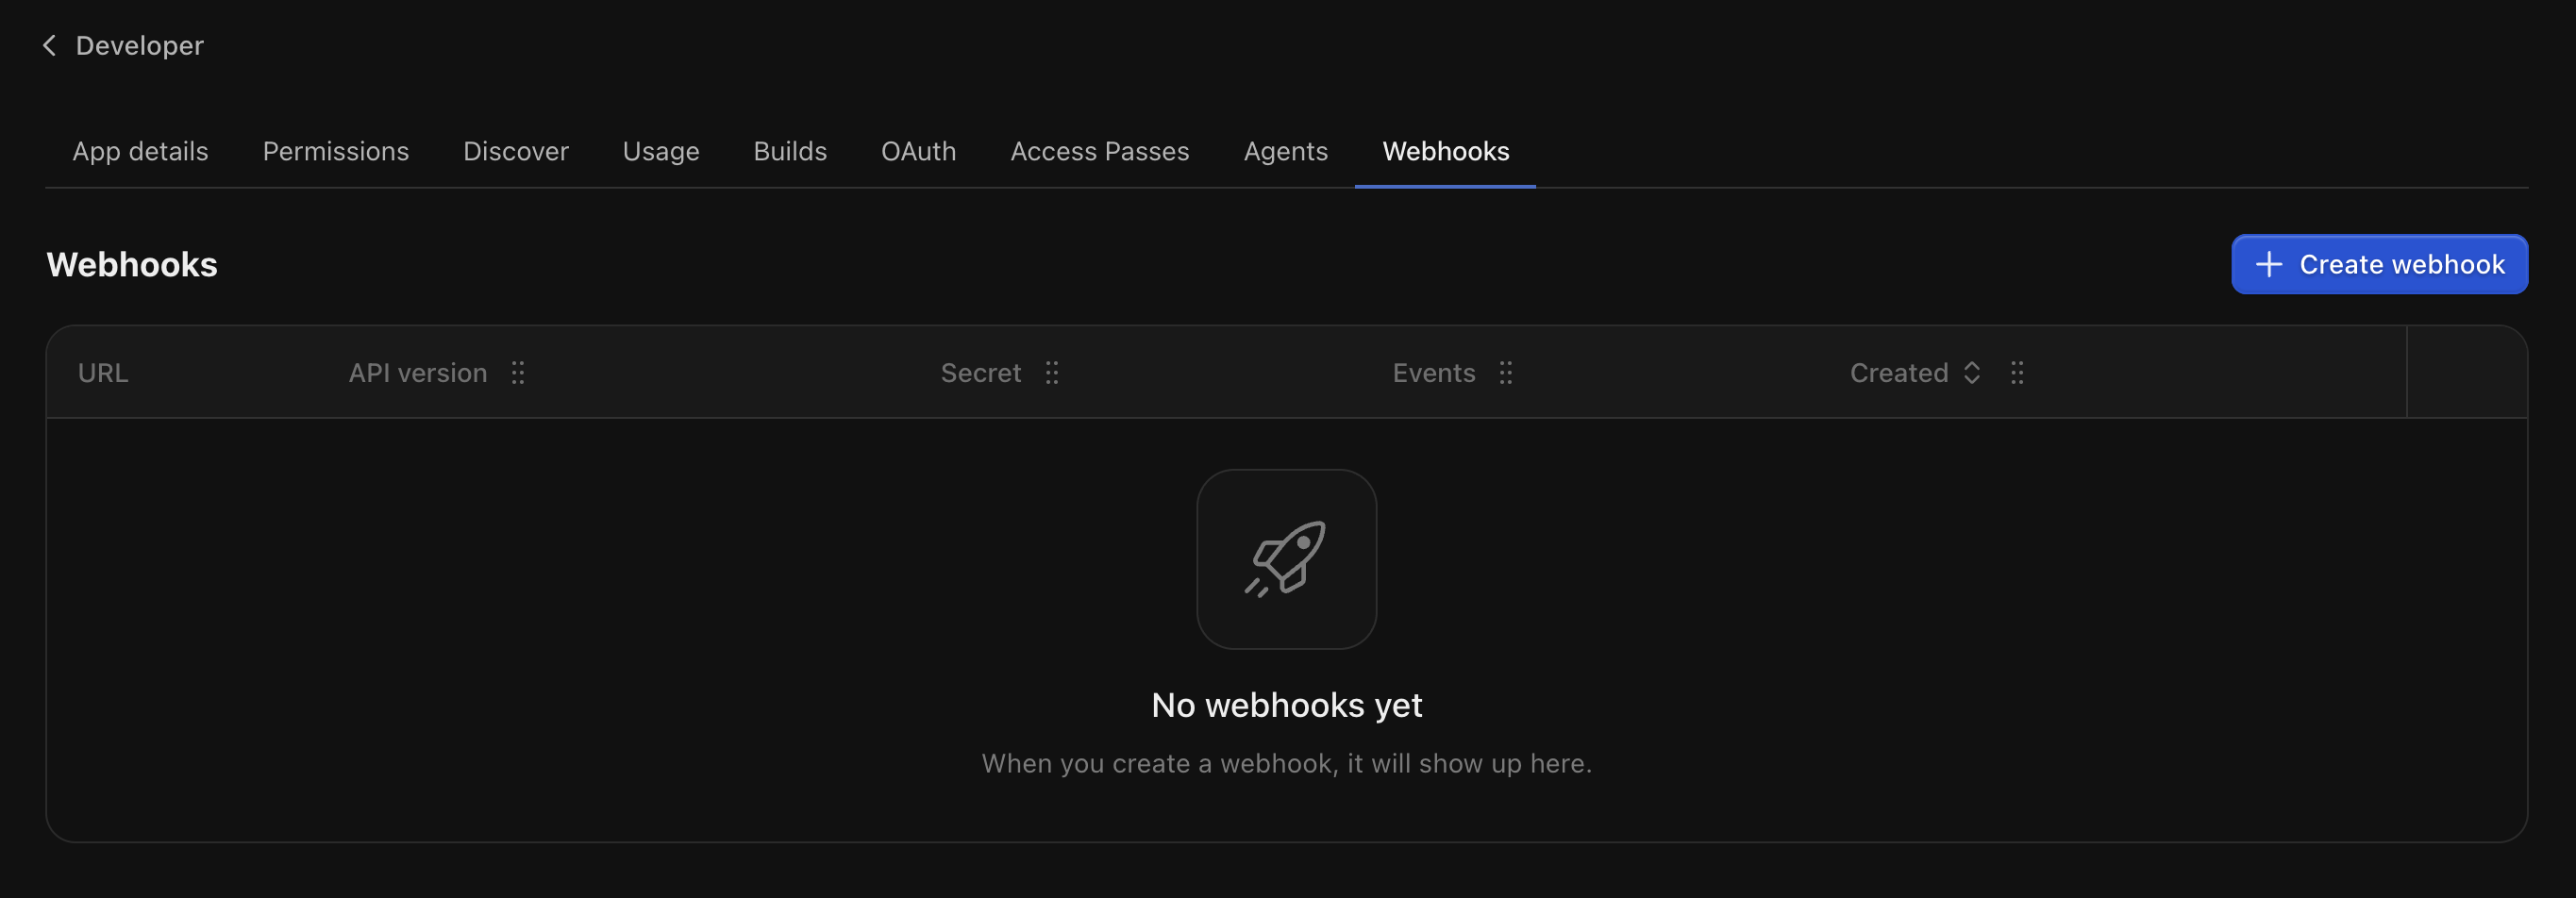
3
Enter your URL and events
Paste your HTTPS endpoint, keep the API version on 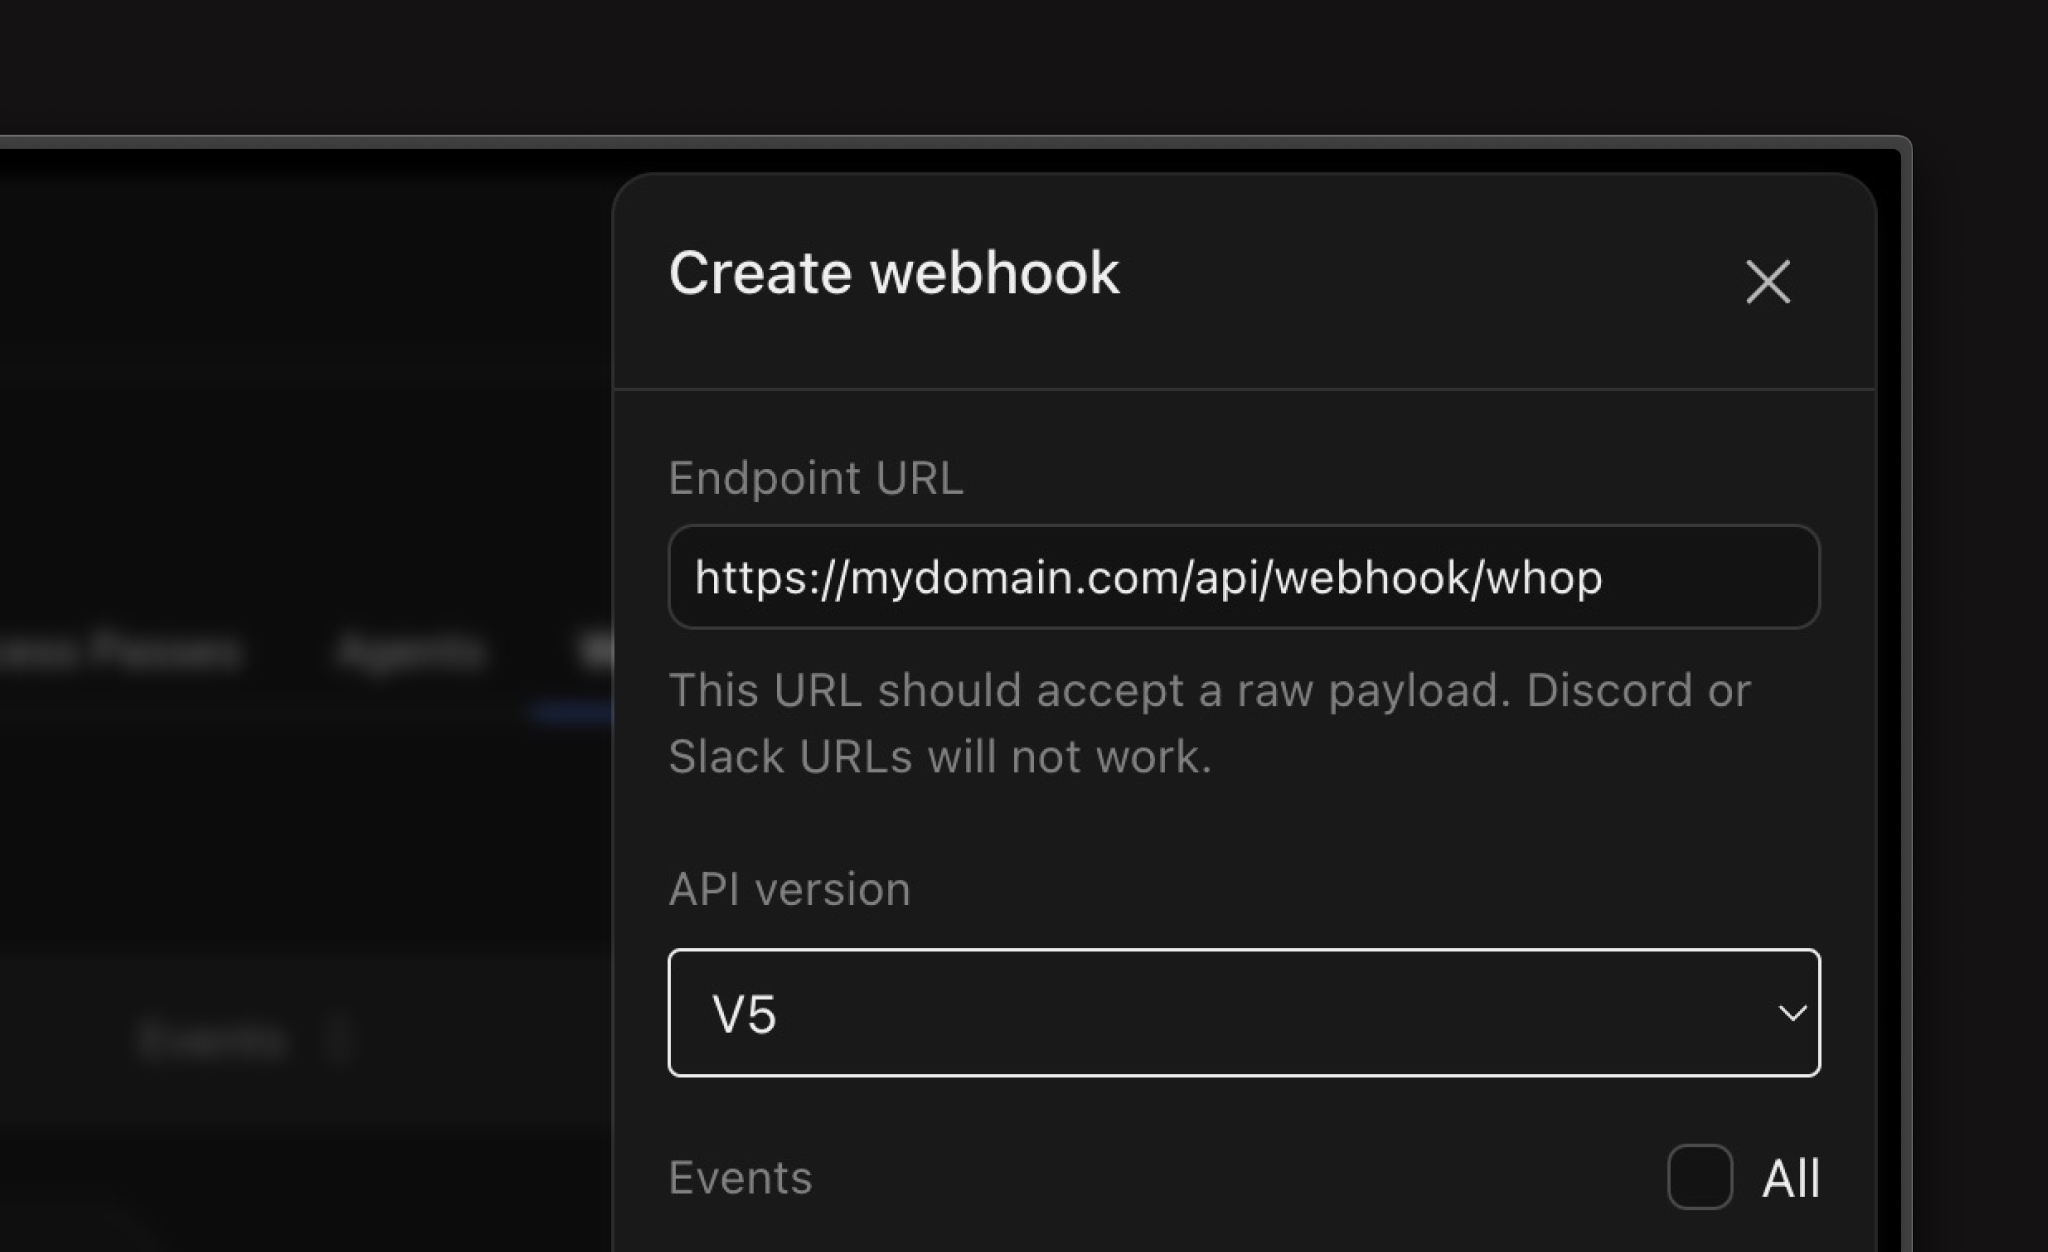
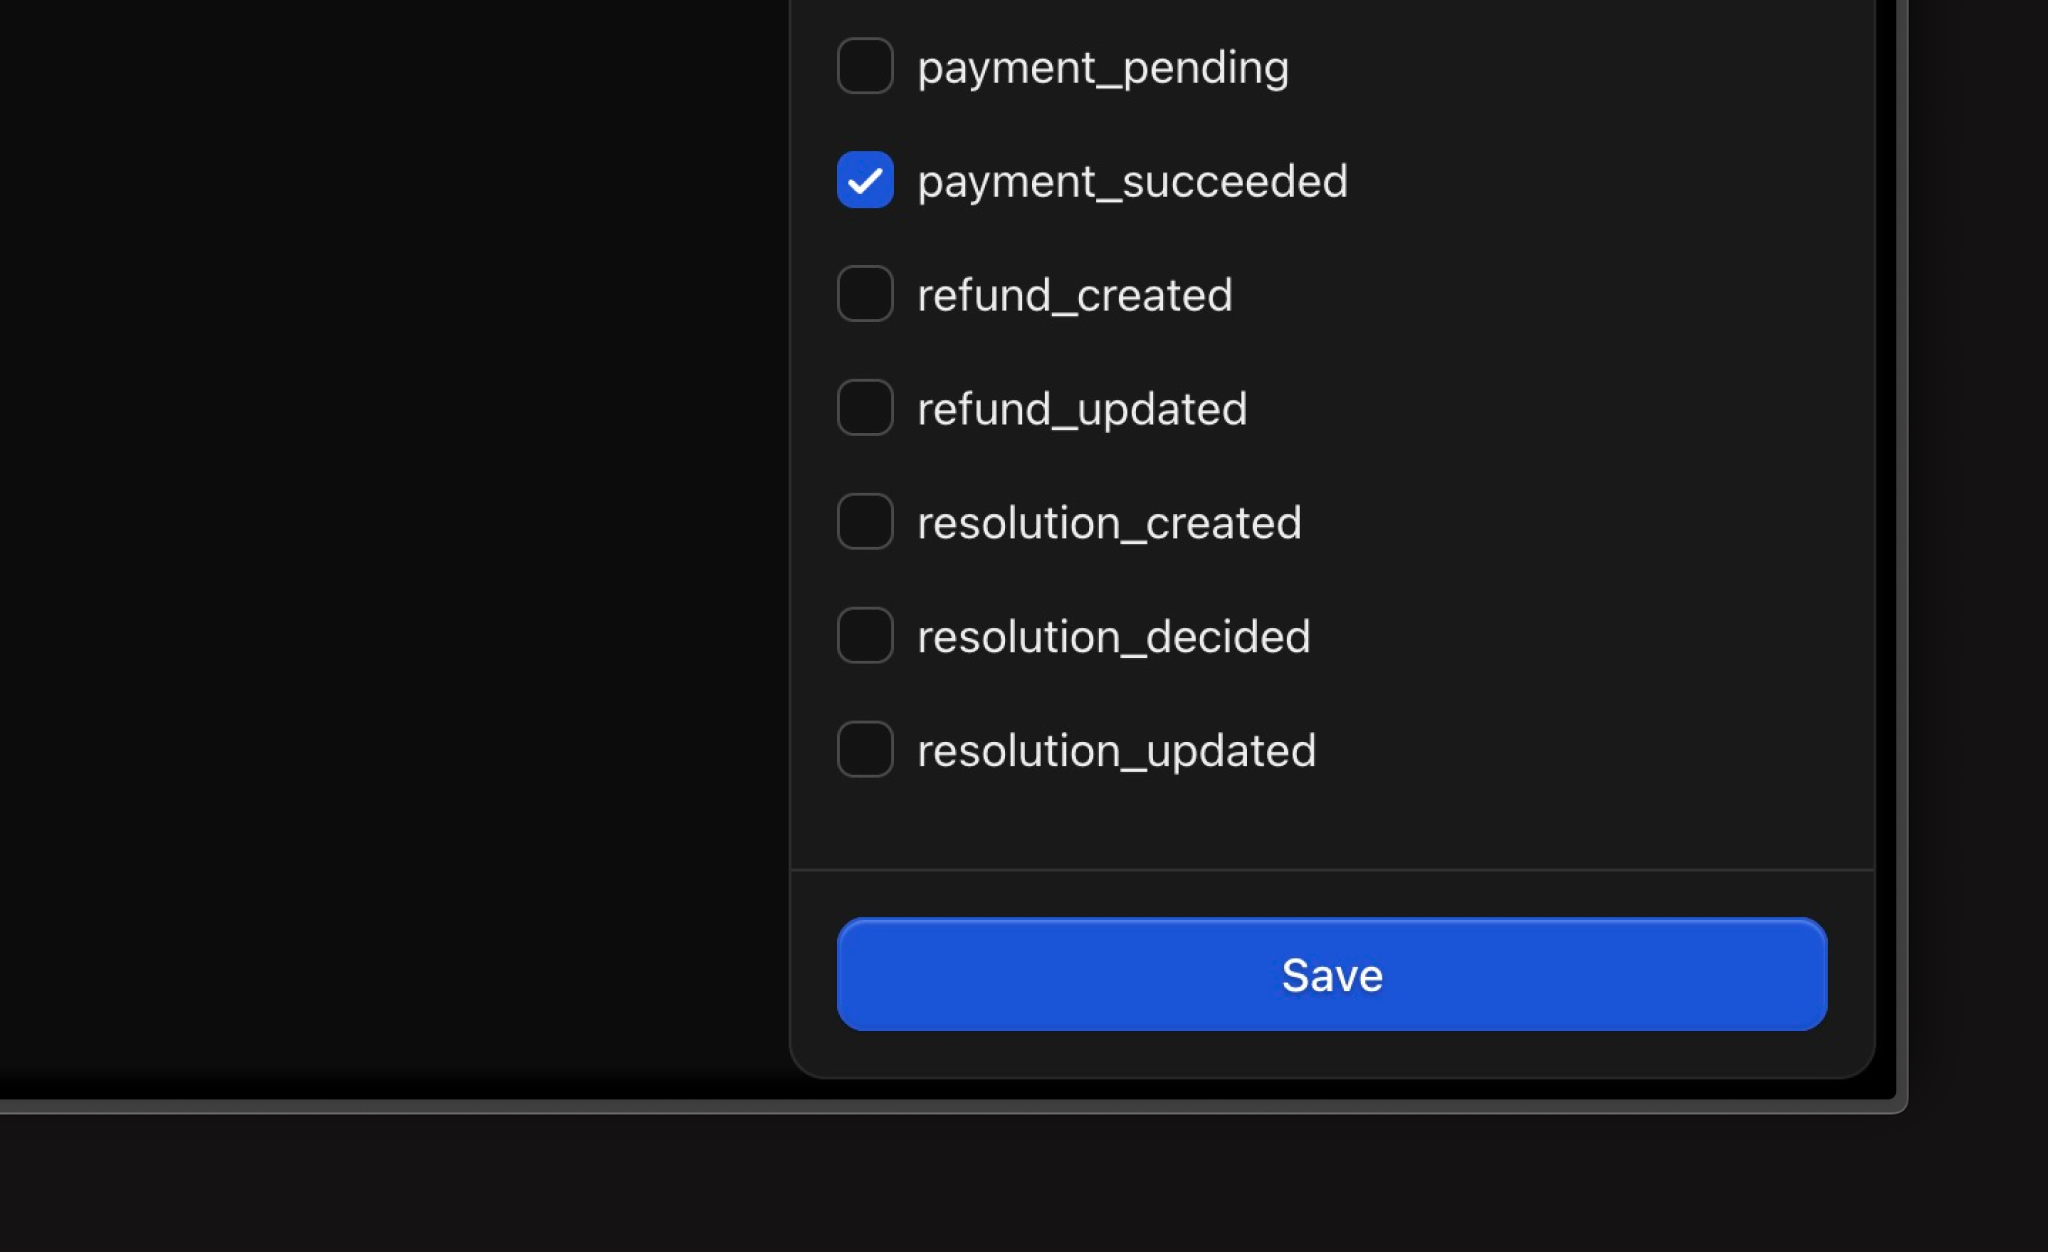
v1, and select the events you want to receive.4
Send a test event
Use the webhook row actions to send a test event. When your server logs the request, your setup is complete.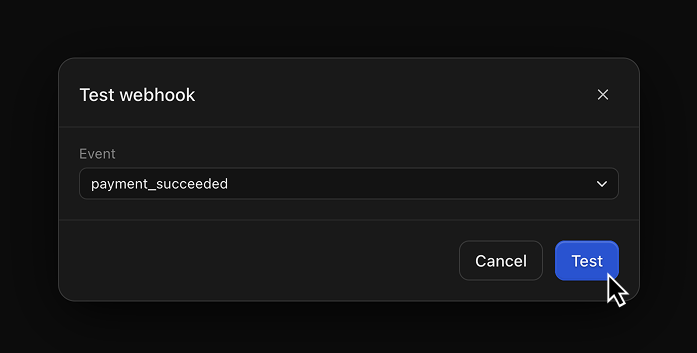
Test in the sandbox
The sandbox is a separate environment with its own dashboard and its own keys. Money never moves there, so you can run checkouts, payouts, and webhooks against realistic data without charging anyone. Sandbox and production keys look identical, so store them under different names. See Test in the sandbox for how to switch environments.Pin your API version
Whop versions the API by date. The SDKs send the version they were generated against. If you call the API directly, send the header so later changes don’t break your integration:Now build what you came for
You sell a subscription or a one-time product
Checkout links, the Checkout element, variants, and trials.
You owe money to people who aren't you
Payouts, transfers, balances, and the payout portal.
You take a cut of what other people sell
Connected accounts, collecting on their behalf, and paying them out.
You want distribution, not just infrastructure
Apps that run inside Whop, with auth, views, and the CLI.
Your product needs people talking to each other
Chat, DMs, and forums you can embed.
You just want to read the reference
Every resource in the Current API, with a playground on each endpoint.