> ## Documentation Index
> Fetch the complete documentation index at: https://docs.whop.com/llms.txt
> Use this file to discover all available pages before exploring further.
# Educational programs
> Learn how to sell educational programs on Whop
If you want to launch an online business selling a course, Whop puts everything in one place: host your course, create a community around it, and accept payments seamlessly.
## Launch your course business quickly
Head over to [whop.com/sell](https://whop.com/dashboard/start/):
* Choose your name
* Select your custom URL
* Complete the basic setup
Your whop is now live and ready to customize.
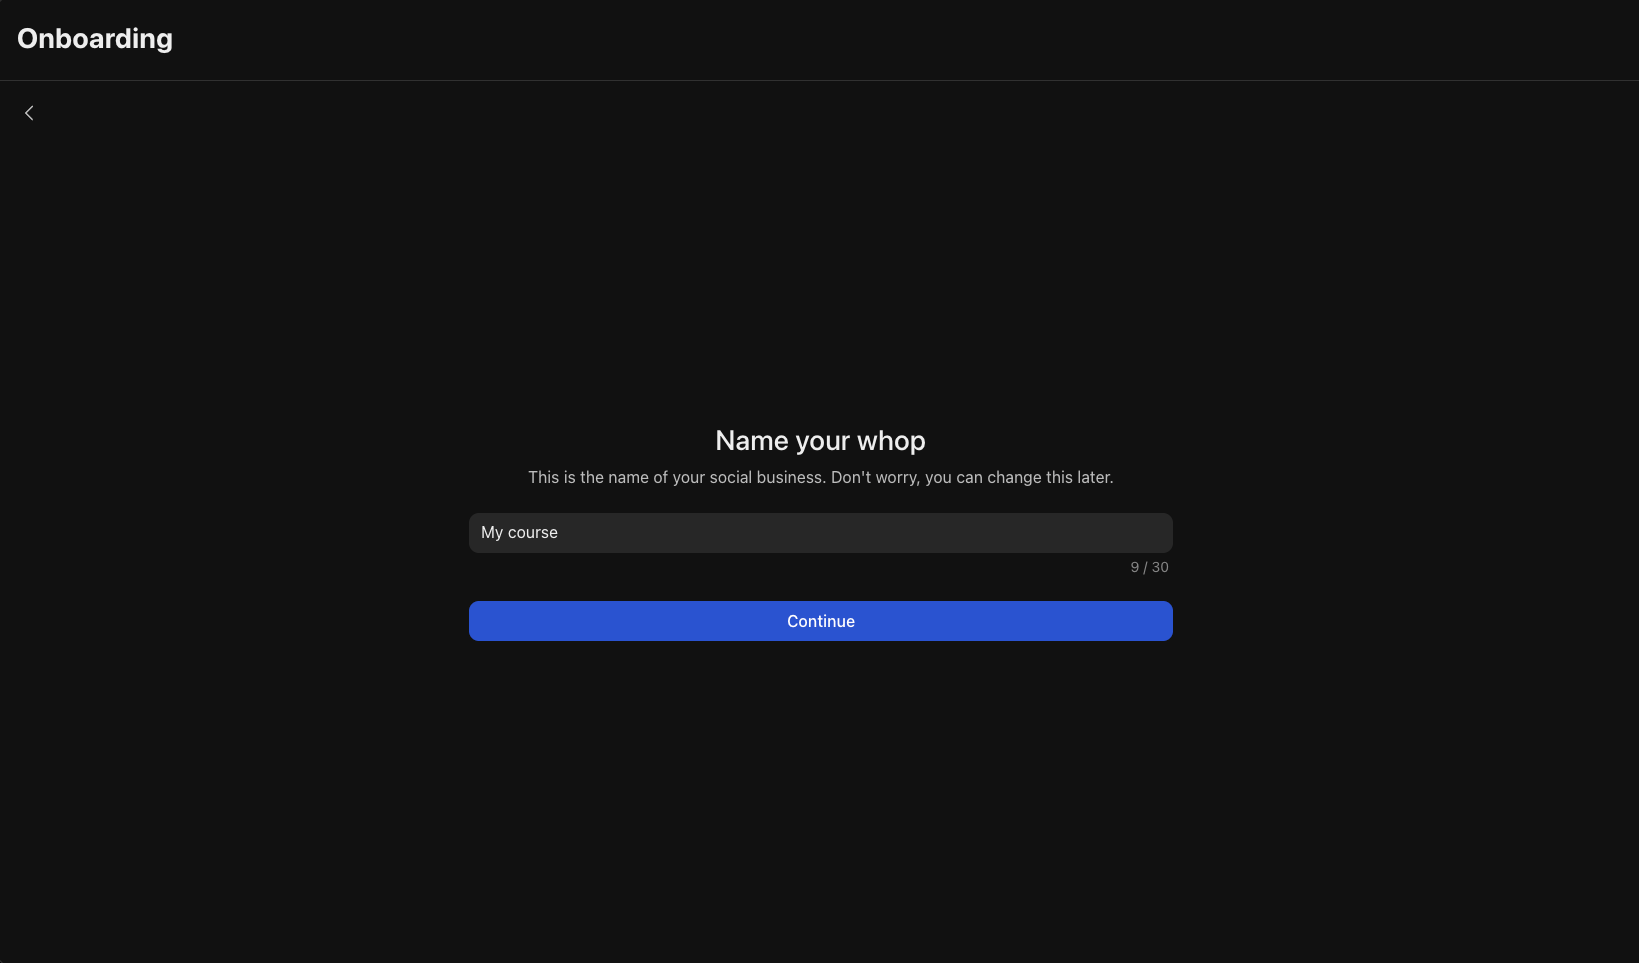 The [**Courses**](https://whop.com/apps/app_0vPZThfBpAwLo/install/) app is where your students will access your educational videos and learning materials.
1. Add the **Courses** app from the [Whop App Store](https://private-docs.mintlify.app/whop-apps/whop-app-store)
2. Click **Begin setup**
3. Click **Add module**
4. Enter the title and description for this module - this helps students understand what they'll learn
5. Start organizing your content into chapters and lessons within each module
You'll find a more detailed breakdown of how to use the **Courses** app [below](#setting-up-your-courses-app).
The [**Courses**](https://whop.com/apps/app_0vPZThfBpAwLo/install/) app is where your students will access your educational videos and learning materials.
1. Add the **Courses** app from the [Whop App Store](https://private-docs.mintlify.app/whop-apps/whop-app-store)
2. Click **Begin setup**
3. Click **Add module**
4. Enter the title and description for this module - this helps students understand what they'll learn
5. Start organizing your content into chapters and lessons within each module
You'll find a more detailed breakdown of how to use the **Courses** app [below](#setting-up-your-courses-app).
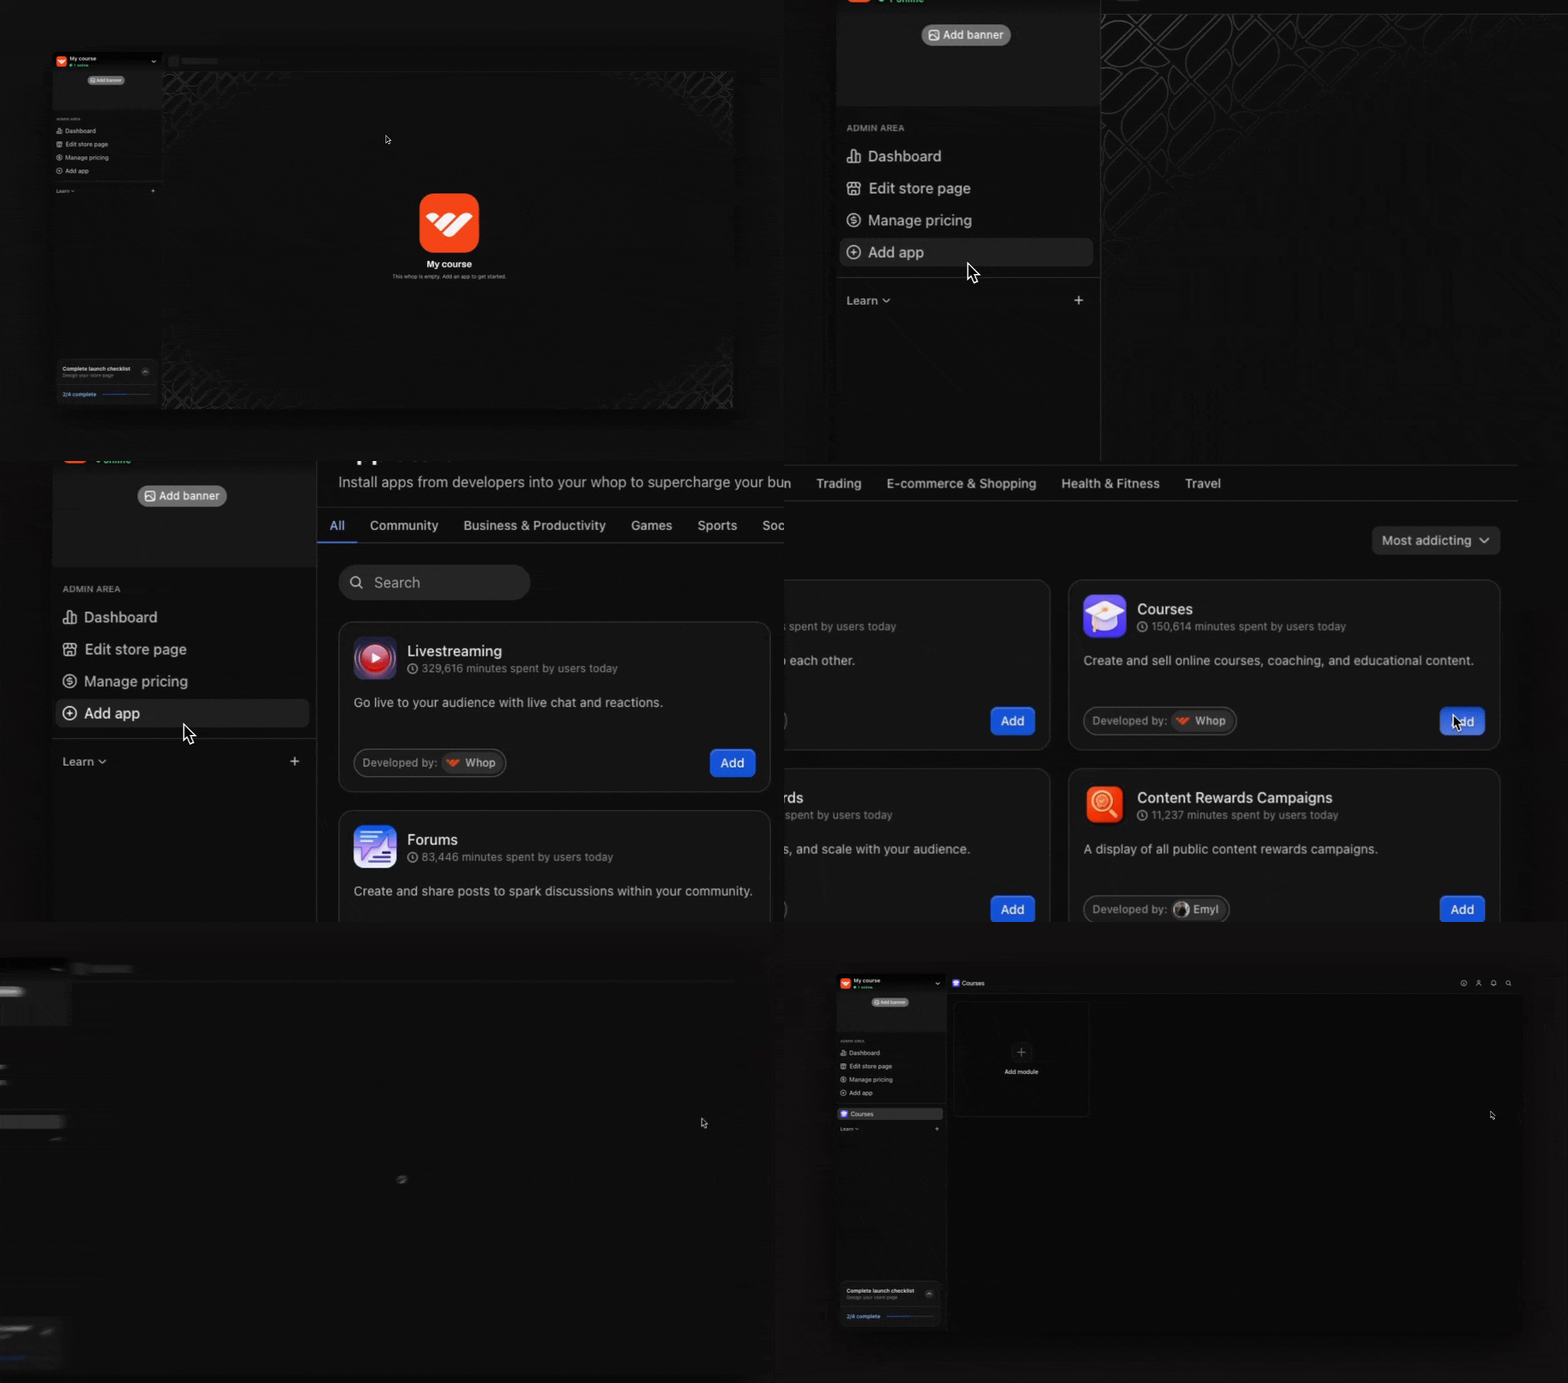 Use the [**Content**](https://whop.com/apps/app_mmjPLOxIgL1qxe/install/) app to create a "Start here" guide that helps new students get oriented and know exactly what to do first. Create a welcome guide that covers:
* How to navigate your whop and find everything
* Where to begin with your course content
* How to ask questions and get support
* Any introductions or first steps they should take
Use the [**Content**](https://whop.com/apps/app_mmjPLOxIgL1qxe/install/) app to create a "Start here" guide that helps new students get oriented and know exactly what to do first. Create a welcome guide that covers:
* How to navigate your whop and find everything
* Where to begin with your course content
* How to ask questions and get support
* Any introductions or first steps they should take
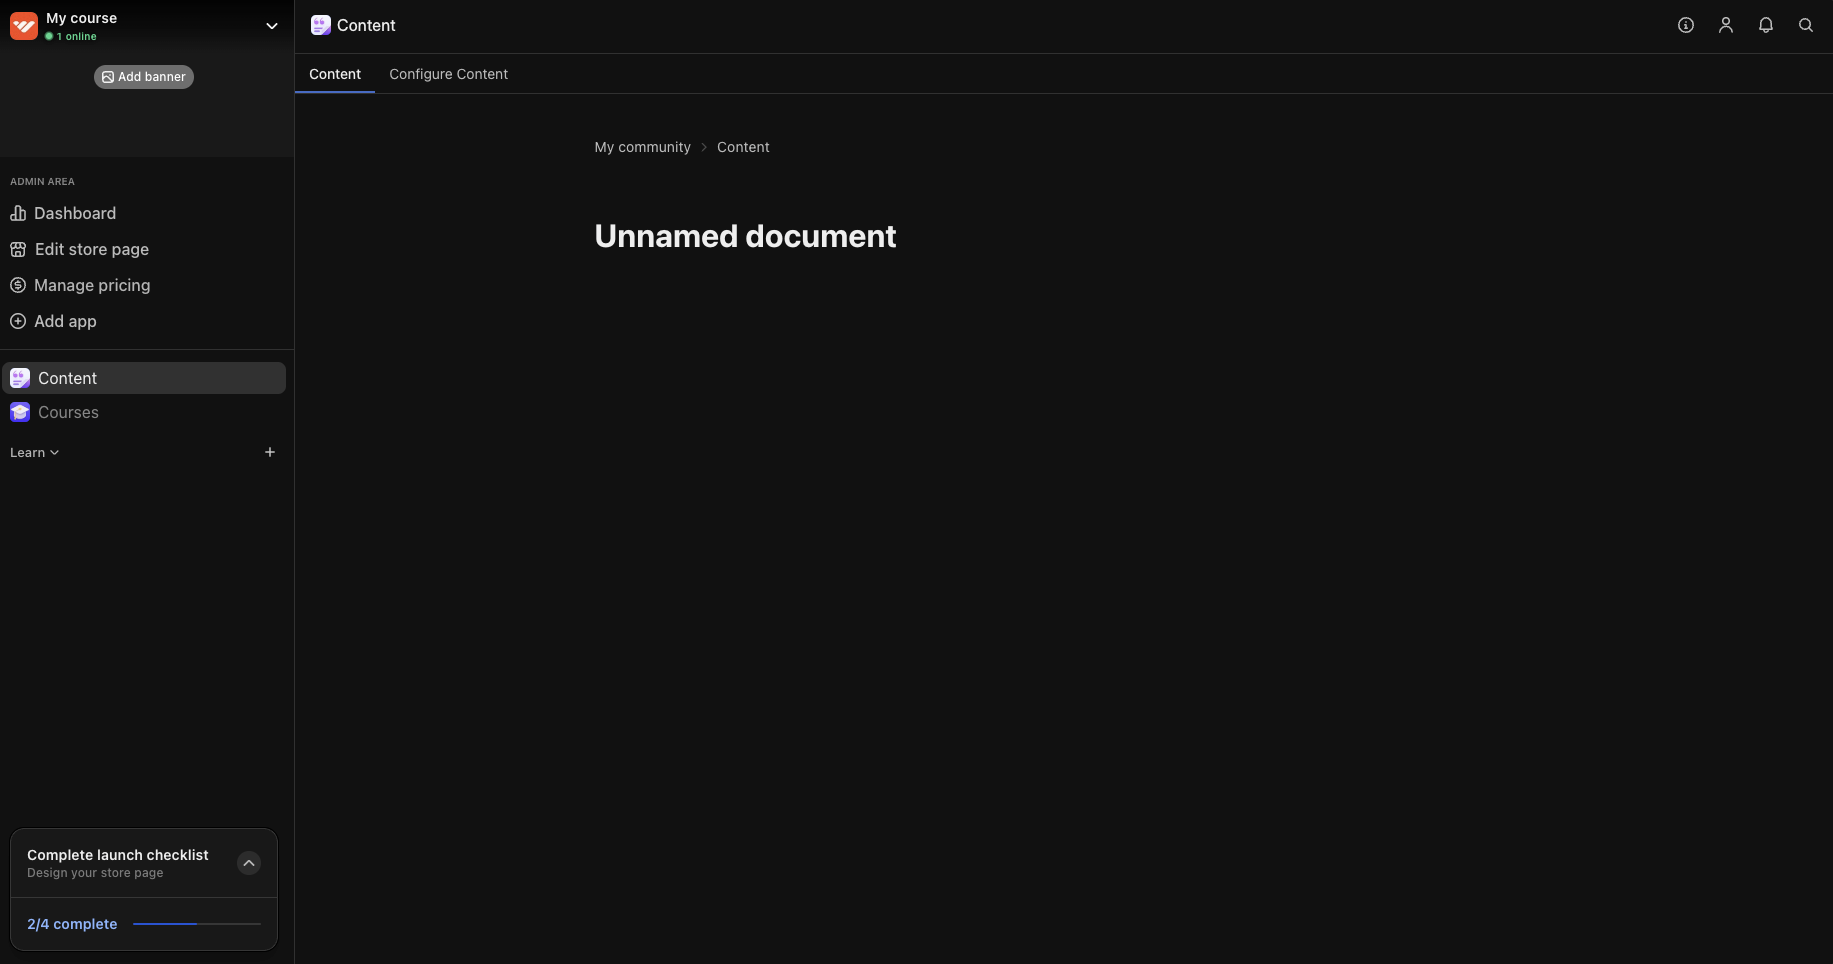 The [**Forums**](https://whop.com/apps/app_dYfm2IdXhDMquv/install/) app is where you’ll share important updates, announcements, and valuable content that all members should see. Popular forum uses include:
* **Announcements**: Share course updates, new lesson releases, and important information
* **Weekly insights**: Post regular tips, industry updates, or motivational content
* **Student wins**: Highlight student success stories and achievements to inspire others
* **Q\&A discussions**: Answer student questions and encourage peer-to-peer learning
You can add the Forums app multiple times to keep different types of discussions organized.
The [**Forums**](https://whop.com/apps/app_dYfm2IdXhDMquv/install/) app is where you’ll share important updates, announcements, and valuable content that all members should see. Popular forum uses include:
* **Announcements**: Share course updates, new lesson releases, and important information
* **Weekly insights**: Post regular tips, industry updates, or motivational content
* **Student wins**: Highlight student success stories and achievements to inspire others
* **Q\&A discussions**: Answer student questions and encourage peer-to-peer learning
You can add the Forums app multiple times to keep different types of discussions organized.
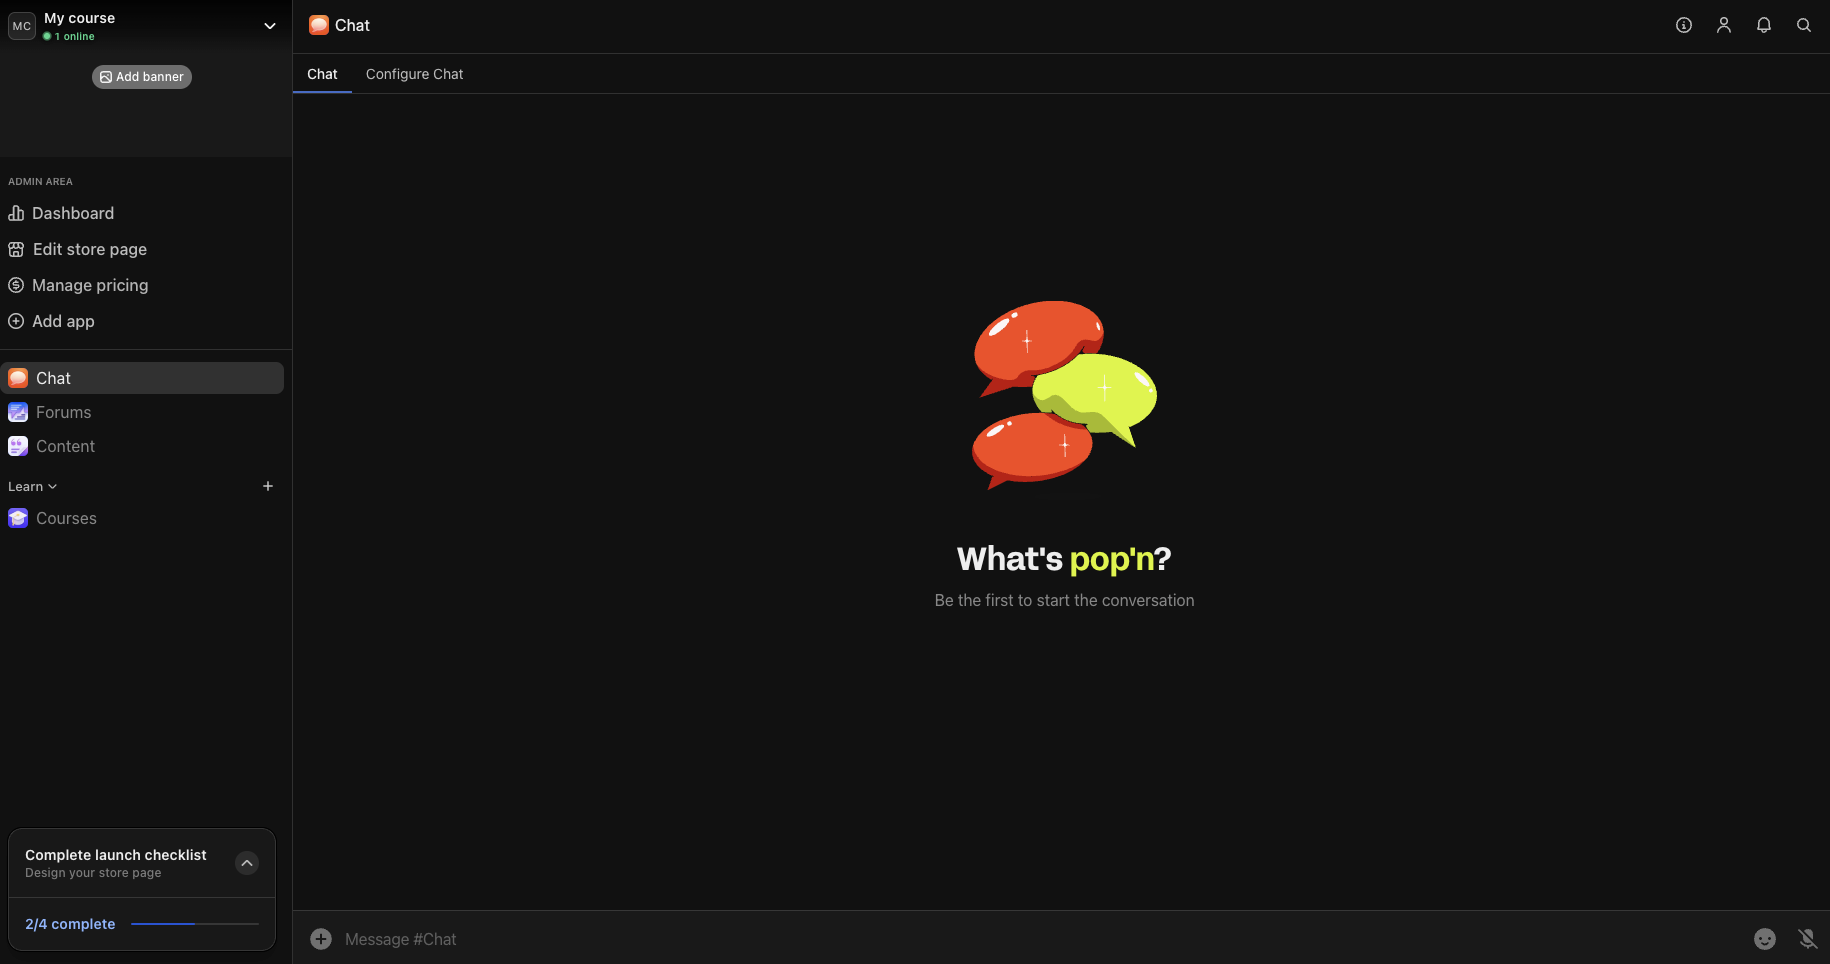
 Give your students a place to connect and ask questions. Popular uses of the [**Chat**](https://whop.com/apps/app_xml5hbizmZPgUT/install/) app include:
* **General chat**: Main conversation space for students to hang out and ask questions
* **Introductions**: Help new students connect and share their learning goals
* **Assignment submissions**: Create spaces for students to share their work and get feedback
Add multiple Chat apps to create separate spaces for different topics or student cohorts.
Give your students a place to connect and ask questions. Popular uses of the [**Chat**](https://whop.com/apps/app_xml5hbizmZPgUT/install/) app include:
* **General chat**: Main conversation space for students to hang out and ask questions
* **Introductions**: Help new students connect and share their learning goals
* **Assignment submissions**: Create spaces for students to share their work and get feedback
Add multiple Chat apps to create separate spaces for different topics or student cohorts.
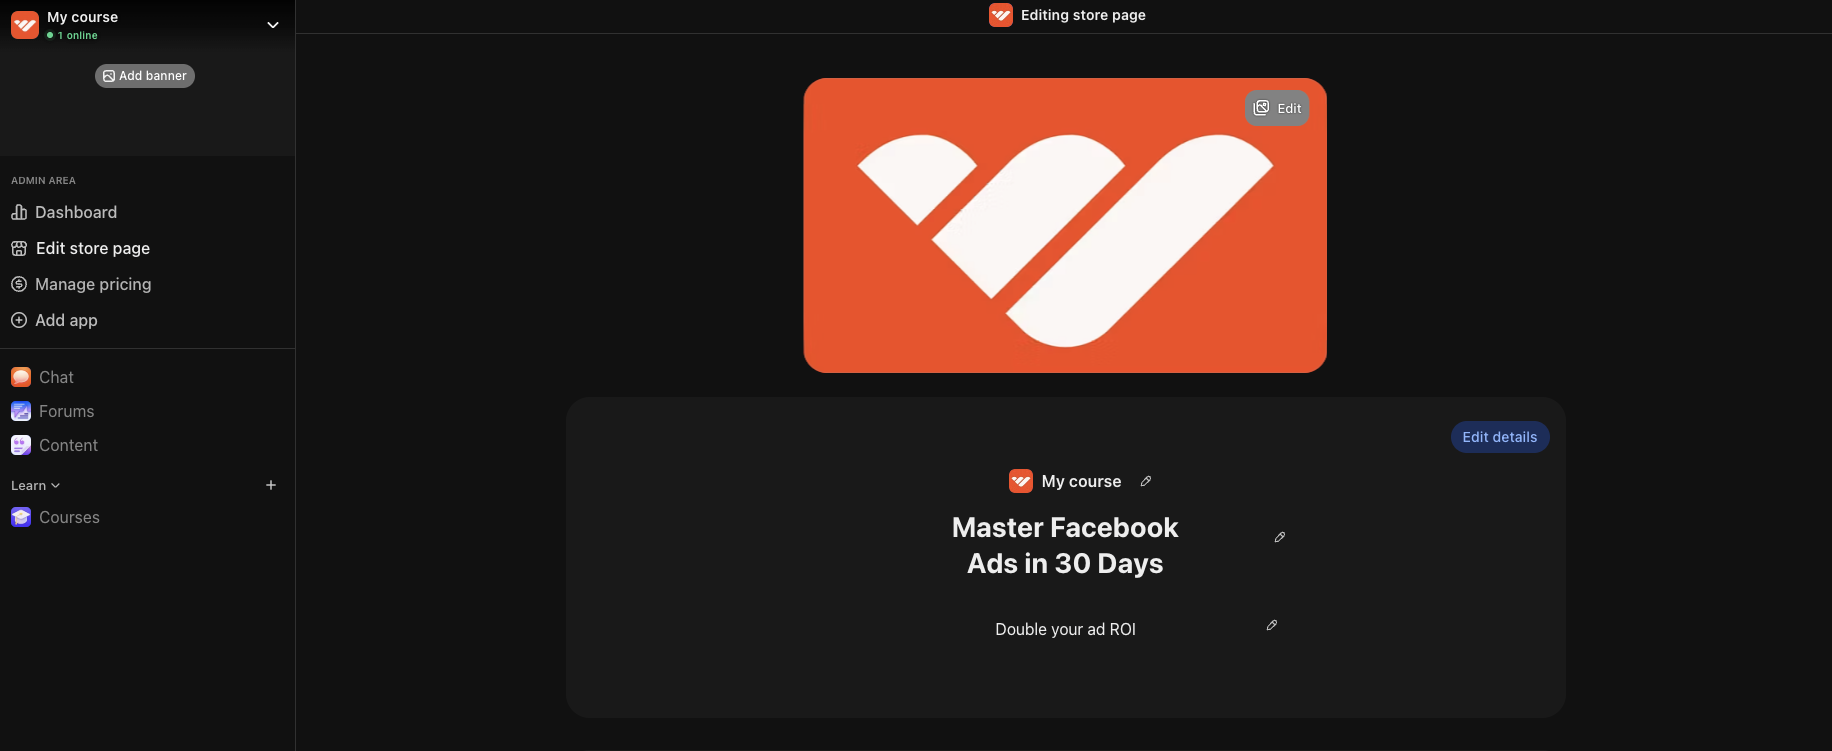
 Your store page is where people can learn about your offer. Click your whop name in the top left, then select **Design store page** to open the editor. Click **Edit details** to customize:
* **Choose a clear name and headline**: Make it immediately obvious what students will learn and how it will benefit them. Examples: "Master Facebook Ads in 30 Days" or "Complete Python Programming Bootcamp"
* **Write a compelling description**: Focus on the transformation students will experience and specific skills they'll gain. Highlight outcomes like "land your first coding job," "double your ad ROI," or "launch your consulting business"
* **Upload a logo**: Add a clean, simple logo to your store page
* **Add gallery images or video**: This is what viewers will see at the top of your store page. We recommend adding a quick video of yourself talking about you, your expertise and what students will learn in the course
* **Select the appropriate category**: This helps people discover your course when browsing Whop
Your store page is where people can learn about your offer. Click your whop name in the top left, then select **Design store page** to open the editor. Click **Edit details** to customize:
* **Choose a clear name and headline**: Make it immediately obvious what students will learn and how it will benefit them. Examples: "Master Facebook Ads in 30 Days" or "Complete Python Programming Bootcamp"
* **Write a compelling description**: Focus on the transformation students will experience and specific skills they'll gain. Highlight outcomes like "land your first coding job," "double your ad ROI," or "launch your consulting business"
* **Upload a logo**: Add a clean, simple logo to your store page
* **Add gallery images or video**: This is what viewers will see at the top of your store page. We recommend adding a quick video of yourself talking about you, your expertise and what students will learn in the course
* **Select the appropriate category**: This helps people discover your course when browsing Whop
 Set up your pricing to choose how much people have to pay to get access to your course.
* Go to your whop > click **Products** > click **Add product**
You can structure your pricing as free access, a one-time payment, or a recurring subscription:
* **Free**: Make it free to access your course (then upsell a higher ticket offer or done-for-you services)
* **One-time payment**: For example, \$297 for lifetime access to your complete course
* **Subscription model**: For example, \$47/month for ongoing access (with new content added regularly)
[Learn more about setting up pricing and products here](/manage-your-business/payment-processing/set-up-pricing).
You can also create multiple pricing tiers (for example, a basic course, premium with bonuses, and VIP with 1-on-1 coaching). Start simple - you can always add more options as your business grows.
## Setting up your Courses app
Now that you've set up the basic structure of your course business, let's dive deeper into how to use the **Courses** app.
### Understanding the course structure
Your course is built using a three-level hierarchy to help organize your content:
1. **Modules**: These are your main course topics. Think "Beginner basics," "Advanced techniques," "Bonus resources," or "Live call recordings."
2. **Chapters**: These break each module into smaller, bite-sized sections that are easier to follow. Each chapter should focus on a specific subtopic or learning objective that builds toward the module's overall goal.
3. **Lessons:** This is where you actually teach - each lesson is one video, PDF, quiz, or piece of content (more info on this below).
### Types of lessons you can create
The **Courses** app gives you flexibility in how you deliver your content:
Combine text, video, and downloads in one comprehensive lesson.
Upload or embed videos that students can watch at their own pace.
Written guides and step-by-step instructions with rich formatting.
Share downloadable worksheets, templates, and reference materials.
Ungraded questions that help students self-assess their progress.
Graded tests to certify student mastery before they advance.
### Course settings
In the **Settings** panel for each module, you can customize how students experience your content:
* **Description**: Add context about what students will learn in this specific module.
* **Require lesson completion**: Toggle this on to create a structured learning path where students must complete lessons in order. This ensures they don't skip ahead and miss important foundational concepts.
* **Video protection**: Add watermarks to your videos to prevent unauthorized sharing and protect your intellectual property.
* **Completion certificates**: Generate professional certificates when students finish your course.
* **Language settings**: Set the language for closed captions on your videos.
## Next steps
Learn how to use Whop's tools and features to get more students.
Set up your pricing to choose how much people have to pay to get access to your course.
* Go to your whop > click **Products** > click **Add product**
You can structure your pricing as free access, a one-time payment, or a recurring subscription:
* **Free**: Make it free to access your course (then upsell a higher ticket offer or done-for-you services)
* **One-time payment**: For example, \$297 for lifetime access to your complete course
* **Subscription model**: For example, \$47/month for ongoing access (with new content added regularly)
[Learn more about setting up pricing and products here](/manage-your-business/payment-processing/set-up-pricing).
You can also create multiple pricing tiers (for example, a basic course, premium with bonuses, and VIP with 1-on-1 coaching). Start simple - you can always add more options as your business grows.
## Setting up your Courses app
Now that you've set up the basic structure of your course business, let's dive deeper into how to use the **Courses** app.
### Understanding the course structure
Your course is built using a three-level hierarchy to help organize your content:
1. **Modules**: These are your main course topics. Think "Beginner basics," "Advanced techniques," "Bonus resources," or "Live call recordings."
2. **Chapters**: These break each module into smaller, bite-sized sections that are easier to follow. Each chapter should focus on a specific subtopic or learning objective that builds toward the module's overall goal.
3. **Lessons:** This is where you actually teach - each lesson is one video, PDF, quiz, or piece of content (more info on this below).
### Types of lessons you can create
The **Courses** app gives you flexibility in how you deliver your content:
Combine text, video, and downloads in one comprehensive lesson.
Upload or embed videos that students can watch at their own pace.
Written guides and step-by-step instructions with rich formatting.
Share downloadable worksheets, templates, and reference materials.
Ungraded questions that help students self-assess their progress.
Graded tests to certify student mastery before they advance.
### Course settings
In the **Settings** panel for each module, you can customize how students experience your content:
* **Description**: Add context about what students will learn in this specific module.
* **Require lesson completion**: Toggle this on to create a structured learning path where students must complete lessons in order. This ensures they don't skip ahead and miss important foundational concepts.
* **Video protection**: Add watermarks to your videos to prevent unauthorized sharing and protect your intellectual property.
* **Completion certificates**: Generate professional certificates when students finish your course.
* **Language settings**: Set the language for closed captions on your videos.
## Next steps
Learn how to use Whop's tools and features to get more students.