 ## Configure
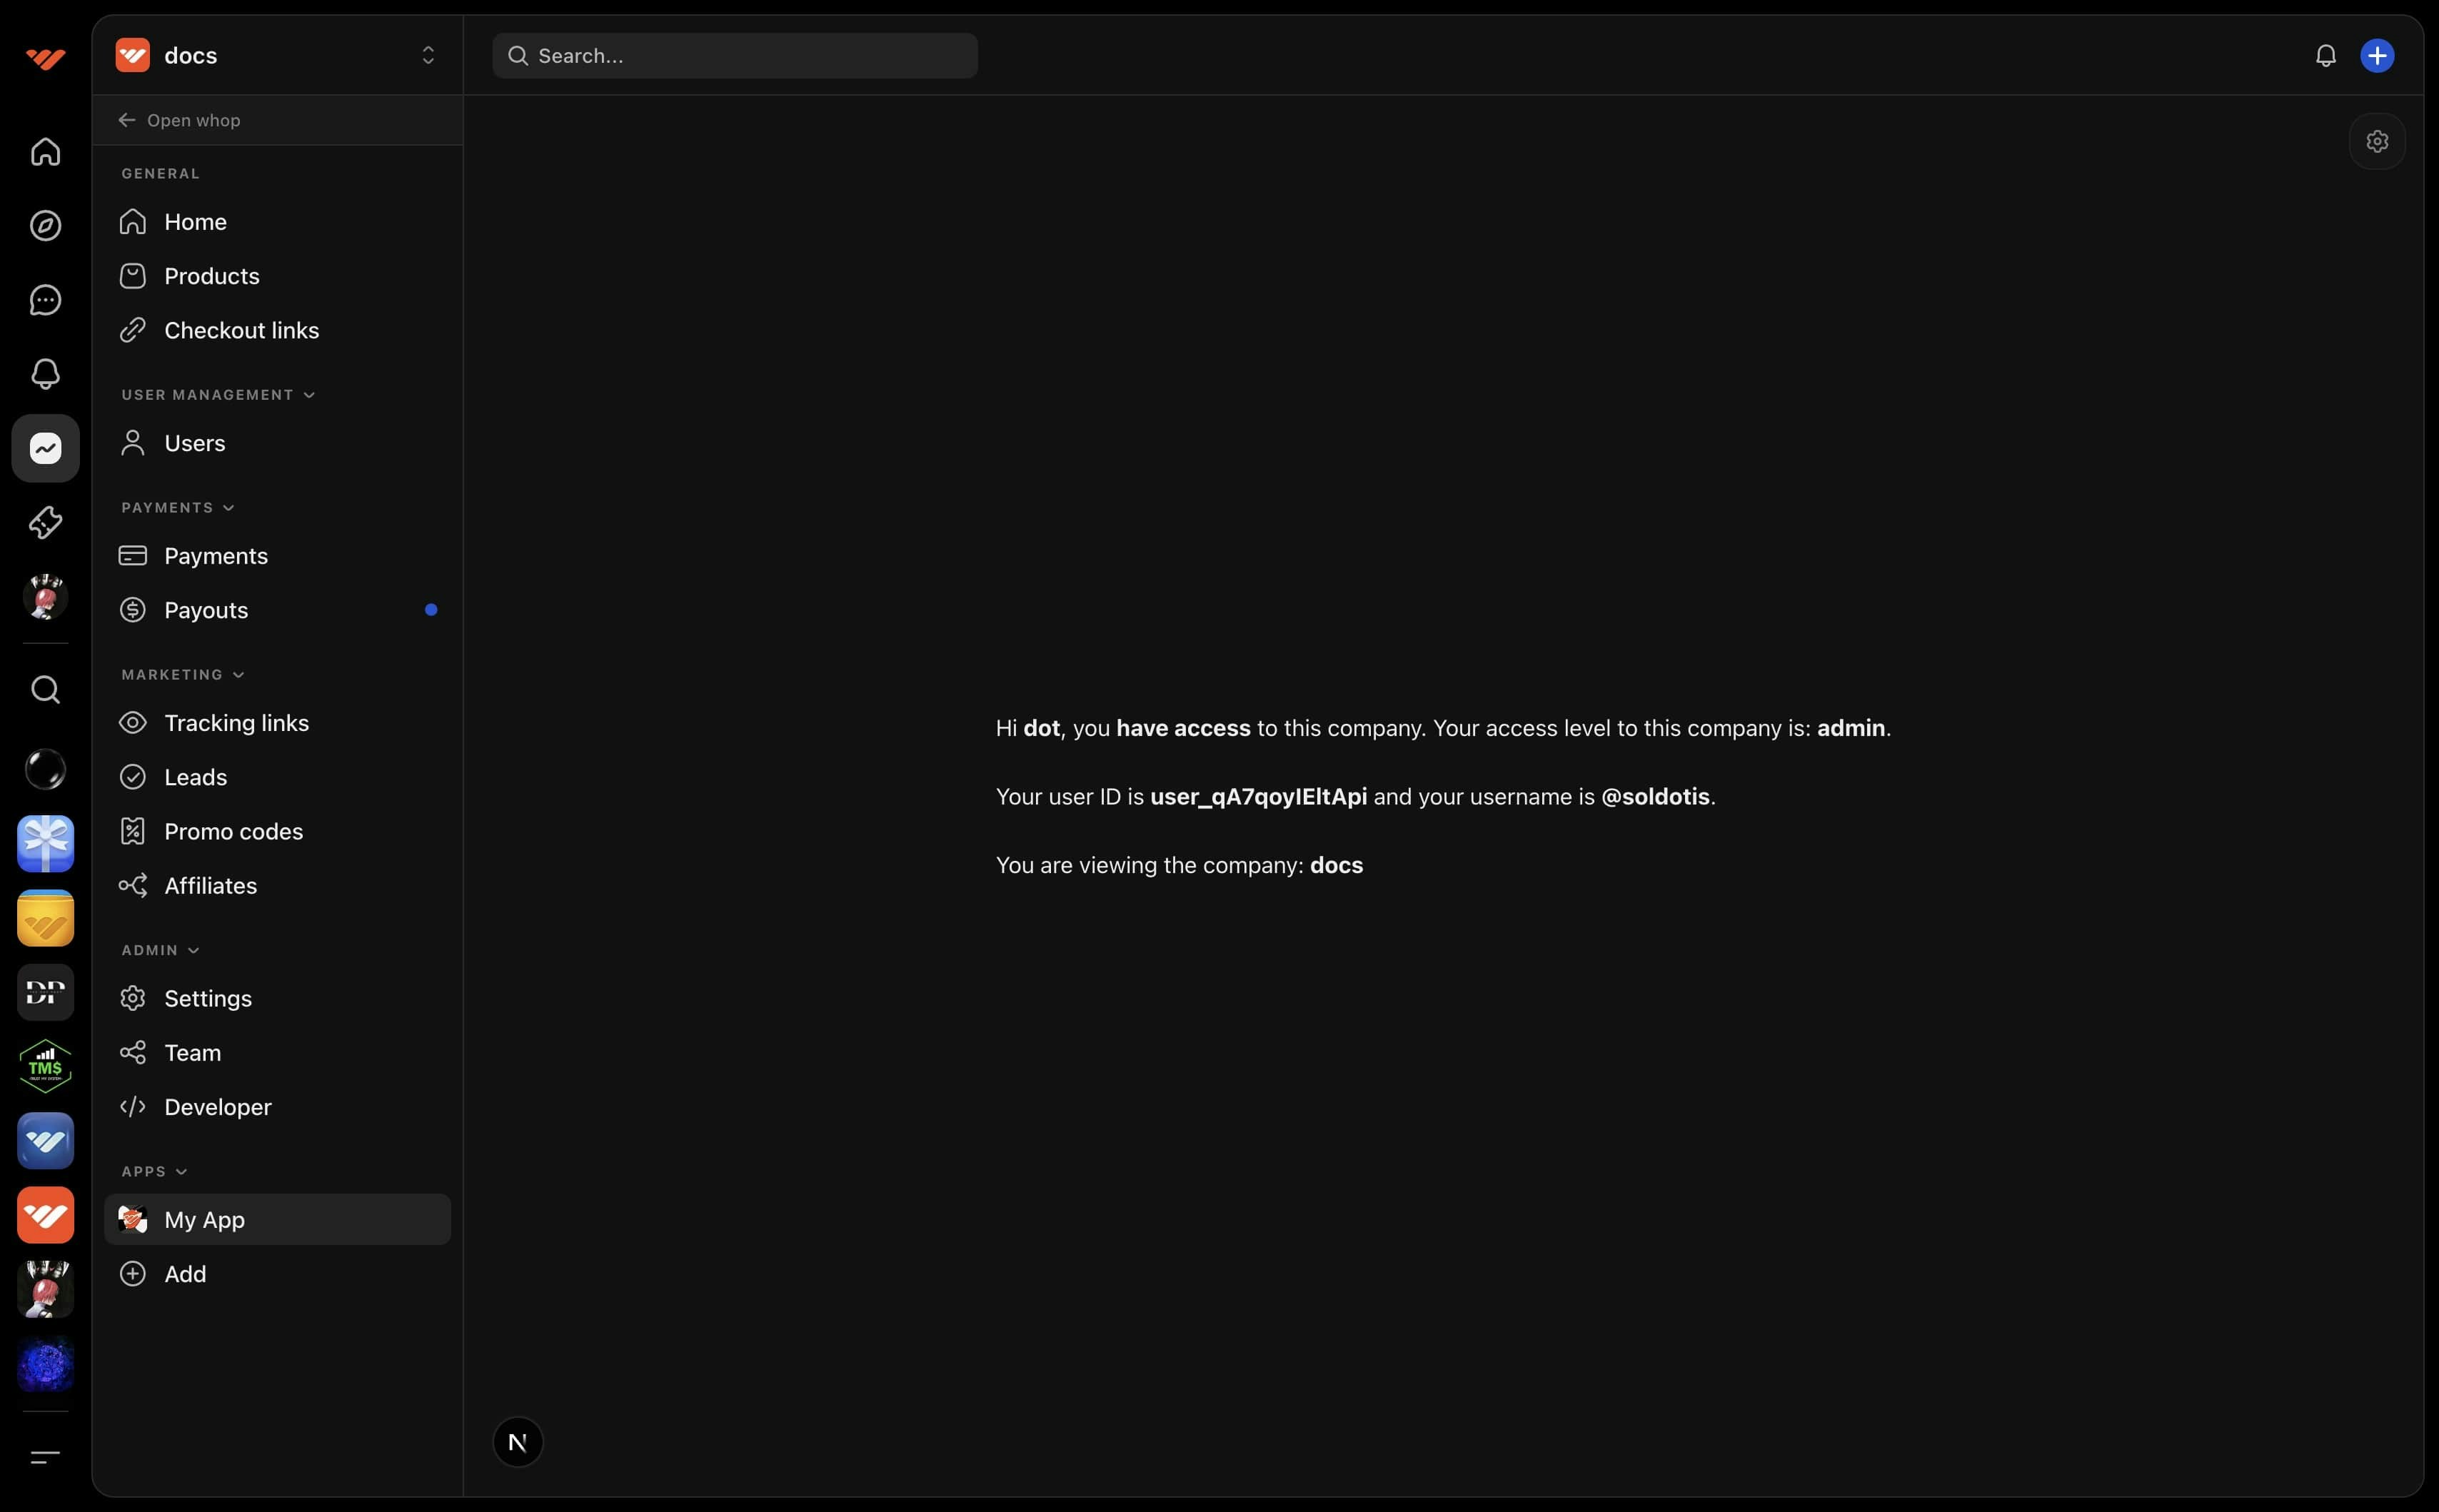
 * `[companyId]` is used to provide the accessed company ID: `/dashboard/[companyId] -> /dashboard/biz_***`
* `[restPath]` is used for deep linking to specific sections of your app: `/dashboard/[companyId]/[restPath] -> /dashboard/biz_***/posts/1`
* `[companyId]` is used to provide the accessed company ID: `/dashboard/[companyId] -> /dashboard/biz_***`
* `[restPath]` is used for deep linking to specific sections of your app: `/dashboard/[companyId]/[restPath] -> /dashboard/biz_***/posts/1`
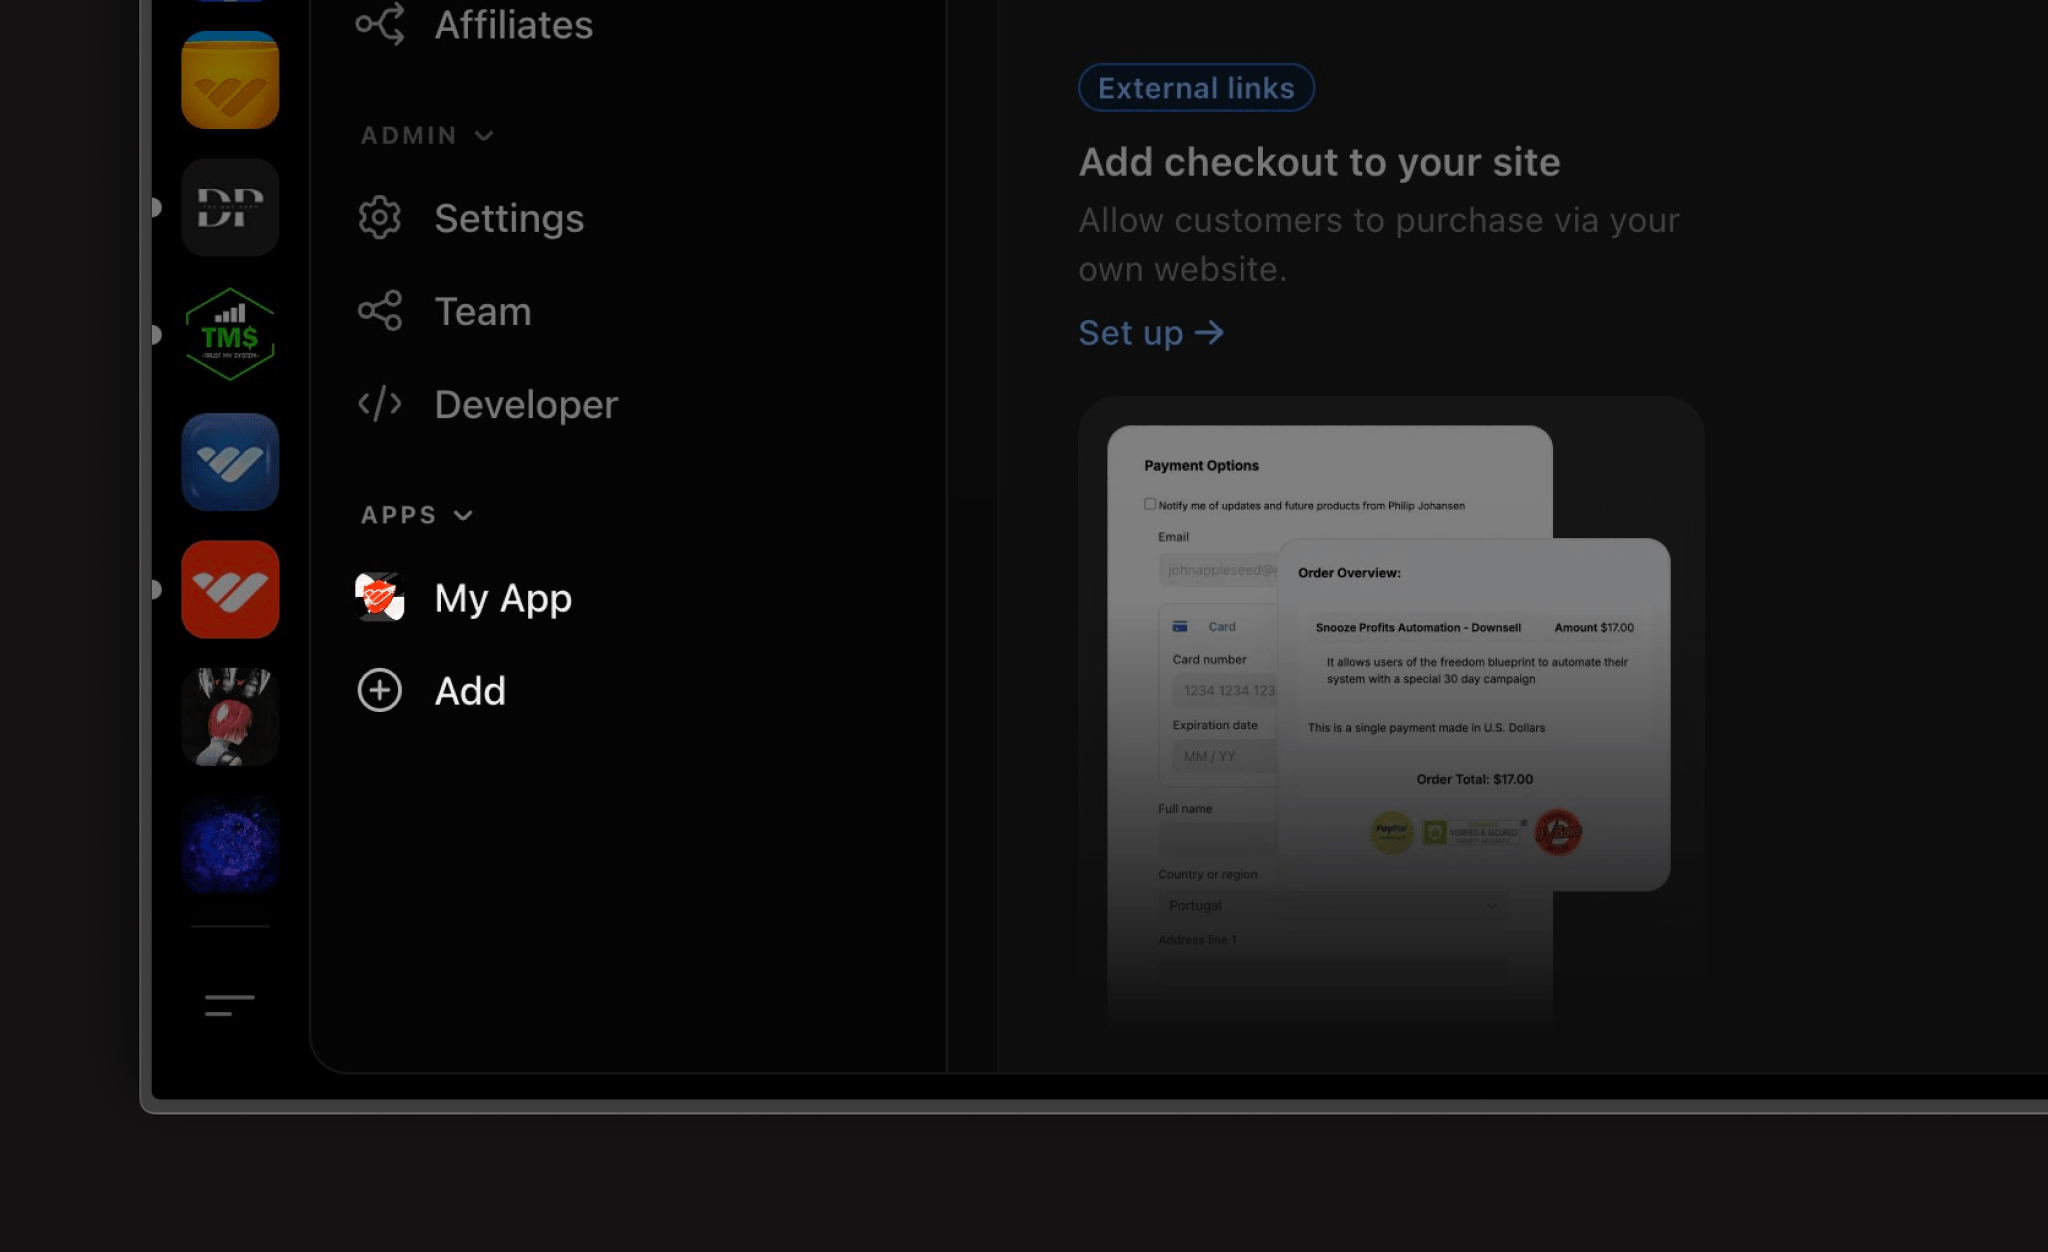
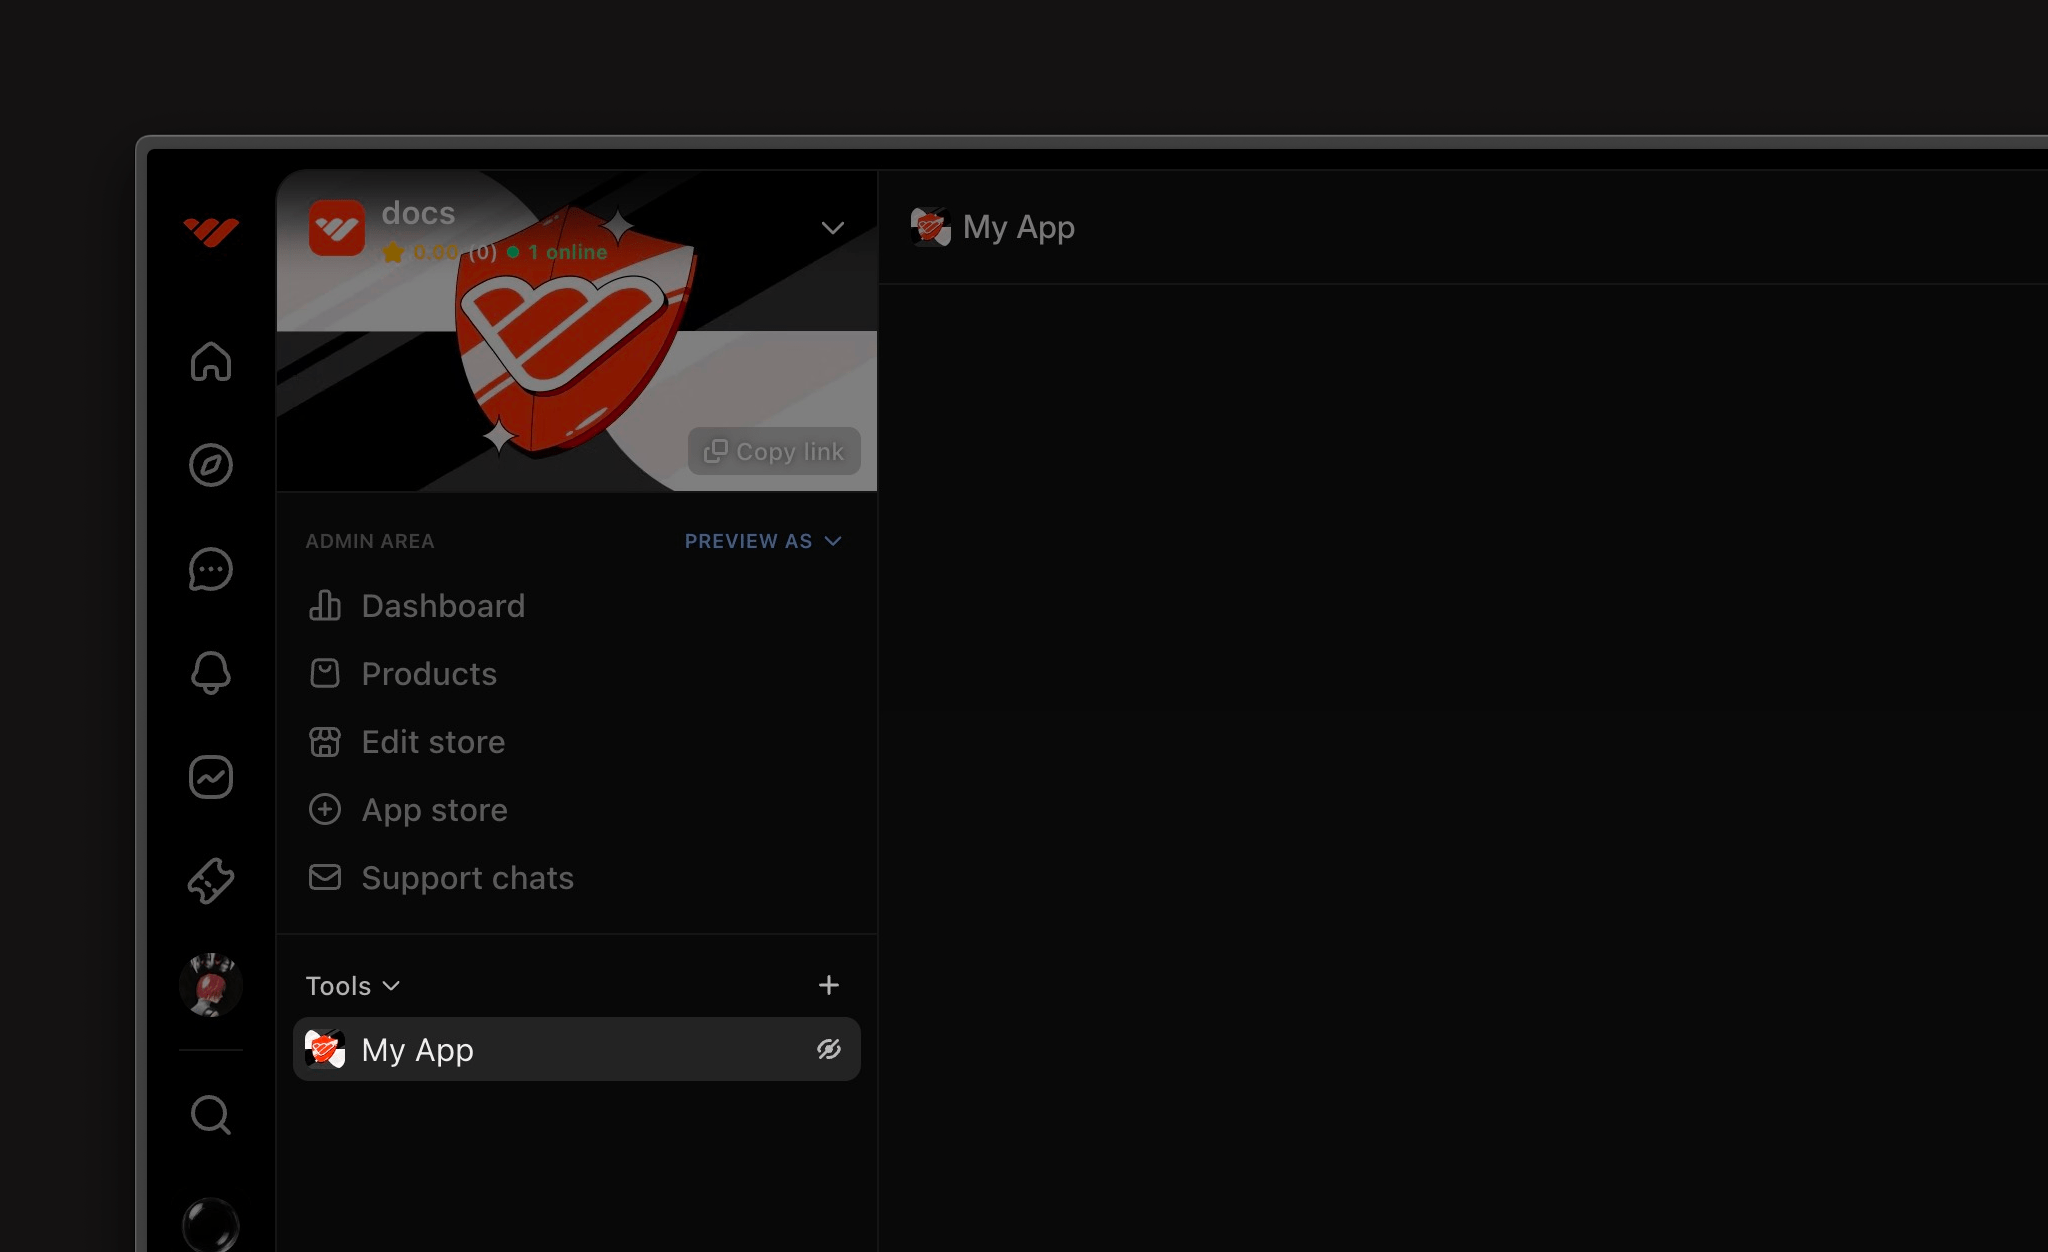
 If you've already installed your app, you can access it from your dashboard under the **apps** section.

 ## Examples
* [Next.js](https://github.com/whopio/whop-nextjs-app-template/blob/main/app/discover/page.tsx)
* [React Native](https://github.com/whopio/whop-sdk-ts/blob/main/packages/create-react-native/template/src/views/discover-view.tsx)
# Experience View
Source: https://docs.whop.com/apps/app-views/experience-view
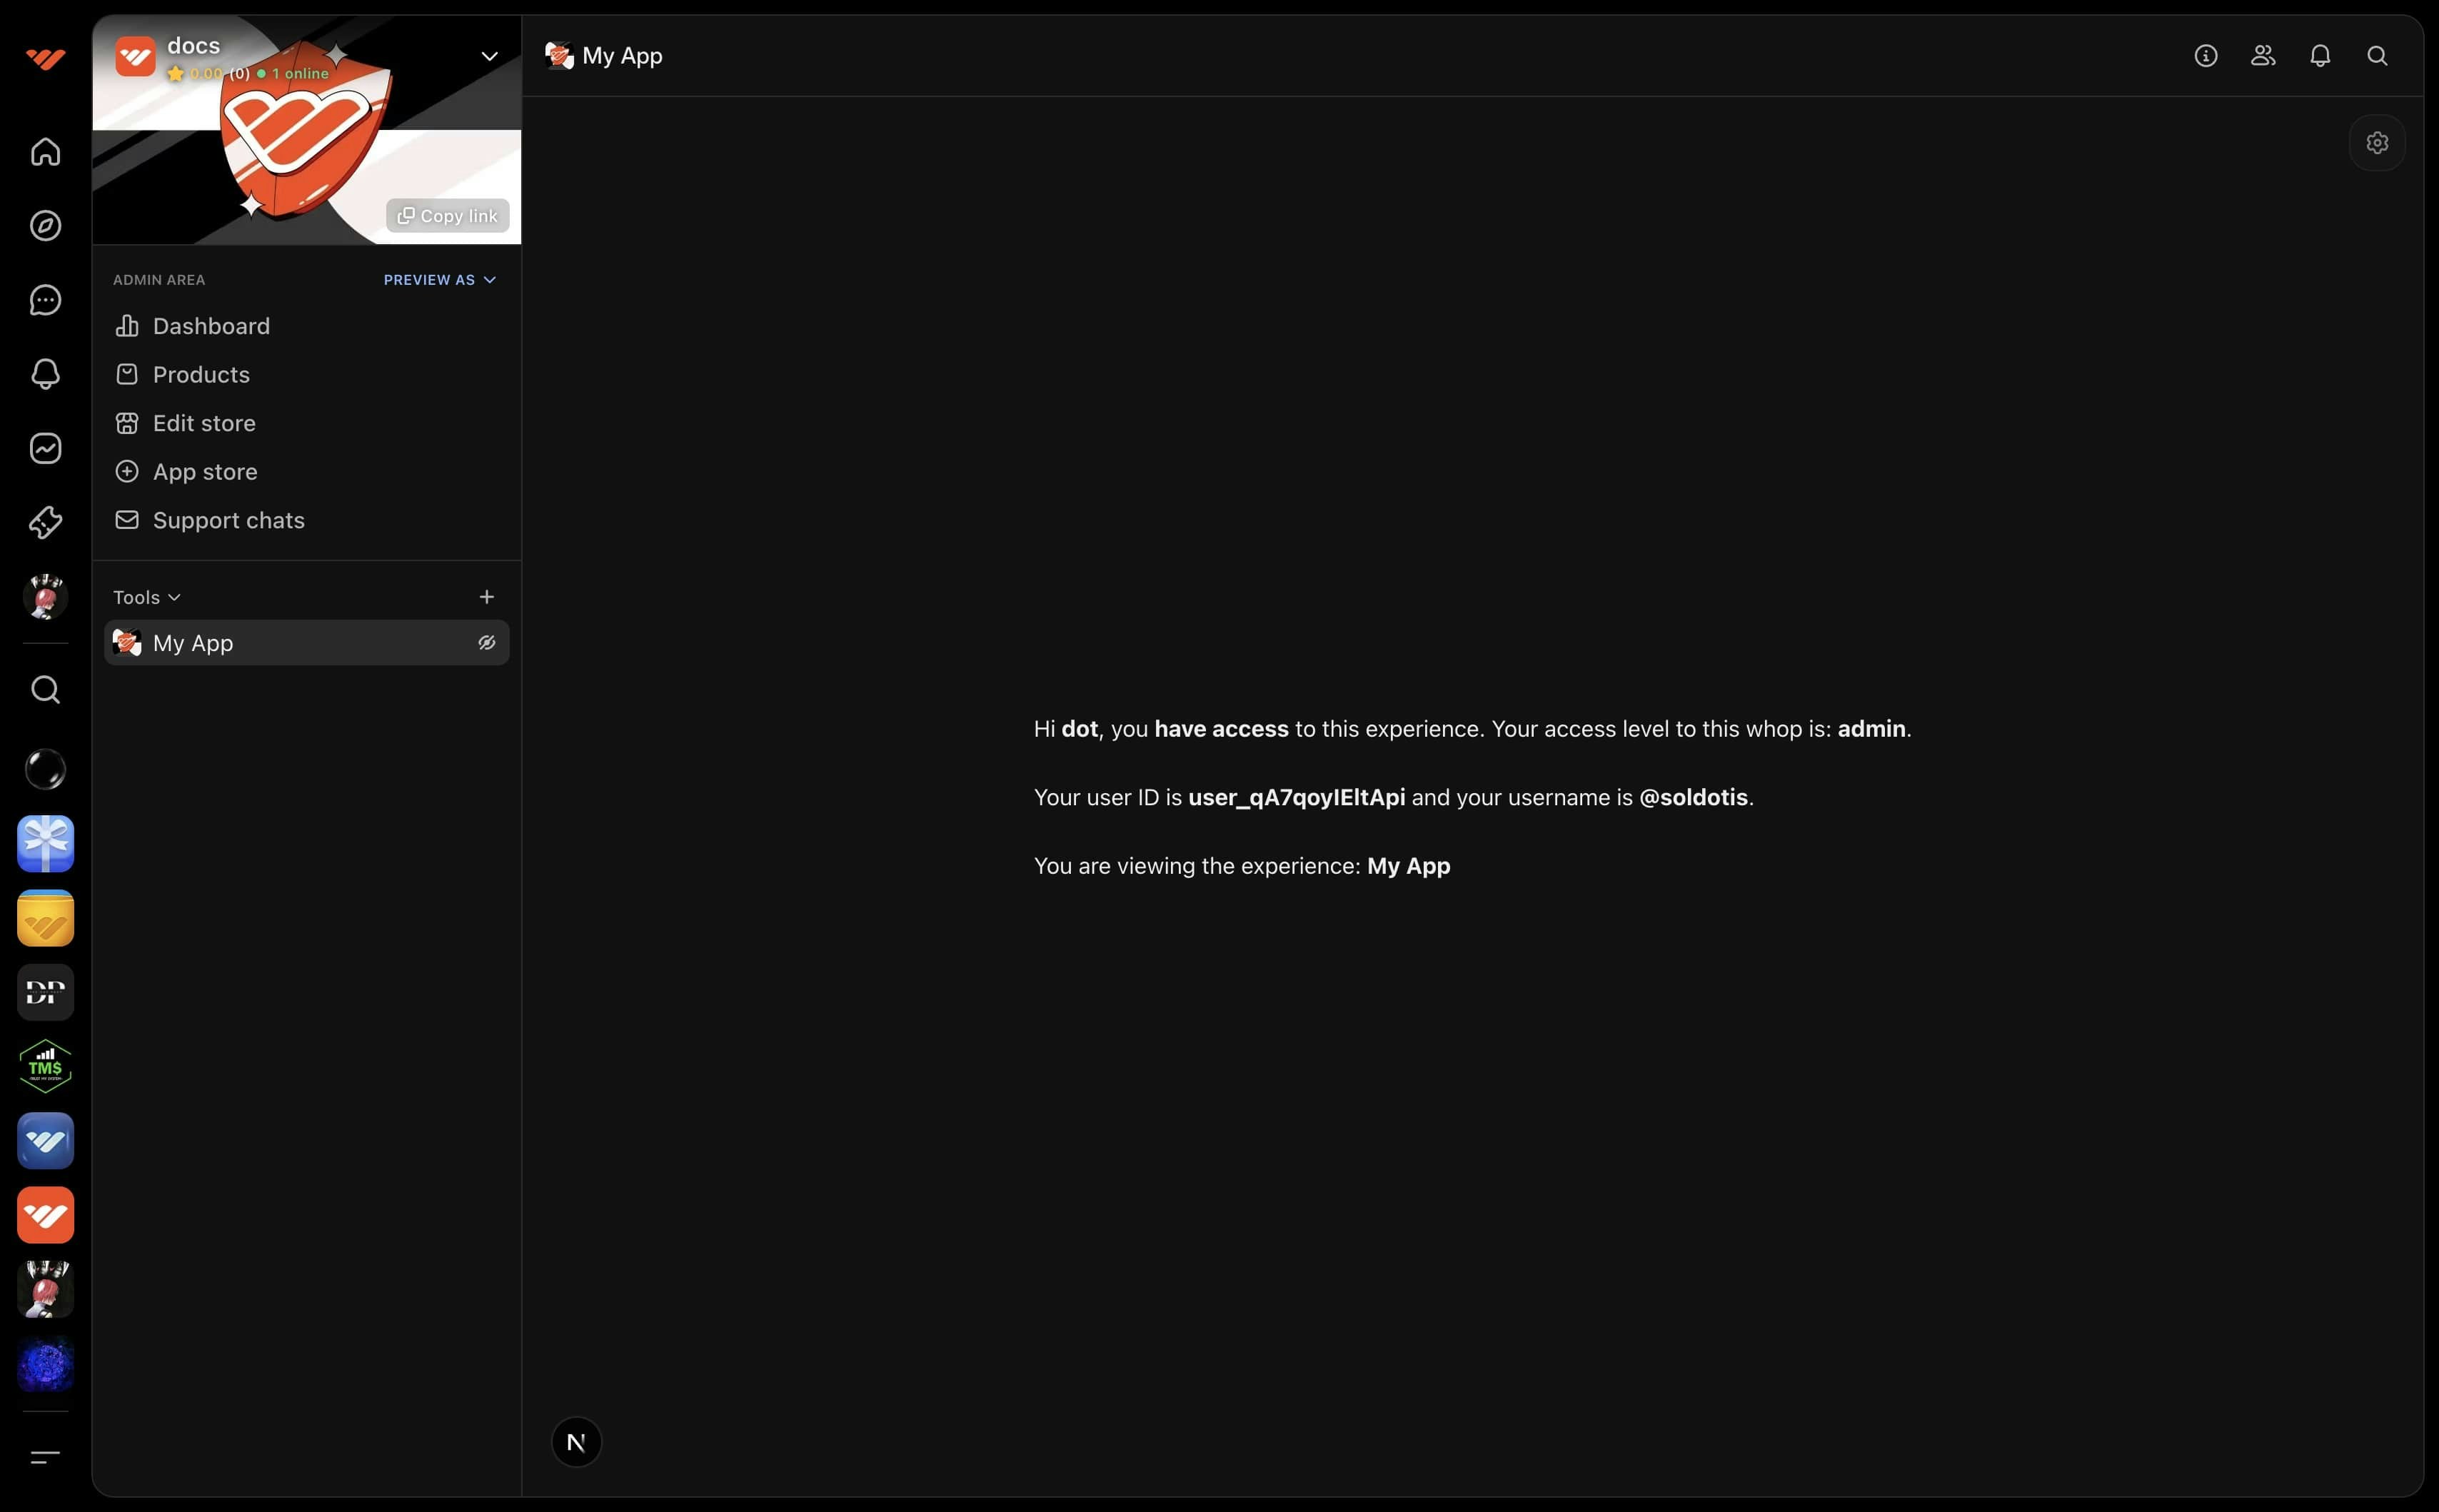
The experience view is what users see when they install your app into their Whop and click into it. This is the core functionality of your app - where users interact with your features and services.
## Examples
* [Next.js](https://github.com/whopio/whop-nextjs-app-template/blob/main/app/discover/page.tsx)
* [React Native](https://github.com/whopio/whop-sdk-ts/blob/main/packages/create-react-native/template/src/views/discover-view.tsx)
# Experience View
Source: https://docs.whop.com/apps/app-views/experience-view
The experience view is what users see when they install your app into their Whop and click into it. This is the core functionality of your app - where users interact with your features and services.
 ## Configure
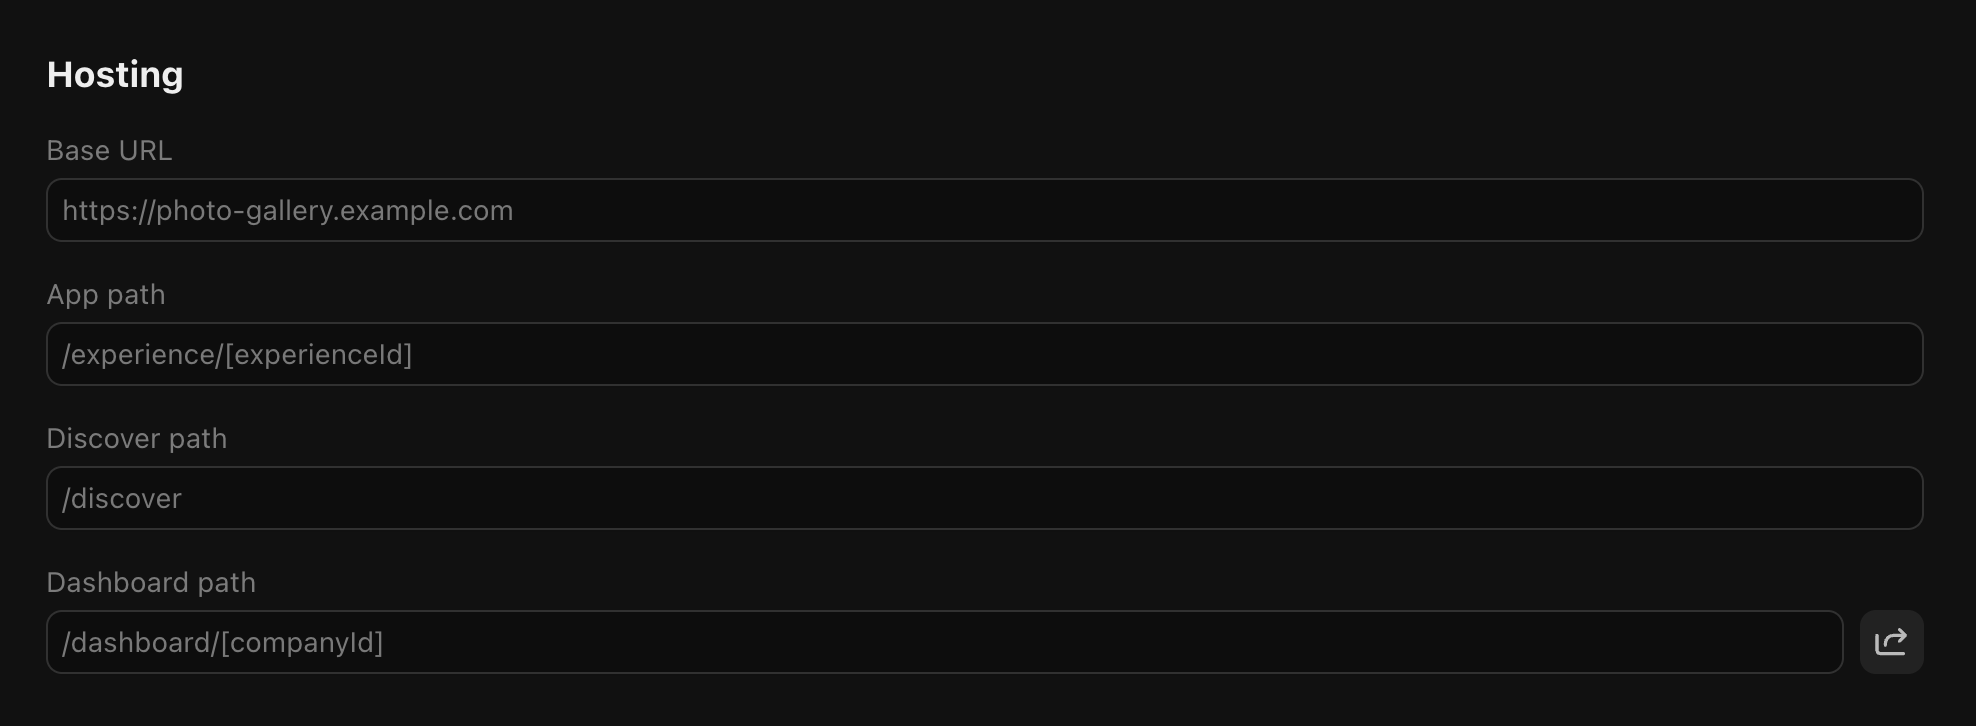
 * `[experienceId]` is used to provide the accessed experience ID: `/experiences/[experienceId] -> /experiences/exp_***`
* `[restPath]` is used for deep linking to specific sections of your app: `/experiences/[experienceId]/[restPath] -> /experiences/exp_***/posts/1`
* `[experienceId]` is used to provide the accessed experience ID: `/experiences/[experienceId] -> /experiences/exp_***`
* `[restPath]` is used for deep linking to specific sections of your app: `/experiences/[experienceId]/[restPath] -> /experiences/exp_***/posts/1`
 If you've already installed your app, you can access it from your whop.
 ## Sending Payouts
You can send payouts to any user using their Whop username. The funds will be transferred from your company's ledger account.
### Transfer Funds
```typescript
import { whopSdk } from "@/lib/whop-sdk";
async function sendPayout(
companyId: string,
recipientUsername: string,
amount: number
) {
// 1. Get your company's ledger account
const experience = await whopSdk.experiences.getExperience({ experienceId });
const companyId = experience.company.id;
const ledgerAccount = await whopSdk.companies.getCompanyLedgerAccount({
companyId,
});
// 2. Pay the recipient
await whopSdk.payments.payUser({
amount: amount,
currency: "usd",
// Username or ID or ledger account ID of the recipient user
destinationId: recipientUsername,
// Your company's ledger account ID that can be retrieve from whopSdk.companies.getCompanyLedgerAccount()
ledgerAccountId: ledgerAccount.company?.ledgerAccount.id!,
// Optional transfer fee in percentage
transferFee: ledgerAccount.company?.ledgerAccount.transferFee,
});
}
```
# Create forum post
Source: https://docs.whop.com/apps/features/post-to-feed
Create a forum and a post using the API
## Overview
To post in a forum, you must:
1. Find or create a *Forum Experience*
2. Create a *Forum Post* inside the *Forum Experience*
## Sending Payouts
You can send payouts to any user using their Whop username. The funds will be transferred from your company's ledger account.
### Transfer Funds
```typescript
import { whopSdk } from "@/lib/whop-sdk";
async function sendPayout(
companyId: string,
recipientUsername: string,
amount: number
) {
// 1. Get your company's ledger account
const experience = await whopSdk.experiences.getExperience({ experienceId });
const companyId = experience.company.id;
const ledgerAccount = await whopSdk.companies.getCompanyLedgerAccount({
companyId,
});
// 2. Pay the recipient
await whopSdk.payments.payUser({
amount: amount,
currency: "usd",
// Username or ID or ledger account ID of the recipient user
destinationId: recipientUsername,
// Your company's ledger account ID that can be retrieve from whopSdk.companies.getCompanyLedgerAccount()
ledgerAccountId: ledgerAccount.company?.ledgerAccount.id!,
// Optional transfer fee in percentage
transferFee: ledgerAccount.company?.ledgerAccount.transferFee,
});
}
```
# Create forum post
Source: https://docs.whop.com/apps/features/post-to-feed
Create a forum and a post using the API
## Overview
To post in a forum, you must:
1. Find or create a *Forum Experience*
2. Create a *Forum Post* inside the *Forum Experience*
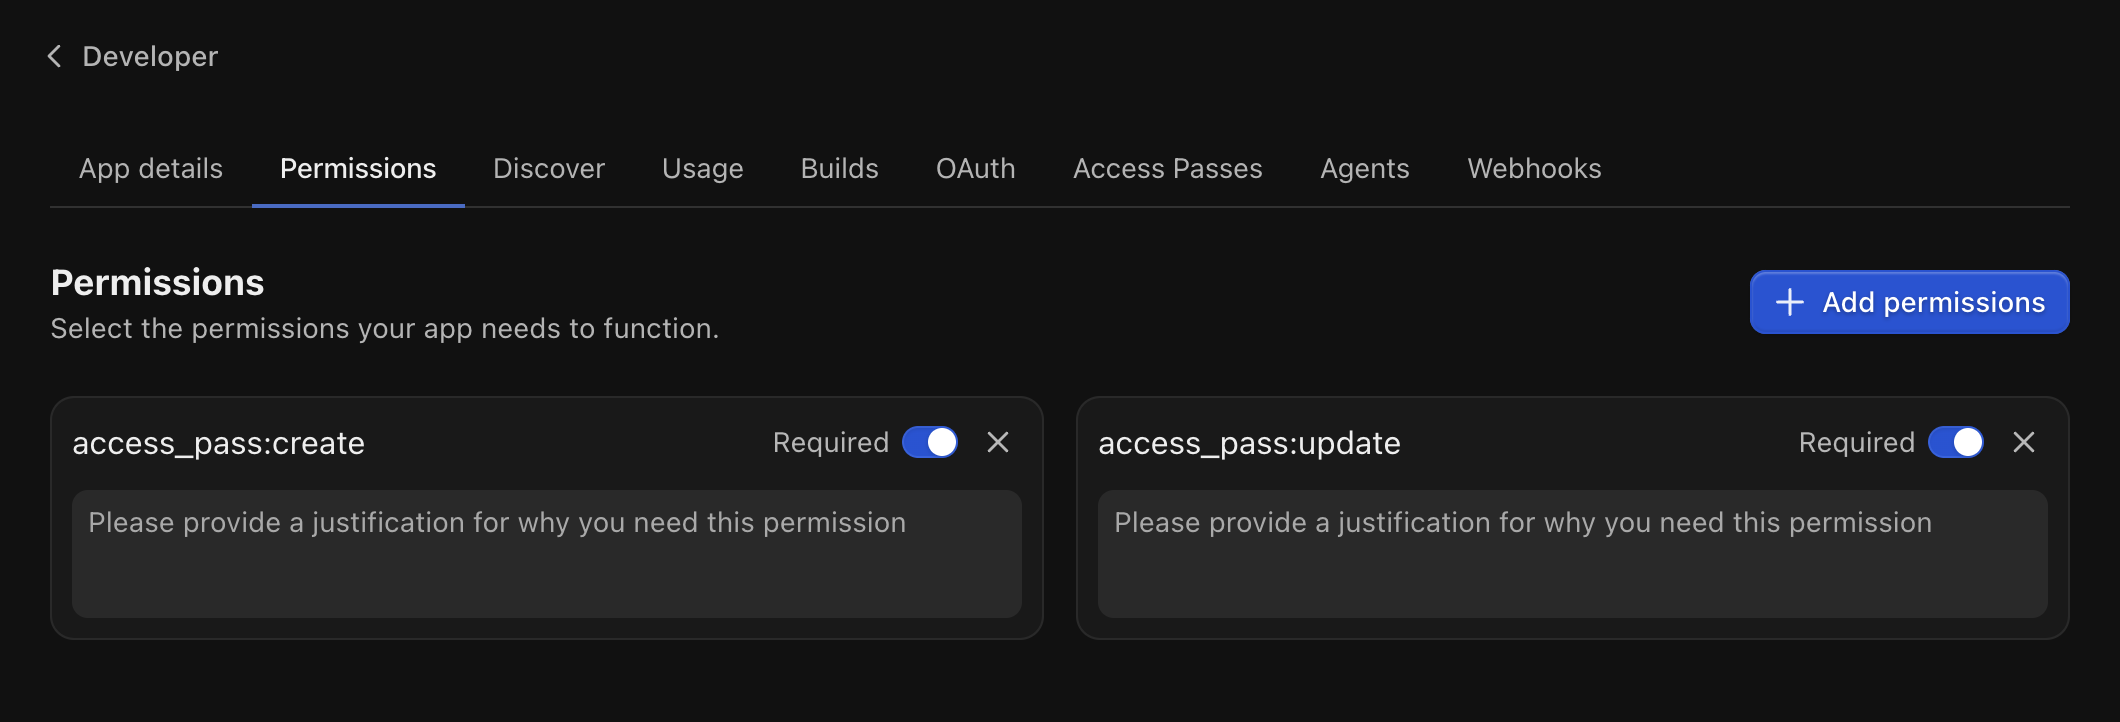

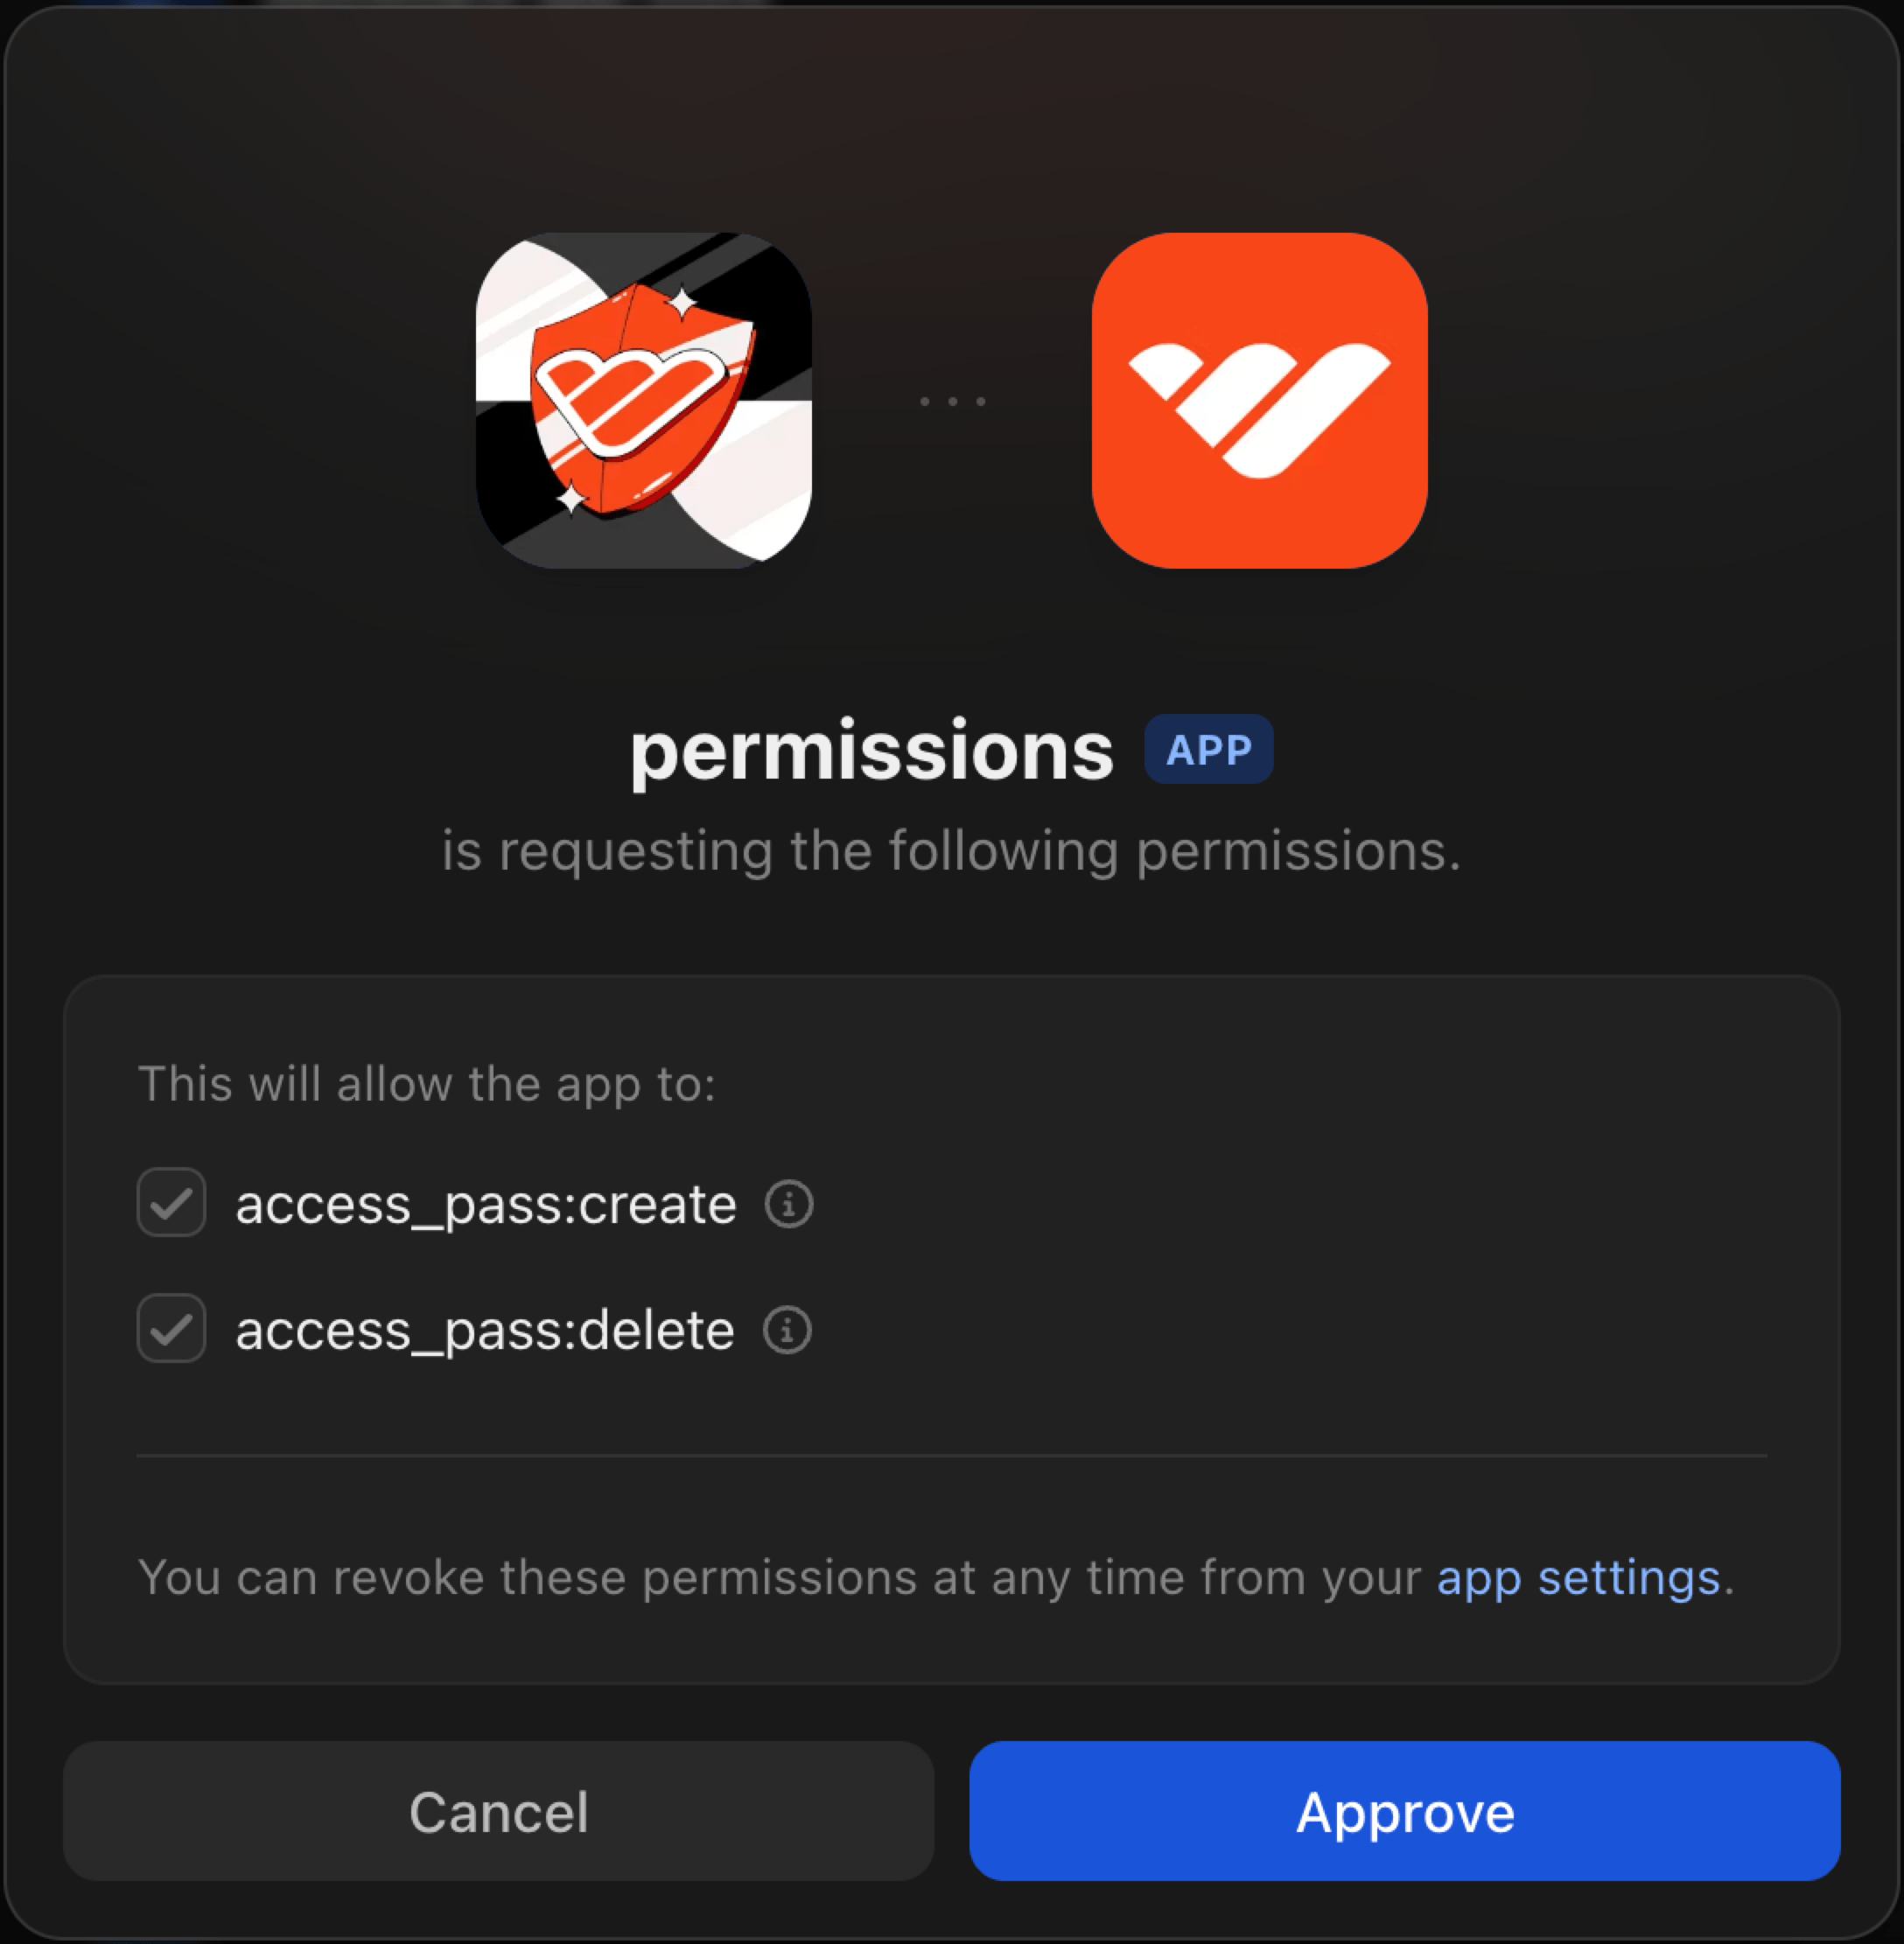 ## Configure your permissions
You can update your currently granted permissions or re-approve them in your [Authorized apps](https://whop.com/dashboard/settings/authorized-apps) settings.
To manually navigate to the settings, go to: `Dashboard -> Settings -> Authorized apps`
## Configure your SDK
Update your `SDK` configuration by removing the `onBehalfOfUserId` and `companyId` properties.
```js lib/whop-sdk.ts
import { WhopServerSdk } from "@whop/api";
export const whopSdk = WhopServerSdk({
// Add your app id here - this is required.
// You can get this from the Whop dashboard after creating an app section.
appId: process.env.NEXT_PUBLIC_WHOP_APP_ID ?? "fallback",
// Add your app api key here - this is required.
// You can get this from the Whop dashboard after creating an app section.
appApiKey: process.env.WHOP_API_KEY ?? "fallback",
// This will make api requests on behalf of this user. // [!code --:5]
// This is optional, however most api requests need to be made on behalf of a user.
// You can create an agent user for your app, and use their userId here.
// You can also apply a different userId later with the `withUser` function.
onBehalfOfUserId: process.env.NEXT_PUBLIC_WHOP_AGENT_USER_ID,
// This is the companyId that will be used for the api requests. // [!code --:5]
// When making api requests that query or mutate data about a company, you need to specify the companyId.
// This is optional, however if not specified certain requests will fail.
// This can also be applied later with the `withCompany` function.
companyId: process.env.NEXT_PUBLIC_WHOP_COMPANY_ID,
});
```
## Examples
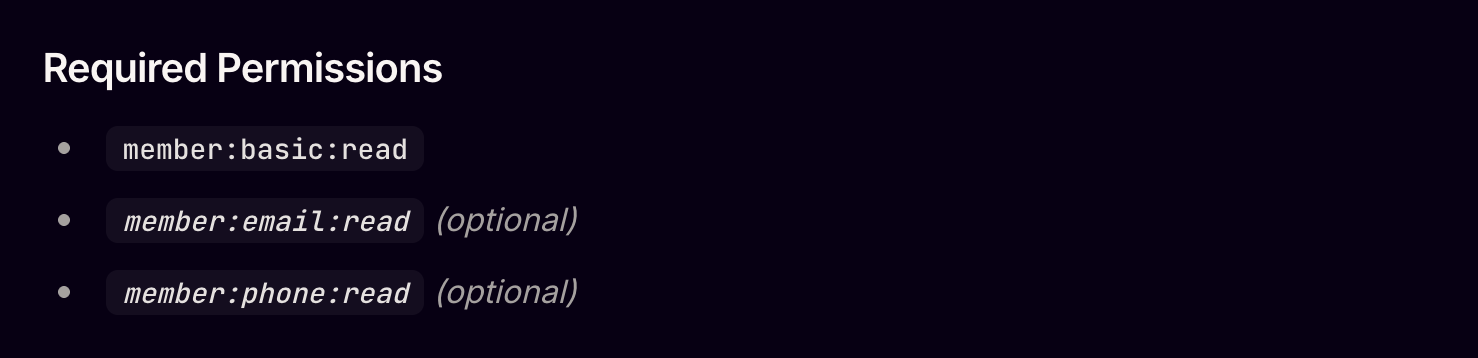
### Get a member's email address
```ts
const member = await whopSdk.companies.getMember({
companyId: "biz_***",
companyMemberId: "mber_***",
});
// Without member:basic:read
// ^? null
// With member:basic:read
// ^? { user: { id: "user_***", email: null, ... }, ... }
// With member:basic:read & member:email:read
// ^? { user: { id: "user_***", email: "***@gmail.com", ... }, ... }
```
## FAQ
## Configure your permissions
You can update your currently granted permissions or re-approve them in your [Authorized apps](https://whop.com/dashboard/settings/authorized-apps) settings.
To manually navigate to the settings, go to: `Dashboard -> Settings -> Authorized apps`
## Configure your SDK
Update your `SDK` configuration by removing the `onBehalfOfUserId` and `companyId` properties.
```js lib/whop-sdk.ts
import { WhopServerSdk } from "@whop/api";
export const whopSdk = WhopServerSdk({
// Add your app id here - this is required.
// You can get this from the Whop dashboard after creating an app section.
appId: process.env.NEXT_PUBLIC_WHOP_APP_ID ?? "fallback",
// Add your app api key here - this is required.
// You can get this from the Whop dashboard after creating an app section.
appApiKey: process.env.WHOP_API_KEY ?? "fallback",
// This will make api requests on behalf of this user. // [!code --:5]
// This is optional, however most api requests need to be made on behalf of a user.
// You can create an agent user for your app, and use their userId here.
// You can also apply a different userId later with the `withUser` function.
onBehalfOfUserId: process.env.NEXT_PUBLIC_WHOP_AGENT_USER_ID,
// This is the companyId that will be used for the api requests. // [!code --:5]
// When making api requests that query or mutate data about a company, you need to specify the companyId.
// This is optional, however if not specified certain requests will fail.
// This can also be applied later with the `withCompany` function.
companyId: process.env.NEXT_PUBLIC_WHOP_COMPANY_ID,
});
```
## Examples
### Get a member's email address
```ts
const member = await whopSdk.companies.getMember({
companyId: "biz_***",
companyMemberId: "mber_***",
});
// Without member:basic:read
// ^? null
// With member:basic:read
// ^? { user: { id: "user_***", email: null, ... }, ... }
// With member:basic:read & member:email:read
// ^? { user: { id: "user_***", email: "***@gmail.com", ... }, ... }
```
## FAQ
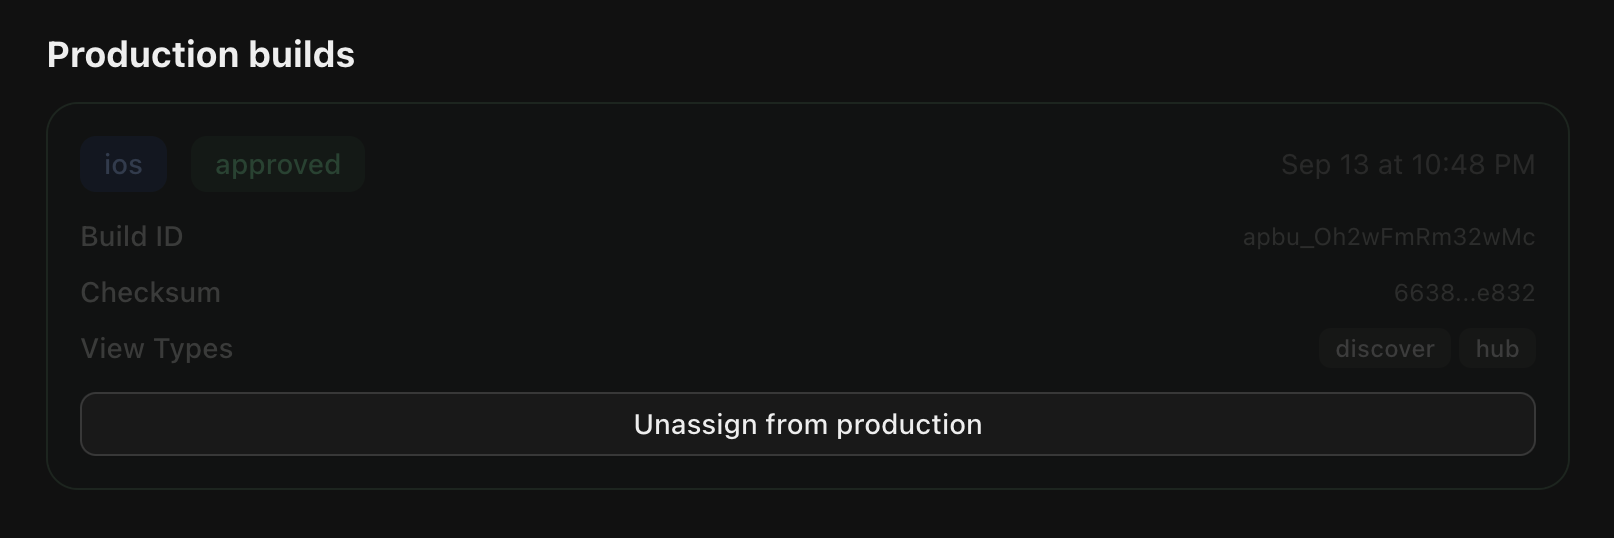
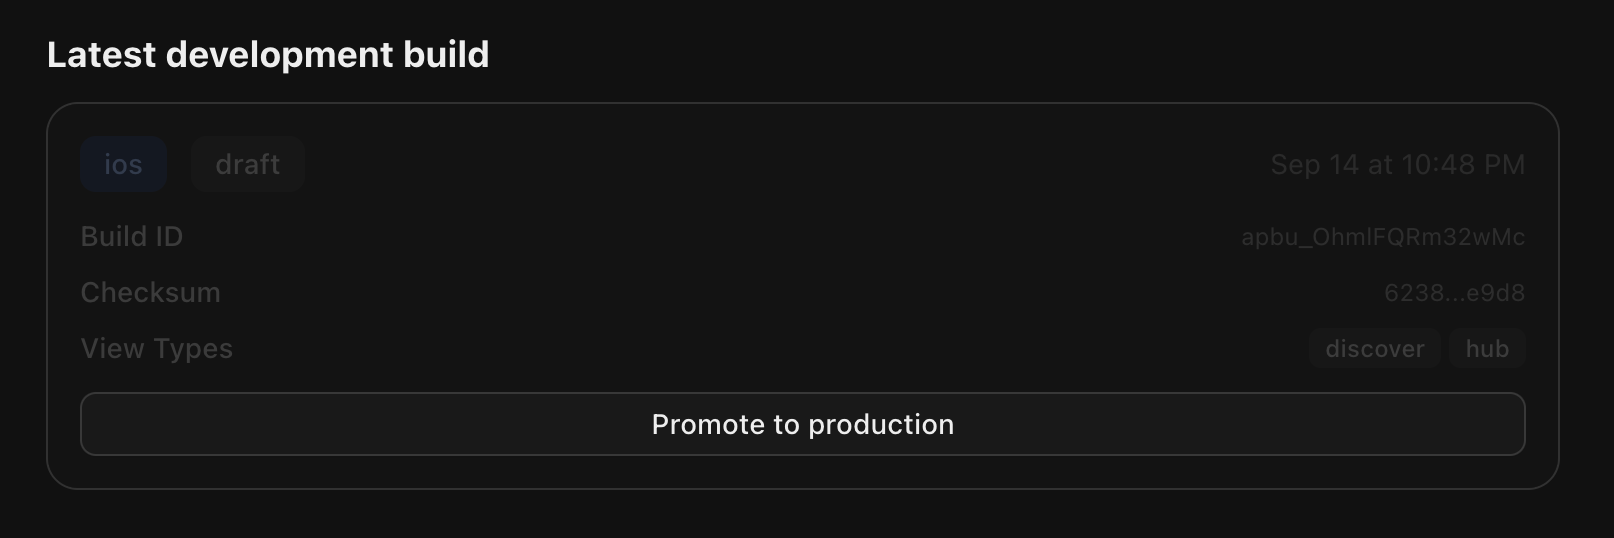 After going through an automated review, the app will be pushed instantly to all users of your app on iOS, Android, and web.
 # Fetching Data
Source: https://docs.whop.com/apps/react-native/fetching-data
***
## Whop SDK
The whop sdk is available for use in the react native app out of the box. Using this you can fetch data within the scope of the current user.
# Fetching Data
Source: https://docs.whop.com/apps/react-native/fetching-data
***
## Whop SDK
The whop sdk is available for use in the react native app out of the box. Using this you can fetch data within the scope of the current user.
 2. Create your API endpoint
```ts app/api/user/route.ts
import { whopSdk } from "@/lib/whop";
export async function GET(request: Request) {
const { userId } = await whopSdk.verifyUserToken(request.headers);
const user = await whopSdk.users.getUser({ userId });
return Response.json(user, { status: 200 });
}
```
See the [Set up the API client](/sdk/whop-api-client) page for how to configure the SDK.
3. Make a fetch request to your API endpoint from your react native app using the returned `apiOrigin` from `__internal_execSync("getAppApiOrigin", {})`
2. Create your API endpoint
```ts app/api/user/route.ts
import { whopSdk } from "@/lib/whop";
export async function GET(request: Request) {
const { userId } = await whopSdk.verifyUserToken(request.headers);
const user = await whopSdk.users.getUser({ userId });
return Response.json(user, { status: 200 });
}
```
See the [Set up the API client](/sdk/whop-api-client) page for how to configure the SDK.
3. Make a fetch request to your API endpoint from your react native app using the returned `apiOrigin` from `__internal_execSync("getAppApiOrigin", {})`
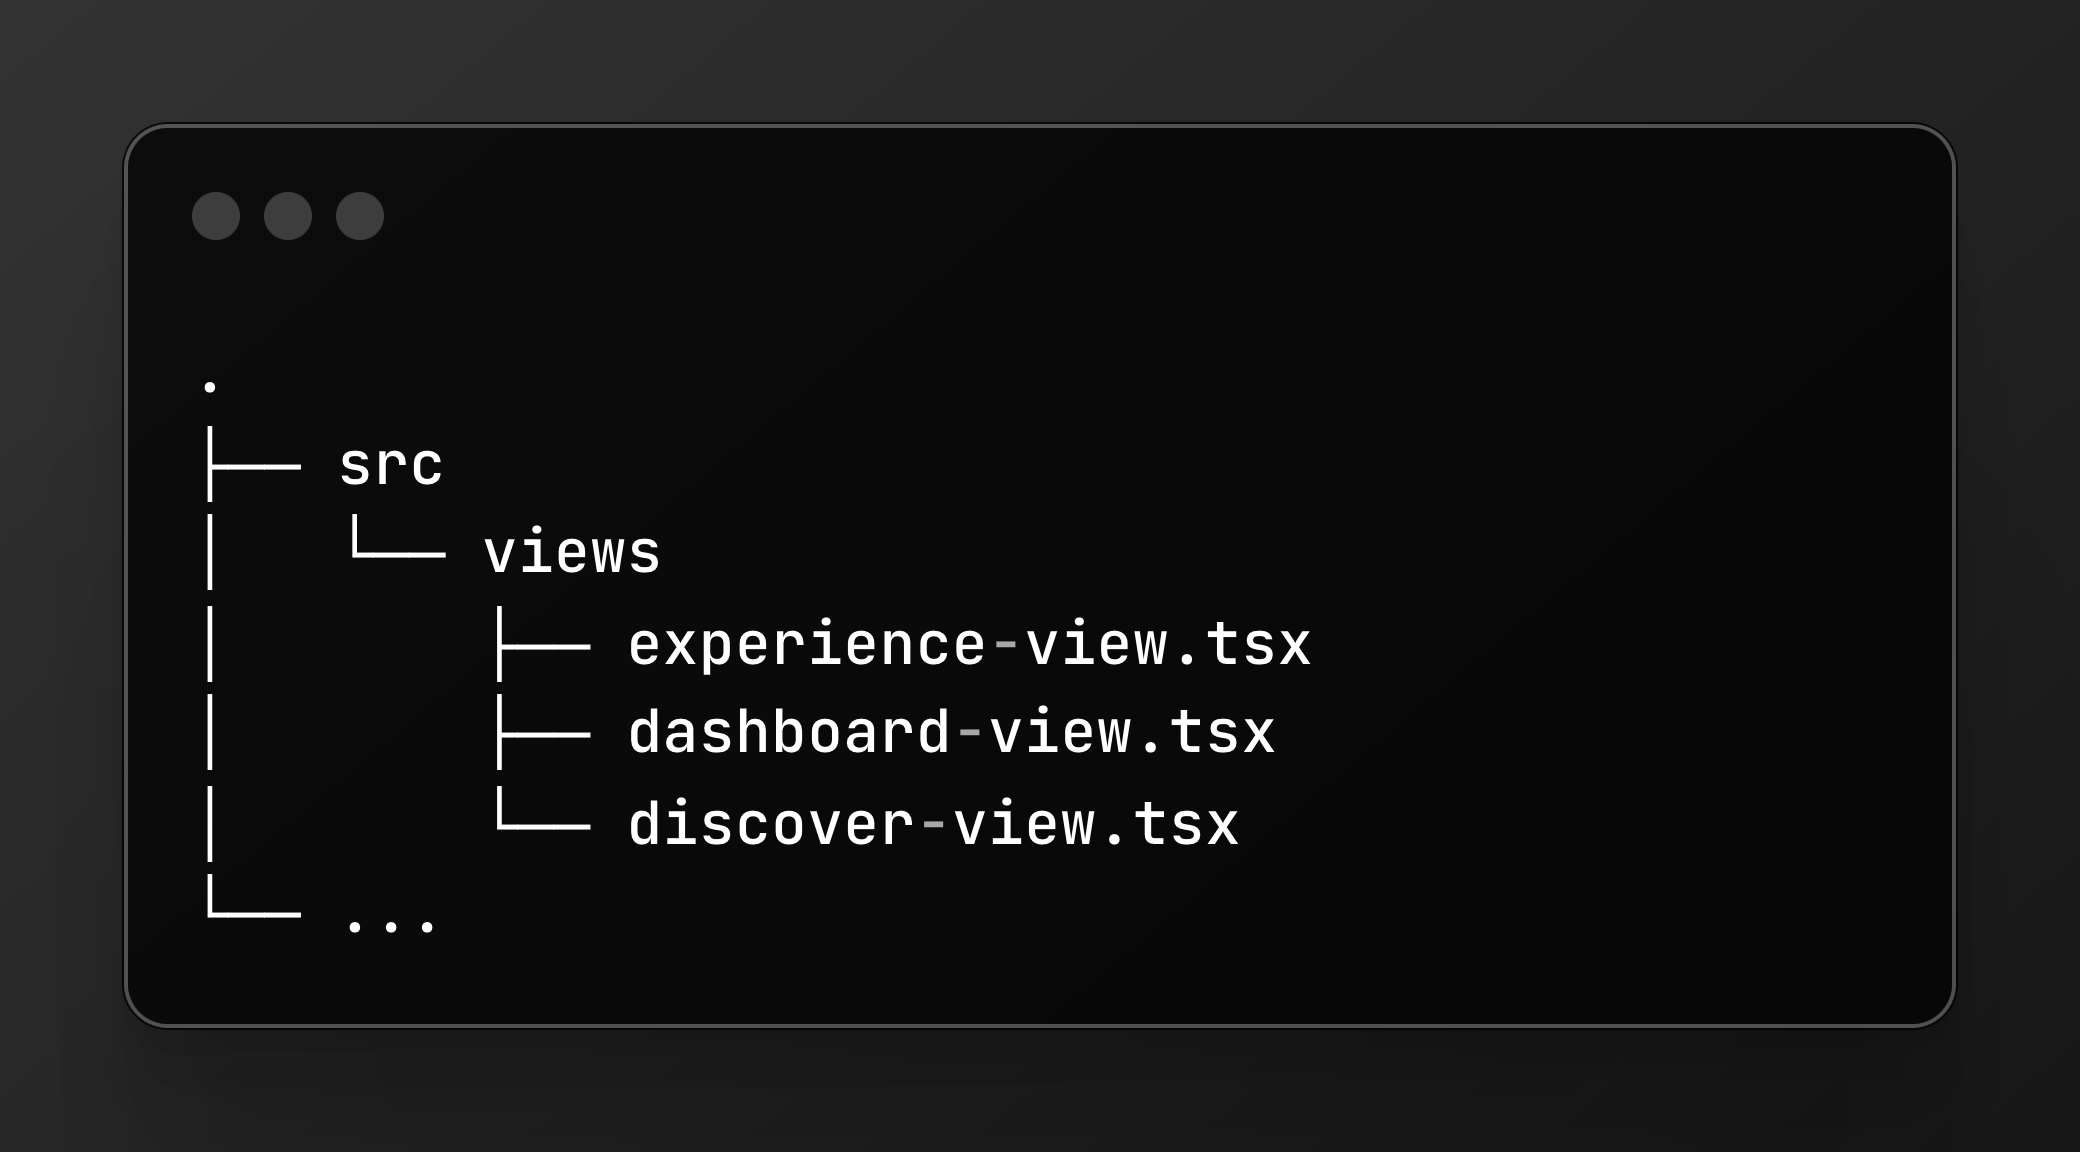 * `src/views` contains the different views that make up your app.
* [`src/views/experience-view.tsx`](https://github.com/whopio/whop-sdk-ts/blob/main/packages/create-react-native/template/src/views/experience-view.tsx) is the entry point for your app's experience view.
* [`src/views/dashboard-view.tsx`](https://github.com/whopio/whop-sdk-ts/blob/main/packages/create-react-native/template/src/views/dashboard-view.tsx) is the entry point for your app's dashboard view.
* [`src/views/discover-view.tsx`](https://github.com/whopio/whop-sdk-ts/blob/main/packages/create-react-native/template/src/views/discover-view.tsx) is the entry point for your app's discover view.
# Styling
Source: https://docs.whop.com/apps/react-native/styling
***
## Color themes
React native by default exposes a `useColorScheme` hook that you can use to get the current color scheme of the device. This works correctly out of the box on whop react native apps too!.
While we are still building our UI kit, you can use the following `useColors` hook as inspiration to build your own dynamic color scheme:
```bash
# Install the radix ui colors package
pnpm i @radix-ui/colors
```
```tsx Usage
function MyComponent() {
const colors = useColors();
return
* `src/views` contains the different views that make up your app.
* [`src/views/experience-view.tsx`](https://github.com/whopio/whop-sdk-ts/blob/main/packages/create-react-native/template/src/views/experience-view.tsx) is the entry point for your app's experience view.
* [`src/views/dashboard-view.tsx`](https://github.com/whopio/whop-sdk-ts/blob/main/packages/create-react-native/template/src/views/dashboard-view.tsx) is the entry point for your app's dashboard view.
* [`src/views/discover-view.tsx`](https://github.com/whopio/whop-sdk-ts/blob/main/packages/create-react-native/template/src/views/discover-view.tsx) is the entry point for your app's discover view.
# Styling
Source: https://docs.whop.com/apps/react-native/styling
***
## Color themes
React native by default exposes a `useColorScheme` hook that you can use to get the current color scheme of the device. This works correctly out of the box on whop react native apps too!.
While we are still building our UI kit, you can use the following `useColors` hook as inspiration to build your own dynamic color scheme:
```bash
# Install the radix ui colors package
pnpm i @radix-ui/colors
```
```tsx Usage
function MyComponent() {
const colors = useColors();
return  ### Command "preview" not found
If you're missing the `preview` command, you can instead use:
```bash
whop-react-native install
```
# Using Libraries
Source: https://docs.whop.com/apps/react-native/using-libraries
***
## Native Integration
The beauty of react native is its rich integration with native platform features and APIs.
The Whop app exposes a set of common powerful native building blocks your can directly use in your react native app.
Features like video playback, camera access, native gestures and animations are available already on mobile platforms.
Web support provides access to browser APIs and web-specific features.
We plan on expanding the capabilities to allow many different kinds of apps to be built!
You can use these libraries pinned to these version:
* `react-native-nitro-modules@0.26.3`
* `react-native-video@6.10.2`
* `@d11/react-native-fast-image@8.10.0`
* `react-native-svg@15.12.0`
* `react-native-webview@13.15.0`
* `react-native-reanimated@3.18.0`
* `react-native-gesture-handler@2.27.2`
* `react-native-haptic-feedback@2.3.3`
* `react-native-vision-camera@4.7.1`
* `react-native-safe-area-context@5.5.2`
* `lottie-react-native@7.3.2`
* `react-native-image-picker@8.2.1`
# null
Source: https://docs.whop.com/apps/tutorials
Welcome to Whop's tutorials section! Here you'll find detailed, step-by-step guides to help you build various types of applications using Whop's API.
## Getting Started
More tutorials coming soon! Check back regularly for new content.
### Command "preview" not found
If you're missing the `preview` command, you can instead use:
```bash
whop-react-native install
```
# Using Libraries
Source: https://docs.whop.com/apps/react-native/using-libraries
***
## Native Integration
The beauty of react native is its rich integration with native platform features and APIs.
The Whop app exposes a set of common powerful native building blocks your can directly use in your react native app.
Features like video playback, camera access, native gestures and animations are available already on mobile platforms.
Web support provides access to browser APIs and web-specific features.
We plan on expanding the capabilities to allow many different kinds of apps to be built!
You can use these libraries pinned to these version:
* `react-native-nitro-modules@0.26.3`
* `react-native-video@6.10.2`
* `@d11/react-native-fast-image@8.10.0`
* `react-native-svg@15.12.0`
* `react-native-webview@13.15.0`
* `react-native-reanimated@3.18.0`
* `react-native-gesture-handler@2.27.2`
* `react-native-haptic-feedback@2.3.3`
* `react-native-vision-camera@4.7.1`
* `react-native-safe-area-context@5.5.2`
* `lottie-react-native@7.3.2`
* `react-native-image-picker@8.2.1`
# null
Source: https://docs.whop.com/apps/tutorials
Welcome to Whop's tutorials section! Here you'll find detailed, step-by-step guides to help you build various types of applications using Whop's API.
## Getting Started
More tutorials coming soon! Check back regularly for new content.
 ## 3. Set up your database
### Create a Supabase database
Go to [Supabase](https://supabase.com) and create a new account if you don't have one
Create a new project and copy your database password
### Set up Prisma
Now, let's set up Prisma in your project:
## 3. Set up your database
### Create a Supabase database
Go to [Supabase](https://supabase.com) and create a new account if you don't have one
Create a new project and copy your database password
### Set up Prisma
Now, let's set up Prisma in your project:
 Replace the contents of `prisma/schema.prisma` with:
```prisma prisma/schema.prisma
// This is your Prisma schema file,
// learn more about it in the docs: https://pris.ly/d/prisma-schema
generator client {
provider = "prisma-client-js"
}
datasource db {
provider = "postgresql"
url = env("DATABASE_URL")
directUrl = env("DIRECT_URL")
}
model Experience {
id String @unique
prompt String
}
```
Now generate your database and Prisma client:
> These are custom scripts we defined in the package.json file to load your env from .env.local and run the prisma commands. If you want to use the native prisma CLI, you'll need to move your `.env.local` to `.env` and run the commands manually.
Replace the contents of `prisma/schema.prisma` with:
```prisma prisma/schema.prisma
// This is your Prisma schema file,
// learn more about it in the docs: https://pris.ly/d/prisma-schema
generator client {
provider = "prisma-client-js"
}
datasource db {
provider = "postgresql"
url = env("DATABASE_URL")
directUrl = env("DIRECT_URL")
}
model Experience {
id String @unique
prompt String
}
```
Now generate your database and Prisma client:
> These are custom scripts we defined in the package.json file to load your env from .env.local and run the prisma commands. If you want to use the native prisma CLI, you'll need to move your `.env.local` to `.env` and run the commands manually.