> ## Documentation Index
> Fetch the complete documentation index at: https://docs.whop.com/llms.txt
> Use this file to discover all available pages before exploring further.
# Quickstart
> Create your Whop account, get an API key, make your first call, take a payment, and test a webhook.
Use this page the first time you connect Whop to your app or backend. You'll sign up, create an API key, and make your first call. By the end you have a live checkout link and a webhook landing on your server.
Keep `WHOP_API_KEY` on your server. Don't put Account API keys in browser code, mobile apps, or public repositories.
## Set up your account
Go to [whop.com/start](https://whop.com/start) and create your Whop account. The onboarding flow creates your first business, which is the Account that owns API keys, products, webhooks, and payments.
After onboarding, open [whop.com/dashboard](https://whop.com/dashboard). If you have more than one business, choose the one you want to build against from the business switcher.
Select **Dashboard ↗** in the top-right corner of these docs to open your developer dashboard directly.
## Create an API key
For the quickest path, create an Account API key. Use this when your server acts on behalf of your own business.
In **Account API Keys**, select **Create**. Name the key something you can recognize later, like `Local development` or `Production payments`.
For the first call below, use the Admin role or grant the read permissions listed on [Retrieve Requesting Account](/api-reference/beta/accounts/retrieve-requesting-account). For production, switch to a narrower custom permission set once you know exactly which endpoints you use.
Copy the key when Whop shows it. Store it in your local `.env` file as `WHOP_API_KEY`.
 ## Choose your key type
Most integrations start with an Account API key and never need the others. [Auth & API keys](/developer/guides/auth-scoping) covers every credential type and how to scope one down.
### Account API keys
Use an Account API key when your server fetches data or performs actions for your own Account and its [connected accounts](/supported-business-models/platforms). This is the key the steps above create.
### App API keys
Use an App API key when you build an app and need to reach data on the accounts that installed it.
1. In the dashboard, open **Apps**.
2. Select **Create app** and give your app a name. You can change the name later.
3. Your key is the hidden value after `WHOP_API_KEY` in the **Environment variables** section. Use the reveal button to show it, then store it somewhere safe.
### OAuth tokens
Use an OAuth token when you want users to sign in with their Whop account and grant your app permission to act for them. An OAuth token is scoped to what that individual user can access, rather than to your app's own permissions. Reach for it when you need "Sign in with Whop," access to a user's memberships or profile, or actions taken as a specific user.
See the [OAuth guide](/developer/guides/oauth) for the full flow.
## Install the SDK
```bash TypeScript theme={null}
pnpm add @whop/sdk
```
```bash Python theme={null}
pip install whop-sdk
```
```bash Ruby theme={null}
gem install whop_sdk
```
Add your credentials to `.env`:
```bash theme={null}
WHOP_API_KEY=whop_xxxxxxxxxxxxxxxxx
```
## Make your first call
Retrieve the account tied to your API key. This confirms your key and permissions work, and prints your account ID, which starts with `biz_`.
```bash curl theme={null}
curl https://api.whop.com/api/v1/accounts/me \
-H "Authorization: Bearer $WHOP_API_KEY"
```
```json Response theme={null}
{
"id": "biz_XXXXXXXX",
"title": "Acme Studio",
"route": "acme-studio",
"status": "approved"
}
```
```typescript TypeScript theme={null}
import Whop from "@whop/sdk";
const apiKey = process.env.WHOP_API_KEY;
if (!apiKey) {
throw new Error("Set WHOP_API_KEY");
}
const client = new Whop({
apiKey,
});
const account = await client.accounts.me();
console.log(account.id);
```
```python Python theme={null}
import os
from whop_sdk import Whop
client = Whop(
api_key=os.environ["WHOP_API_KEY"],
)
account = client.accounts.me()
print(account.id)
```
```ruby Ruby theme={null}
require "whop_sdk"
whop = WhopSDK::Client.new(
api_key: ENV.fetch("WHOP_API_KEY"),
)
account = whop.accounts.me
puts account.id
```
That's your account. The key works.
Every endpoint page also has a playground, so you can skip the terminal. Open [Retrieve Requesting Account](/api-reference/beta/accounts/retrieve-requesting-account), paste your key, and select **Send**.
## Do something real
One call creates a plan and returns a `purchase_url`, a live checkout page anyone can pay you at. Open it in your browser.
```typescript TypeScript theme={null}
const checkout = await client.checkoutConfigurations.create({
plan: {
title: "Starter",
plan_type: "one_time",
initial_price: 10.0,
currency: "usd",
},
});
console.log(checkout.purchase_url);
```
```python Python theme={null}
checkout = client.checkout_configurations.create(
plan={
"title": "Starter",
"plan_type": "one_time",
"initial_price": 10.0,
"currency": "usd",
},
)
print(checkout.purchase_url)
```
```ruby Ruby theme={null}
checkout = whop.checkout_configurations.create(
plan: {
title: "Starter",
plan_type: "one_time",
initial_price: 10.0,
currency: "usd",
},
)
puts checkout.purchase_url
```
The link is live. If someone checks out, they get charged and your balance goes up. Use the [sandbox](/developer/guides/sandbox) to test without moving real money.
If you already have a plan, pass `plan_id` instead of the inline `plan`. You can't send both. [Create Checkout Configuration](/api-reference/beta/checkout-configurations/create-a-checkout-configuration) lists every option, including recurring pricing, trials, and redirect URLs.
## See a webhook
Whop sends a webhook to your server when something happens in your business, like `payment.succeeded` or `membership.activated`.
Add a `POST` endpoint in your app and expose it with ngrok, Cloudflare Tunnel, or another HTTPS tunnel while developing.
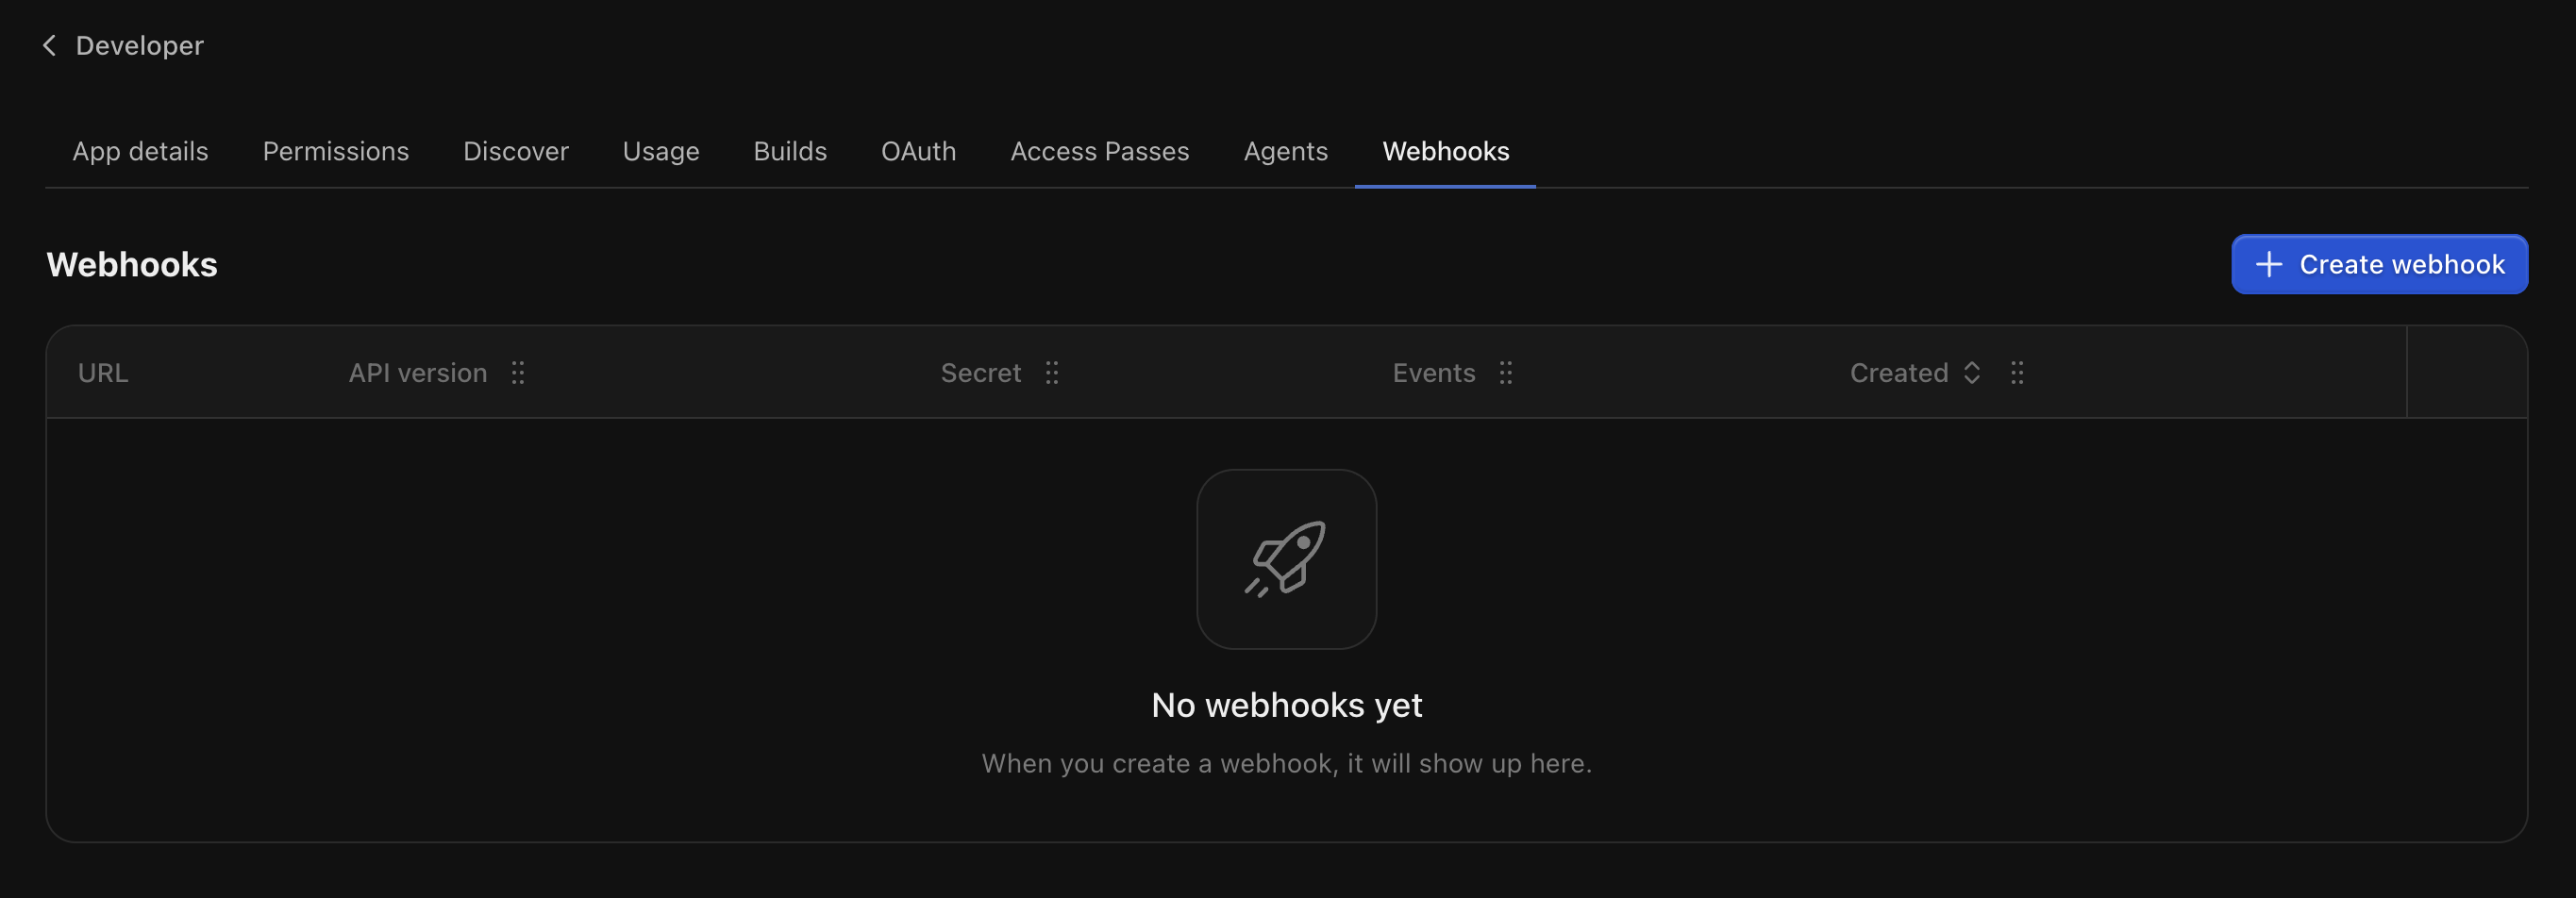
Open **Developer > Webhooks**, then select **Create webhook**.
## Choose your key type
Most integrations start with an Account API key and never need the others. [Auth & API keys](/developer/guides/auth-scoping) covers every credential type and how to scope one down.
### Account API keys
Use an Account API key when your server fetches data or performs actions for your own Account and its [connected accounts](/supported-business-models/platforms). This is the key the steps above create.
### App API keys
Use an App API key when you build an app and need to reach data on the accounts that installed it.
1. In the dashboard, open **Apps**.
2. Select **Create app** and give your app a name. You can change the name later.
3. Your key is the hidden value after `WHOP_API_KEY` in the **Environment variables** section. Use the reveal button to show it, then store it somewhere safe.
### OAuth tokens
Use an OAuth token when you want users to sign in with their Whop account and grant your app permission to act for them. An OAuth token is scoped to what that individual user can access, rather than to your app's own permissions. Reach for it when you need "Sign in with Whop," access to a user's memberships or profile, or actions taken as a specific user.
See the [OAuth guide](/developer/guides/oauth) for the full flow.
## Install the SDK
```bash TypeScript theme={null}
pnpm add @whop/sdk
```
```bash Python theme={null}
pip install whop-sdk
```
```bash Ruby theme={null}
gem install whop_sdk
```
Add your credentials to `.env`:
```bash theme={null}
WHOP_API_KEY=whop_xxxxxxxxxxxxxxxxx
```
## Make your first call
Retrieve the account tied to your API key. This confirms your key and permissions work, and prints your account ID, which starts with `biz_`.
```bash curl theme={null}
curl https://api.whop.com/api/v1/accounts/me \
-H "Authorization: Bearer $WHOP_API_KEY"
```
```json Response theme={null}
{
"id": "biz_XXXXXXXX",
"title": "Acme Studio",
"route": "acme-studio",
"status": "approved"
}
```
```typescript TypeScript theme={null}
import Whop from "@whop/sdk";
const apiKey = process.env.WHOP_API_KEY;
if (!apiKey) {
throw new Error("Set WHOP_API_KEY");
}
const client = new Whop({
apiKey,
});
const account = await client.accounts.me();
console.log(account.id);
```
```python Python theme={null}
import os
from whop_sdk import Whop
client = Whop(
api_key=os.environ["WHOP_API_KEY"],
)
account = client.accounts.me()
print(account.id)
```
```ruby Ruby theme={null}
require "whop_sdk"
whop = WhopSDK::Client.new(
api_key: ENV.fetch("WHOP_API_KEY"),
)
account = whop.accounts.me
puts account.id
```
That's your account. The key works.
Every endpoint page also has a playground, so you can skip the terminal. Open [Retrieve Requesting Account](/api-reference/beta/accounts/retrieve-requesting-account), paste your key, and select **Send**.
## Do something real
One call creates a plan and returns a `purchase_url`, a live checkout page anyone can pay you at. Open it in your browser.
```typescript TypeScript theme={null}
const checkout = await client.checkoutConfigurations.create({
plan: {
title: "Starter",
plan_type: "one_time",
initial_price: 10.0,
currency: "usd",
},
});
console.log(checkout.purchase_url);
```
```python Python theme={null}
checkout = client.checkout_configurations.create(
plan={
"title": "Starter",
"plan_type": "one_time",
"initial_price": 10.0,
"currency": "usd",
},
)
print(checkout.purchase_url)
```
```ruby Ruby theme={null}
checkout = whop.checkout_configurations.create(
plan: {
title: "Starter",
plan_type: "one_time",
initial_price: 10.0,
currency: "usd",
},
)
puts checkout.purchase_url
```
The link is live. If someone checks out, they get charged and your balance goes up. Use the [sandbox](/developer/guides/sandbox) to test without moving real money.
If you already have a plan, pass `plan_id` instead of the inline `plan`. You can't send both. [Create Checkout Configuration](/api-reference/beta/checkout-configurations/create-a-checkout-configuration) lists every option, including recurring pricing, trials, and redirect URLs.
## See a webhook
Whop sends a webhook to your server when something happens in your business, like `payment.succeeded` or `membership.activated`.
Add a `POST` endpoint in your app and expose it with ngrok, Cloudflare Tunnel, or another HTTPS tunnel while developing.
Open **Developer > Webhooks**, then select **Create webhook**.
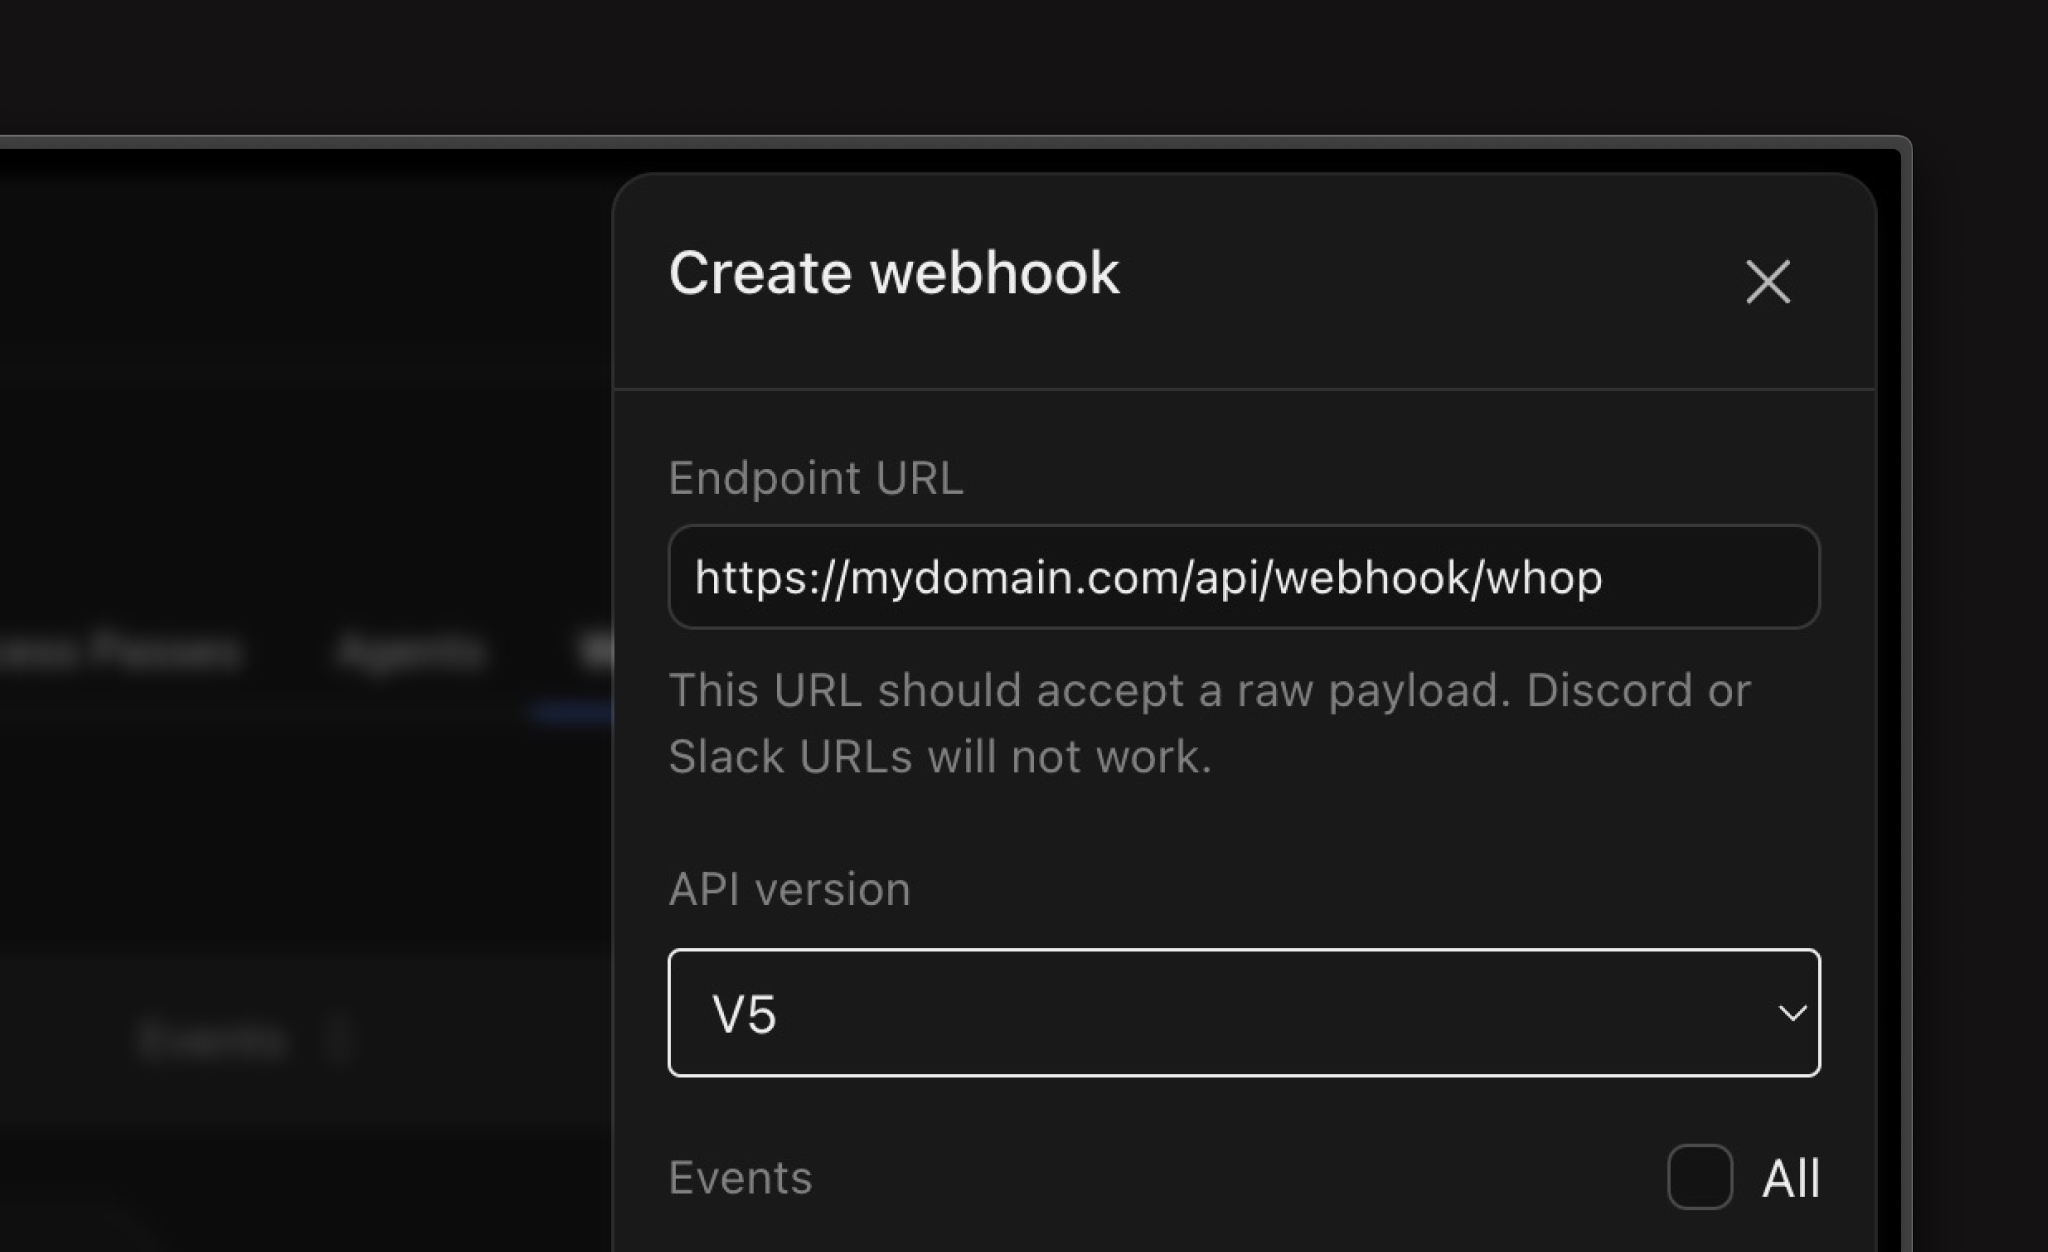
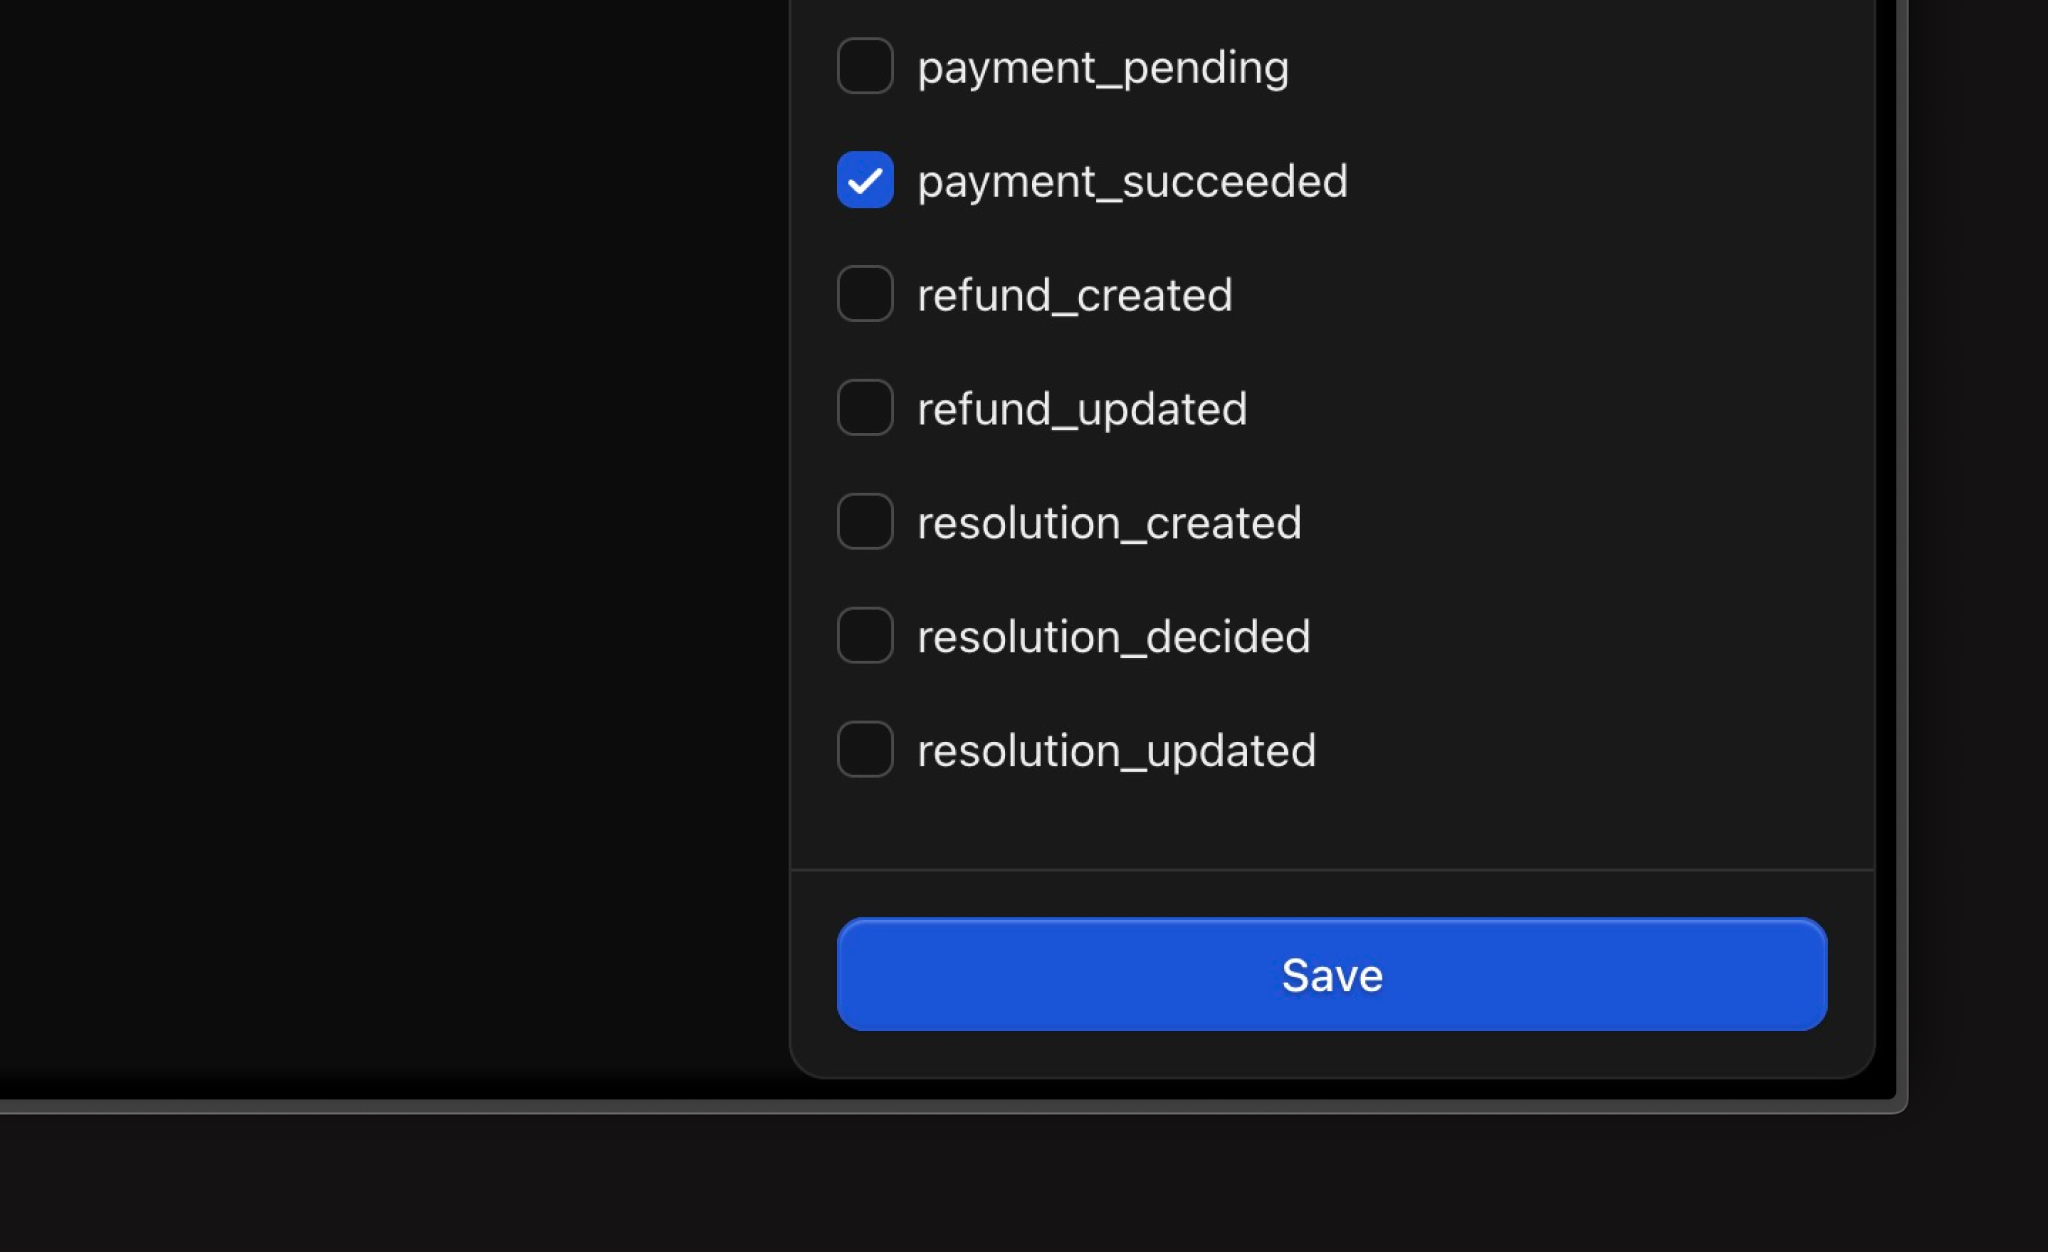
 Paste your HTTPS endpoint, keep the API version on `v1`, and select the events you want to receive.
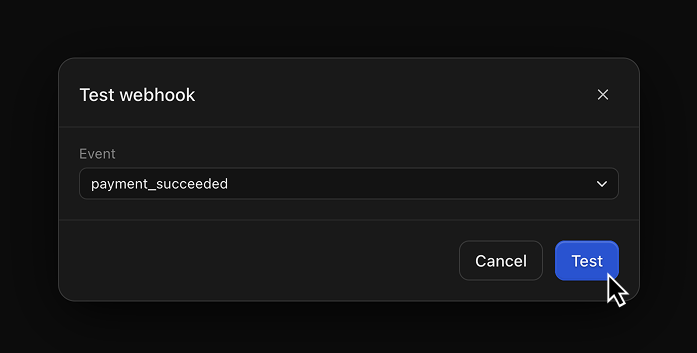
 Use the webhook row actions to send a test event. When your server logs the request, your setup is complete.
 ## Test in the sandbox
The sandbox is a separate environment with its own dashboard and its own keys. Money never moves there, so you can run checkouts, payouts, and webhooks against realistic data without charging anyone. Sandbox and production keys look identical, so store them under different names.
See [Test in the sandbox](/developer/guides/sandbox) for how to switch environments.
## Pin your API version
Whop versions the API by date. The SDKs send the version they were generated against. If you call the API directly, send the header so later changes don't break your integration:
```bash theme={null}
curl https://api.whop.com/api/v1/accounts/me \
-H "Authorization: Bearer $WHOP_API_KEY" \
-H "Api-Version-Date: 2026-07-01"
```
See [API versioning](/developer/api/versioning) for how dated versions work.
## Now build what you came for
Checkout links, embedded checkout, plans, and trials.
Payouts, transfers, balances, and the payout portal.
Connected accounts, collecting on their behalf, and paying them out.
Apps that run inside Whop, with auth, views, and the CLI.
Chat, DMs, and forums you can embed.
Every resource in the Current API, with a playground on each endpoint.
## Test in the sandbox
The sandbox is a separate environment with its own dashboard and its own keys. Money never moves there, so you can run checkouts, payouts, and webhooks against realistic data without charging anyone. Sandbox and production keys look identical, so store them under different names.
See [Test in the sandbox](/developer/guides/sandbox) for how to switch environments.
## Pin your API version
Whop versions the API by date. The SDKs send the version they were generated against. If you call the API directly, send the header so later changes don't break your integration:
```bash theme={null}
curl https://api.whop.com/api/v1/accounts/me \
-H "Authorization: Bearer $WHOP_API_KEY" \
-H "Api-Version-Date: 2026-07-01"
```
See [API versioning](/developer/api/versioning) for how dated versions work.
## Now build what you came for
Checkout links, embedded checkout, plans, and trials.
Payouts, transfers, balances, and the payout portal.
Connected accounts, collecting on their behalf, and paying them out.
Apps that run inside Whop, with auth, views, and the CLI.
Chat, DMs, and forums you can embed.
Every resource in the Current API, with a playground on each endpoint.