> ## Documentation Index
> Fetch the complete documentation index at: https://docs.whop.com/llms.txt
> Use this file to discover all available pages before exploring further.
# App Views
> Configure how and where your app appears on Whop
App views determine where and how your app is displayed on Whop. You can configure one or more views depending on your app's functionality and target audience.
Each view serves a different purpose and appears in a different context on the platform.
## Experience View
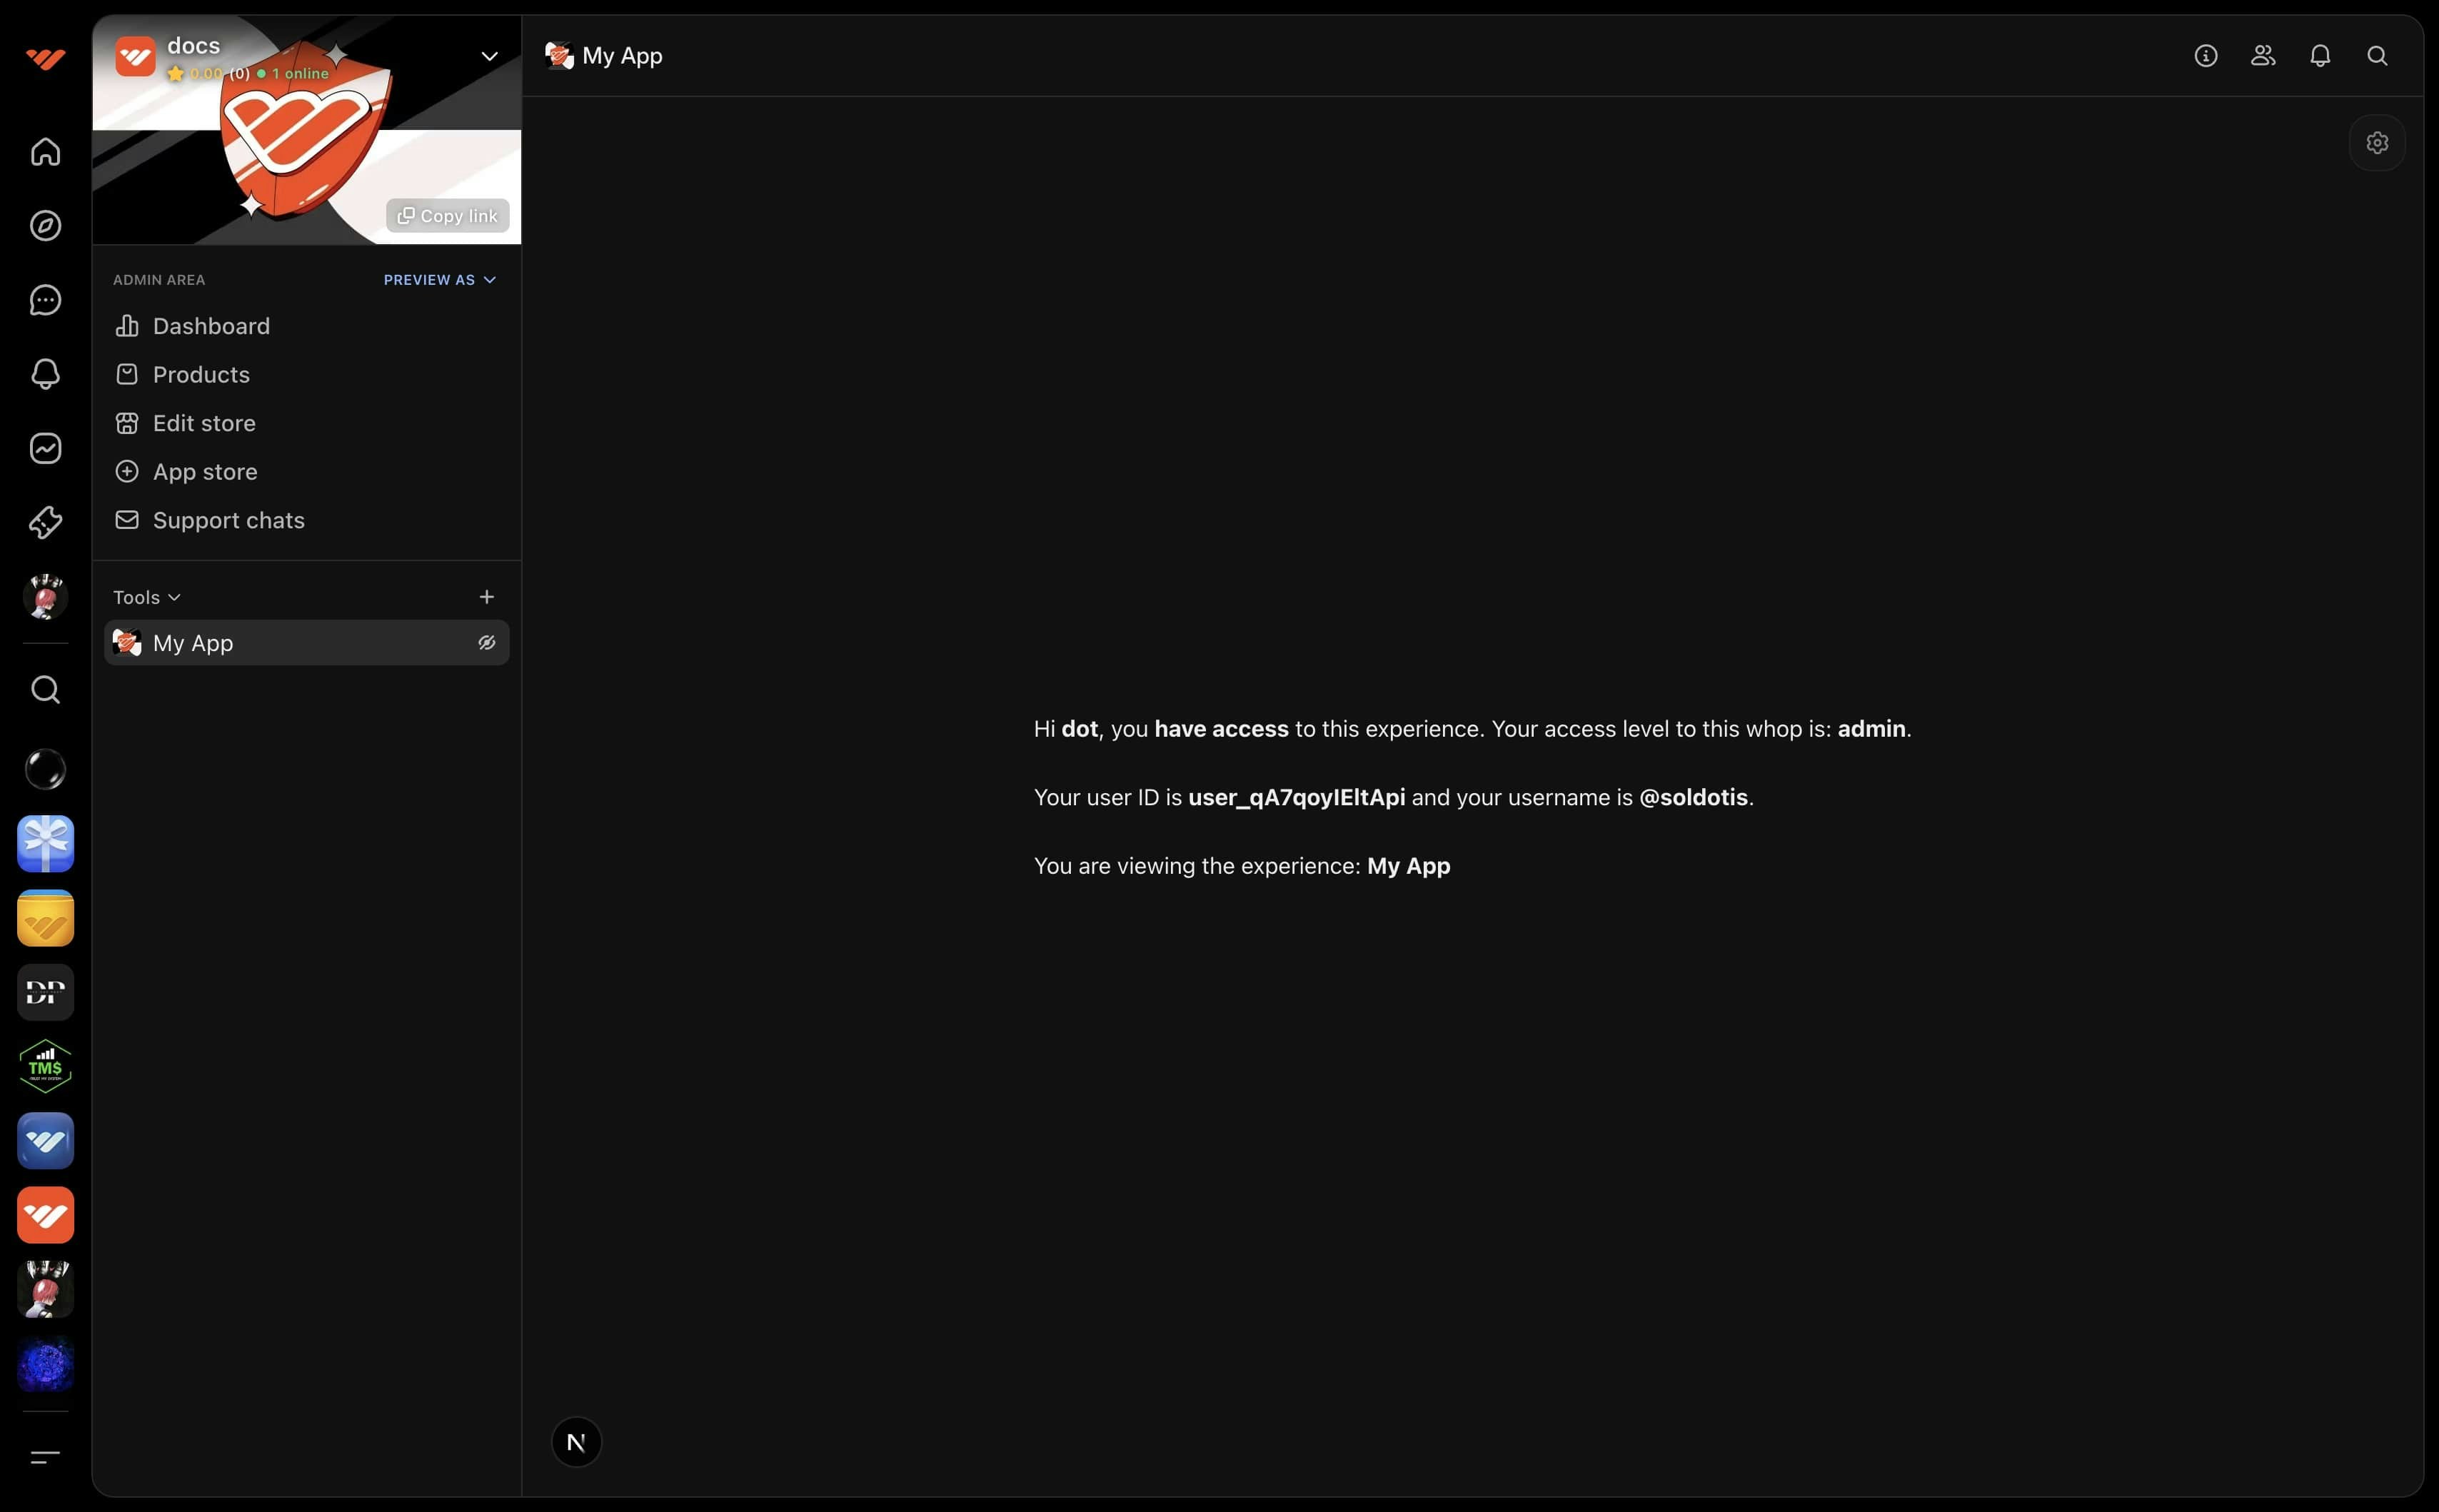
The experience view is where members interact with your app's core features. Apps with this view appear directly in the Whop sidebar alongside native features like chat, forums, and courses.
When creators install your app, they can create one or more experiences powered by your app. Each experience maps to a single item in the sidebar and can render unique custom content.
Each instance of your experience view has a unique experience id which looks like `exp_xxxxxxxx`.
 ### When to use Experience View
Experience view is ideal for consumer-focused apps that members interact with regularly:
* LIVE quizzes and polls that run directly within communities
* Custom course delivery systems with interactive content
* Gated content libraries with videos, files, or downloads
* Community games and interactive experiences
* Real-time collaboration tools for members
### Configure Experience View
1. Go to the [developer dashboard](https://whop.com/dashboard/developer)
2. Create a new app or select an existing one
3. Scroll down to the **Hosting** section
### When to use Experience View
Experience view is ideal for consumer-focused apps that members interact with regularly:
* LIVE quizzes and polls that run directly within communities
* Custom course delivery systems with interactive content
* Gated content libraries with videos, files, or downloads
* Community games and interactive experiences
* Real-time collaboration tools for members
### Configure Experience View
1. Go to the [developer dashboard](https://whop.com/dashboard/developer)
2. Create a new app or select an existing one
3. Scroll down to the **Hosting** section
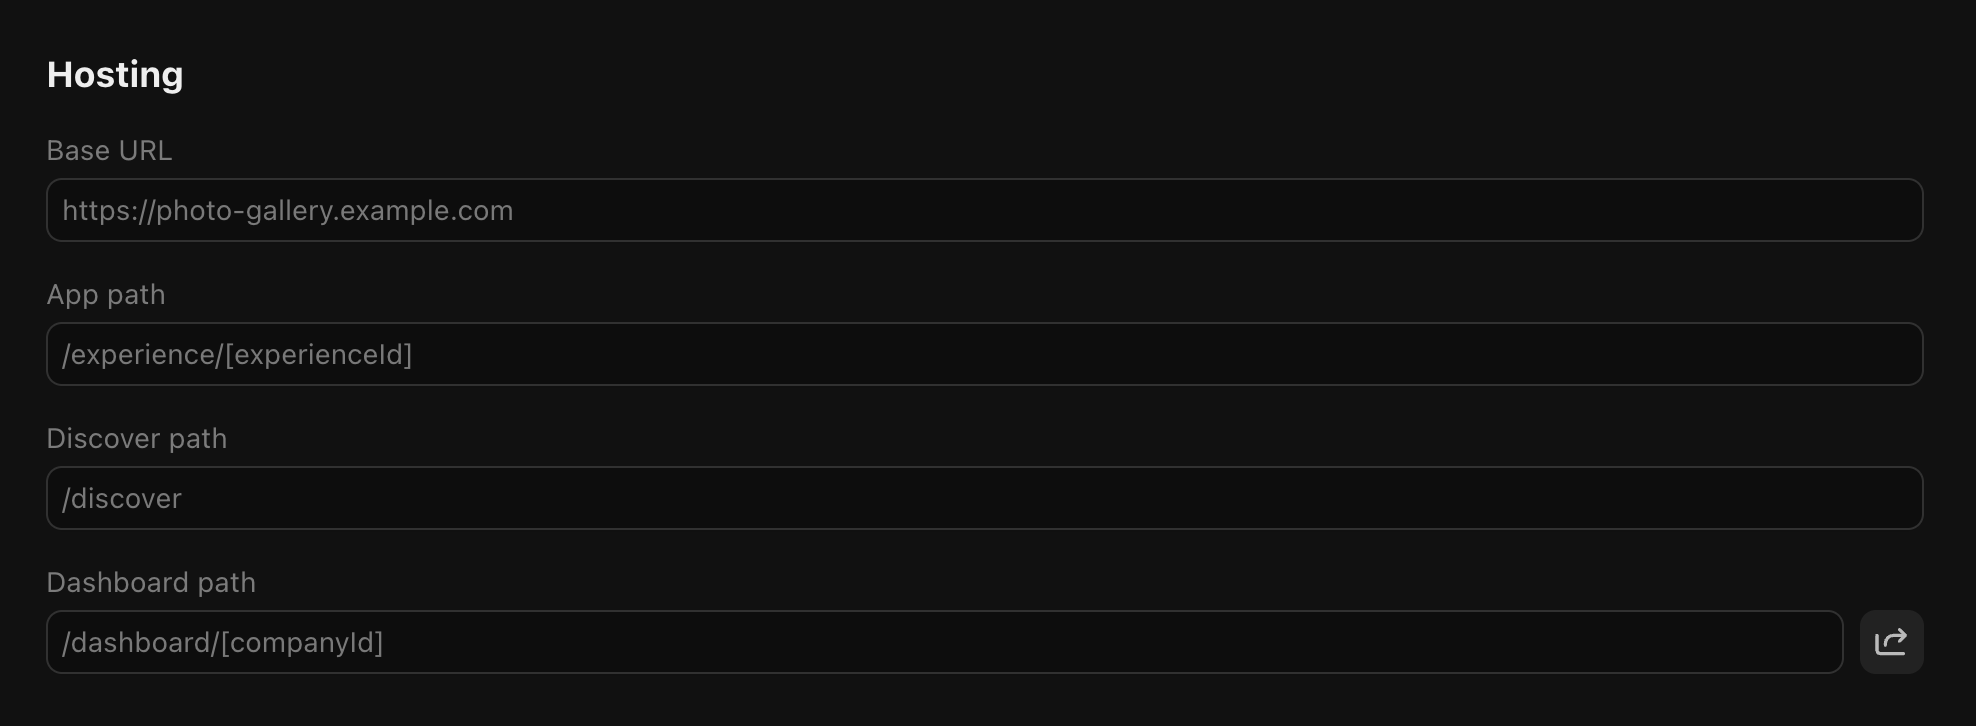 Enter your path for the experience view. The recommended default path is `/experiences/[experienceId]`.
 * `[experienceId]` is used to provide the accessed experience ID: `/experiences/[experienceId] -> /experiences/exp_***`
* `[restPath]` is used for deep linking to specific sections of your app: `/experiences/[experienceId]/[restPath] -> /experiences/exp_***/posts/1`
### Preview Experience View
Click the install button or copy the installation link and visit it in your browser. You will be prompted to install your app into your whop.
* `[experienceId]` is used to provide the accessed experience ID: `/experiences/[experienceId] -> /experiences/exp_***`
* `[restPath]` is used for deep linking to specific sections of your app: `/experiences/[experienceId]/[restPath] -> /experiences/exp_***/posts/1`
### Preview Experience View
Click the install button or copy the installation link and visit it in your browser. You will be prompted to install your app into your whop.
 If you've already installed your app, you can access it from your whop.
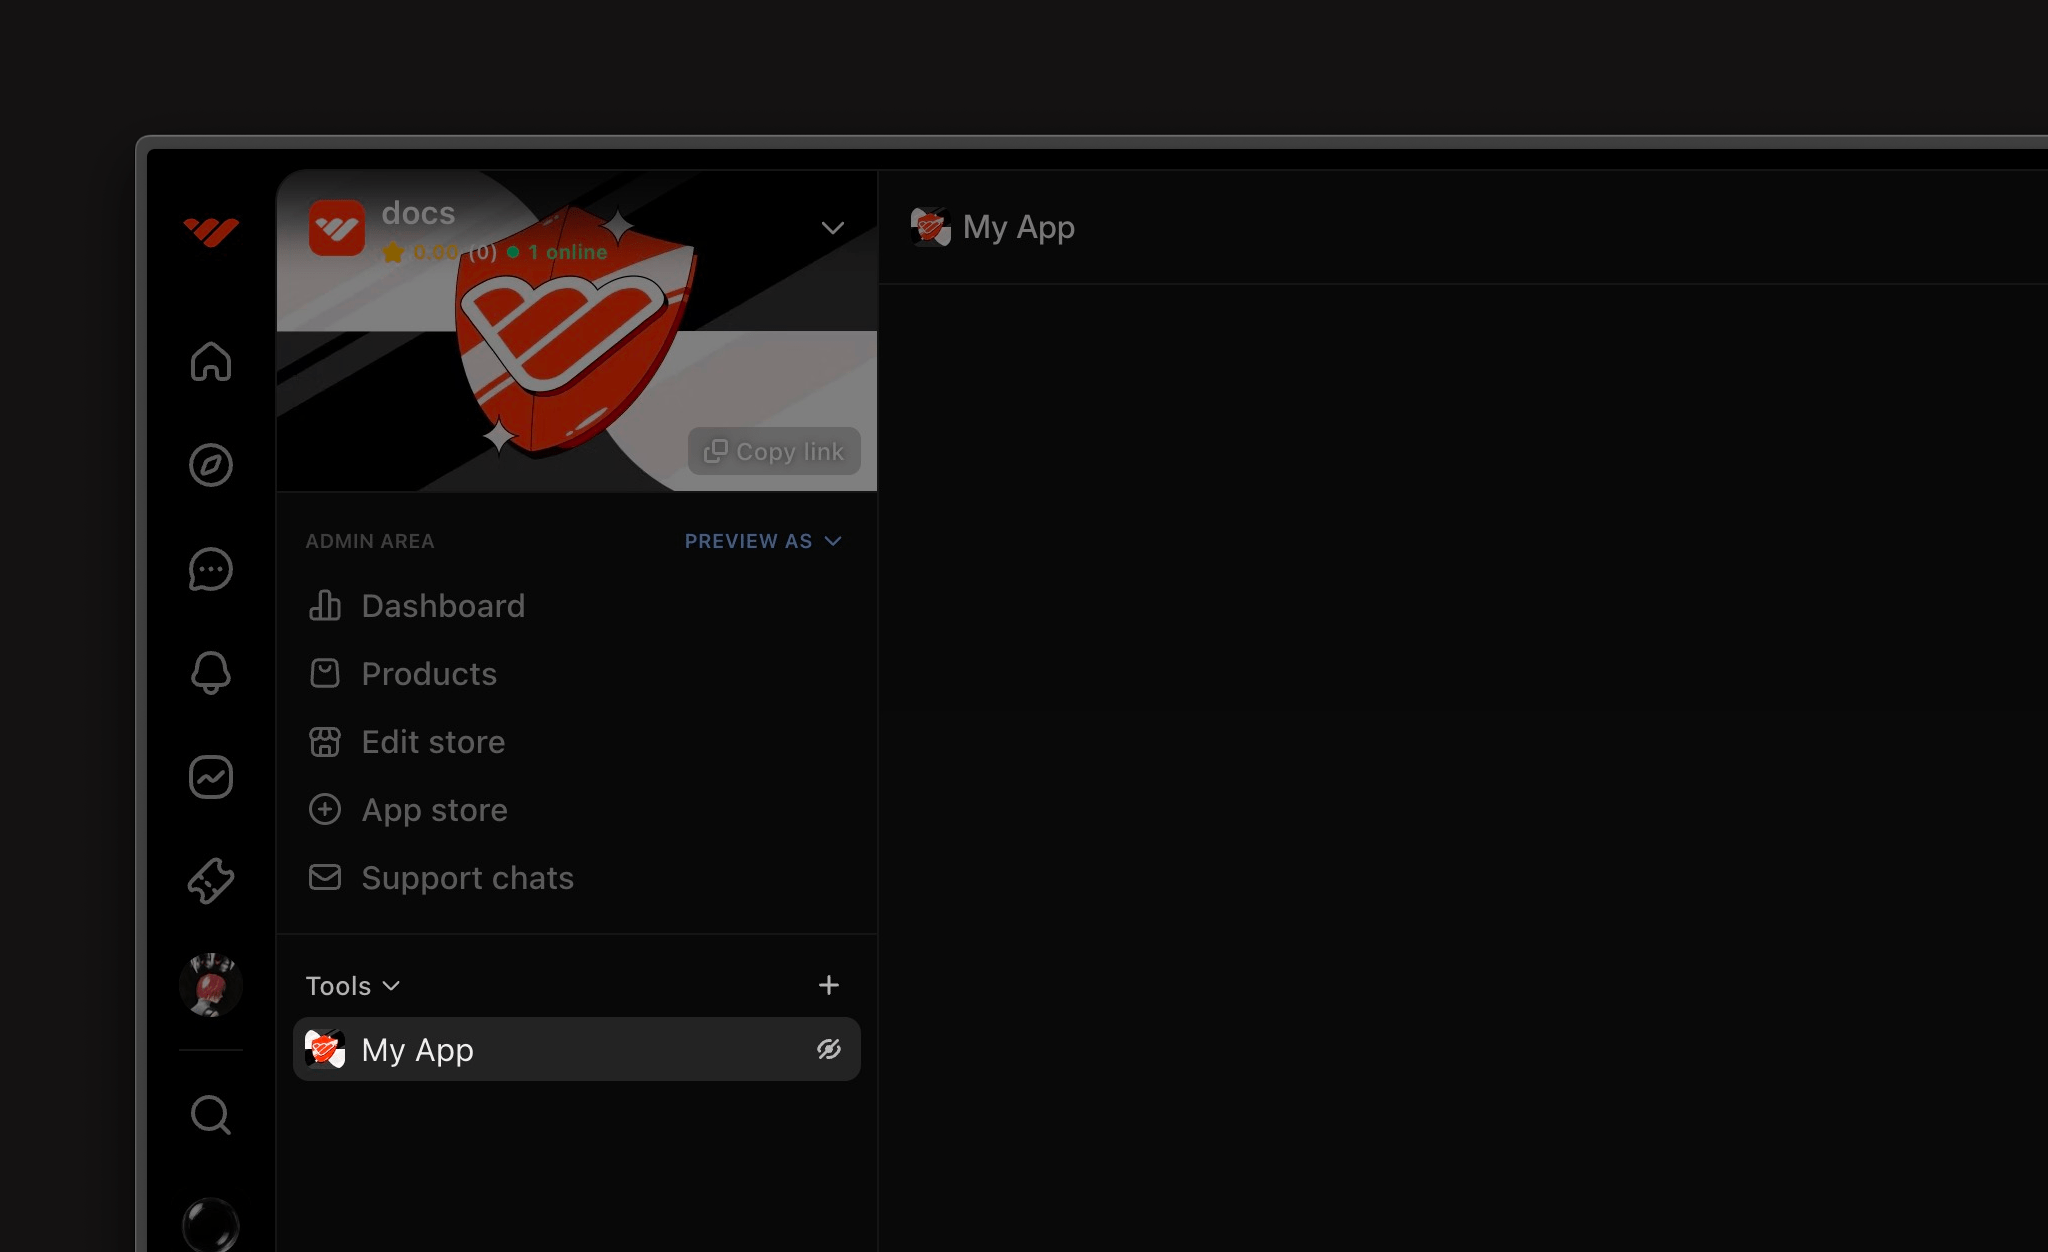 1. Open the dev tools by clicking the **cog** button
2. Set the environment to **localhost**
### Validate experience access
Check if a user has access to an experience using the `checkAccess` method. The experience ID is passed as a path parameter when your app loads.
```typescript theme={null}
import { headers } from "next/headers";
import { whopsdk } from "@/lib/whop-sdk";
export default async function ExperiencePage({
params,
}: {
params: Promise<{ experienceId: string }>;
}) {
const { experienceId } = await params;
const { userId } = await whopsdk.verifyUserToken(await headers());
const access = await whopsdk.users.checkAccess(
experienceId,
{ id: userId }
);
if (!access.has_access) {
return
1. Open the dev tools by clicking the **cog** button
2. Set the environment to **localhost**
### Validate experience access
Check if a user has access to an experience using the `checkAccess` method. The experience ID is passed as a path parameter when your app loads.
```typescript theme={null}
import { headers } from "next/headers";
import { whopsdk } from "@/lib/whop-sdk";
export default async function ExperiencePage({
params,
}: {
params: Promise<{ experienceId: string }>;
}) {
const { experienceId } = await params;
const { userId } = await whopsdk.verifyUserToken(await headers());
const access = await whopsdk.users.checkAccess(
experienceId,
{ id: userId }
);
if (!access.has_access) {
return Access denied
;
}
// access.access_level can be:
// "customer" - User has a valid membership
// "admin" - User is a team member
return Welcome to the experience!
;
}
```
See [Authentication - Customer app](/developer/guides/authentication#customer-app-experience-view) for more information.
### Examples
* [Next.js](https://github.com/whopio/whop-nextjs-app-template/blob/main/app/experiences/%5BexperienceId%5D/page.tsx)
* [React Native](https://github.com/whopio/whop-sdk-ts/blob/main/packages/create-react-native/template/src/views/experience-view.tsx)
## Dashboard View
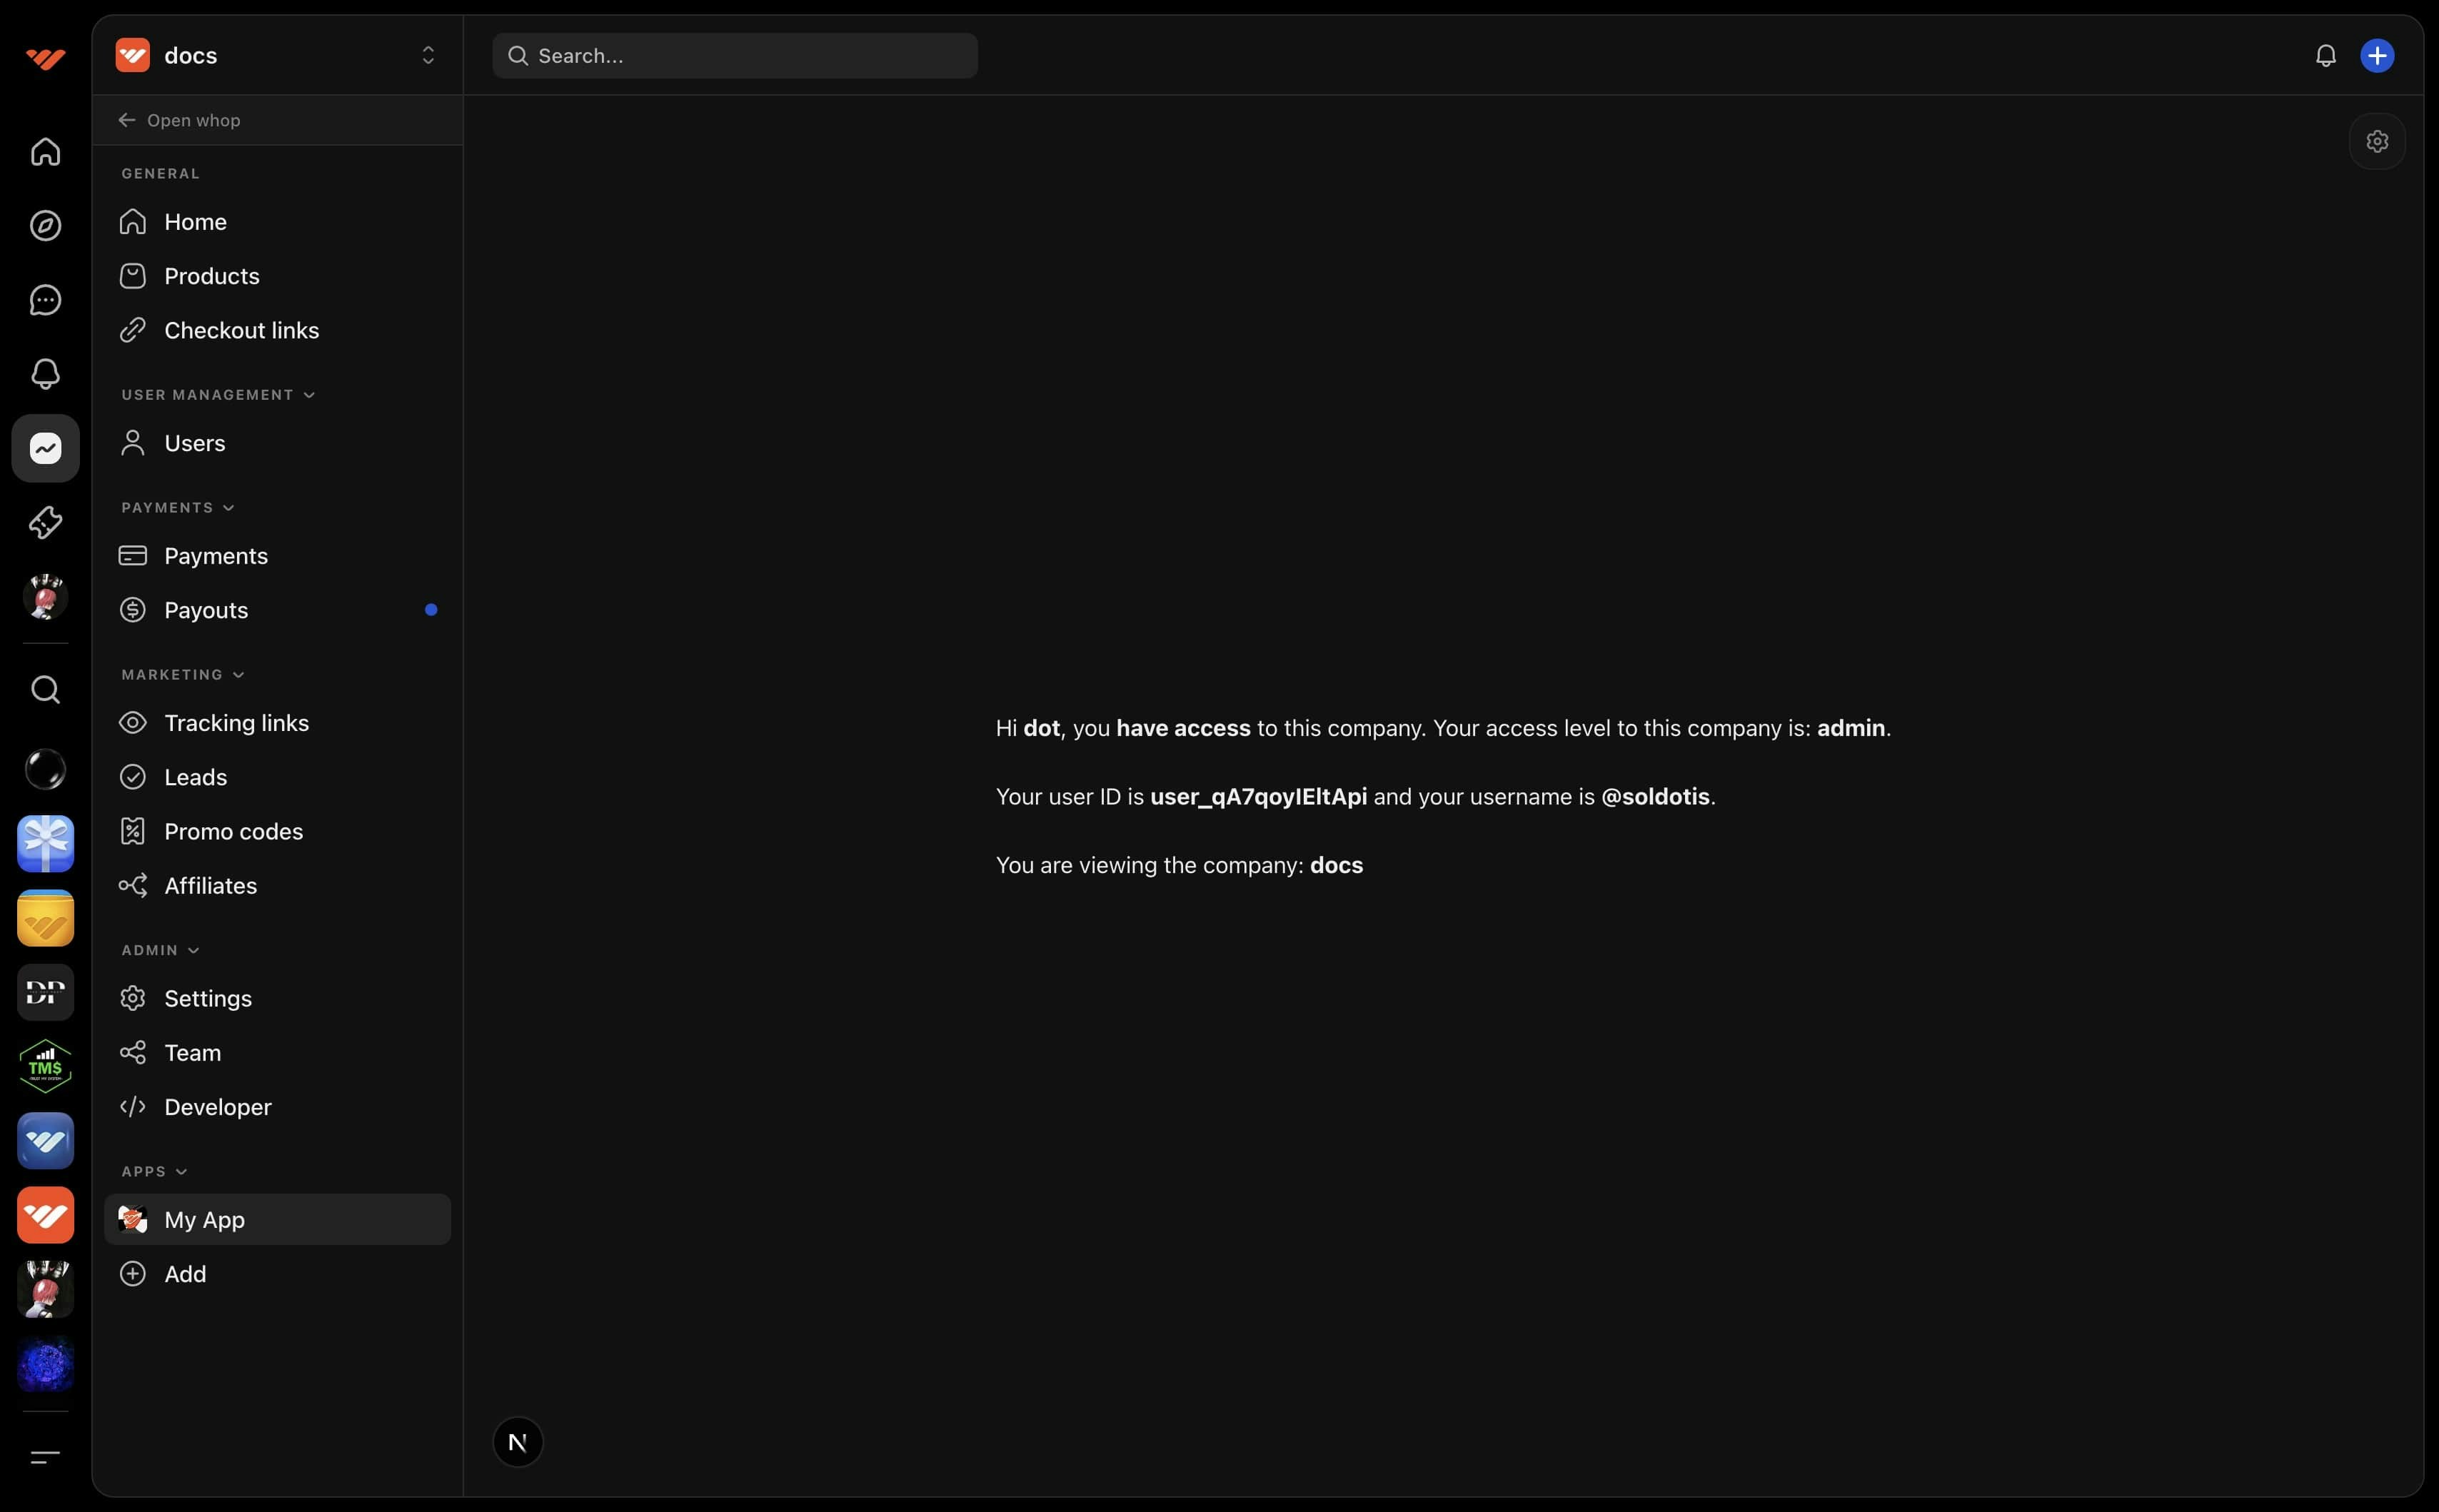
The dashboard view appears directly in the creator's business dashboard. This view is designed for apps that help businesses grow and manage their operations.
Apps with dashboard views are accessible from the dashboard sidebar under the apps section, making them easy to find when creators need to manage business operations.
 ### When to use Dashboard View
Dashboard view is ideal for B2B apps that help creators run their business:
* Analytics dashboards showing revenue, member growth, and engagement metrics
* Customer upsell tools that send targeted offers to loyal members
* Member management interfaces for organizing and segmenting customers
* Automated marketing campaigns and email builders
* Custom admin panels for managing app-specific settings
### Configure Dashboard View
1. Go to the [developer dashboard](https://whop.com/dashboard/developer)
2. Create a new app or select an existing one
3. Scroll down to the **Hosting** section
Enter your path for the dashboard view. The recommended default path is `/dashboard/[companyId]`.
### When to use Dashboard View
Dashboard view is ideal for B2B apps that help creators run their business:
* Analytics dashboards showing revenue, member growth, and engagement metrics
* Customer upsell tools that send targeted offers to loyal members
* Member management interfaces for organizing and segmenting customers
* Automated marketing campaigns and email builders
* Custom admin panels for managing app-specific settings
### Configure Dashboard View
1. Go to the [developer dashboard](https://whop.com/dashboard/developer)
2. Create a new app or select an existing one
3. Scroll down to the **Hosting** section
Enter your path for the dashboard view. The recommended default path is `/dashboard/[companyId]`.
 * `[companyId]` is used to provide the accessed company ID: `/dashboard/[companyId] -> /dashboard/biz_***`
* `[restPath]` is used for deep linking to specific sections of your app: `/dashboard/[companyId]/[restPath] -> /dashboard/biz_***/posts/1`
### Preview Dashboard View
Click the preview button next to the field, this will take you to your app's dashboard view. You will be prompted to install your app if you haven't already.
* `[companyId]` is used to provide the accessed company ID: `/dashboard/[companyId] -> /dashboard/biz_***`
* `[restPath]` is used for deep linking to specific sections of your app: `/dashboard/[companyId]/[restPath] -> /dashboard/biz_***/posts/1`
### Preview Dashboard View
Click the preview button next to the field, this will take you to your app's dashboard view. You will be prompted to install your app if you haven't already.
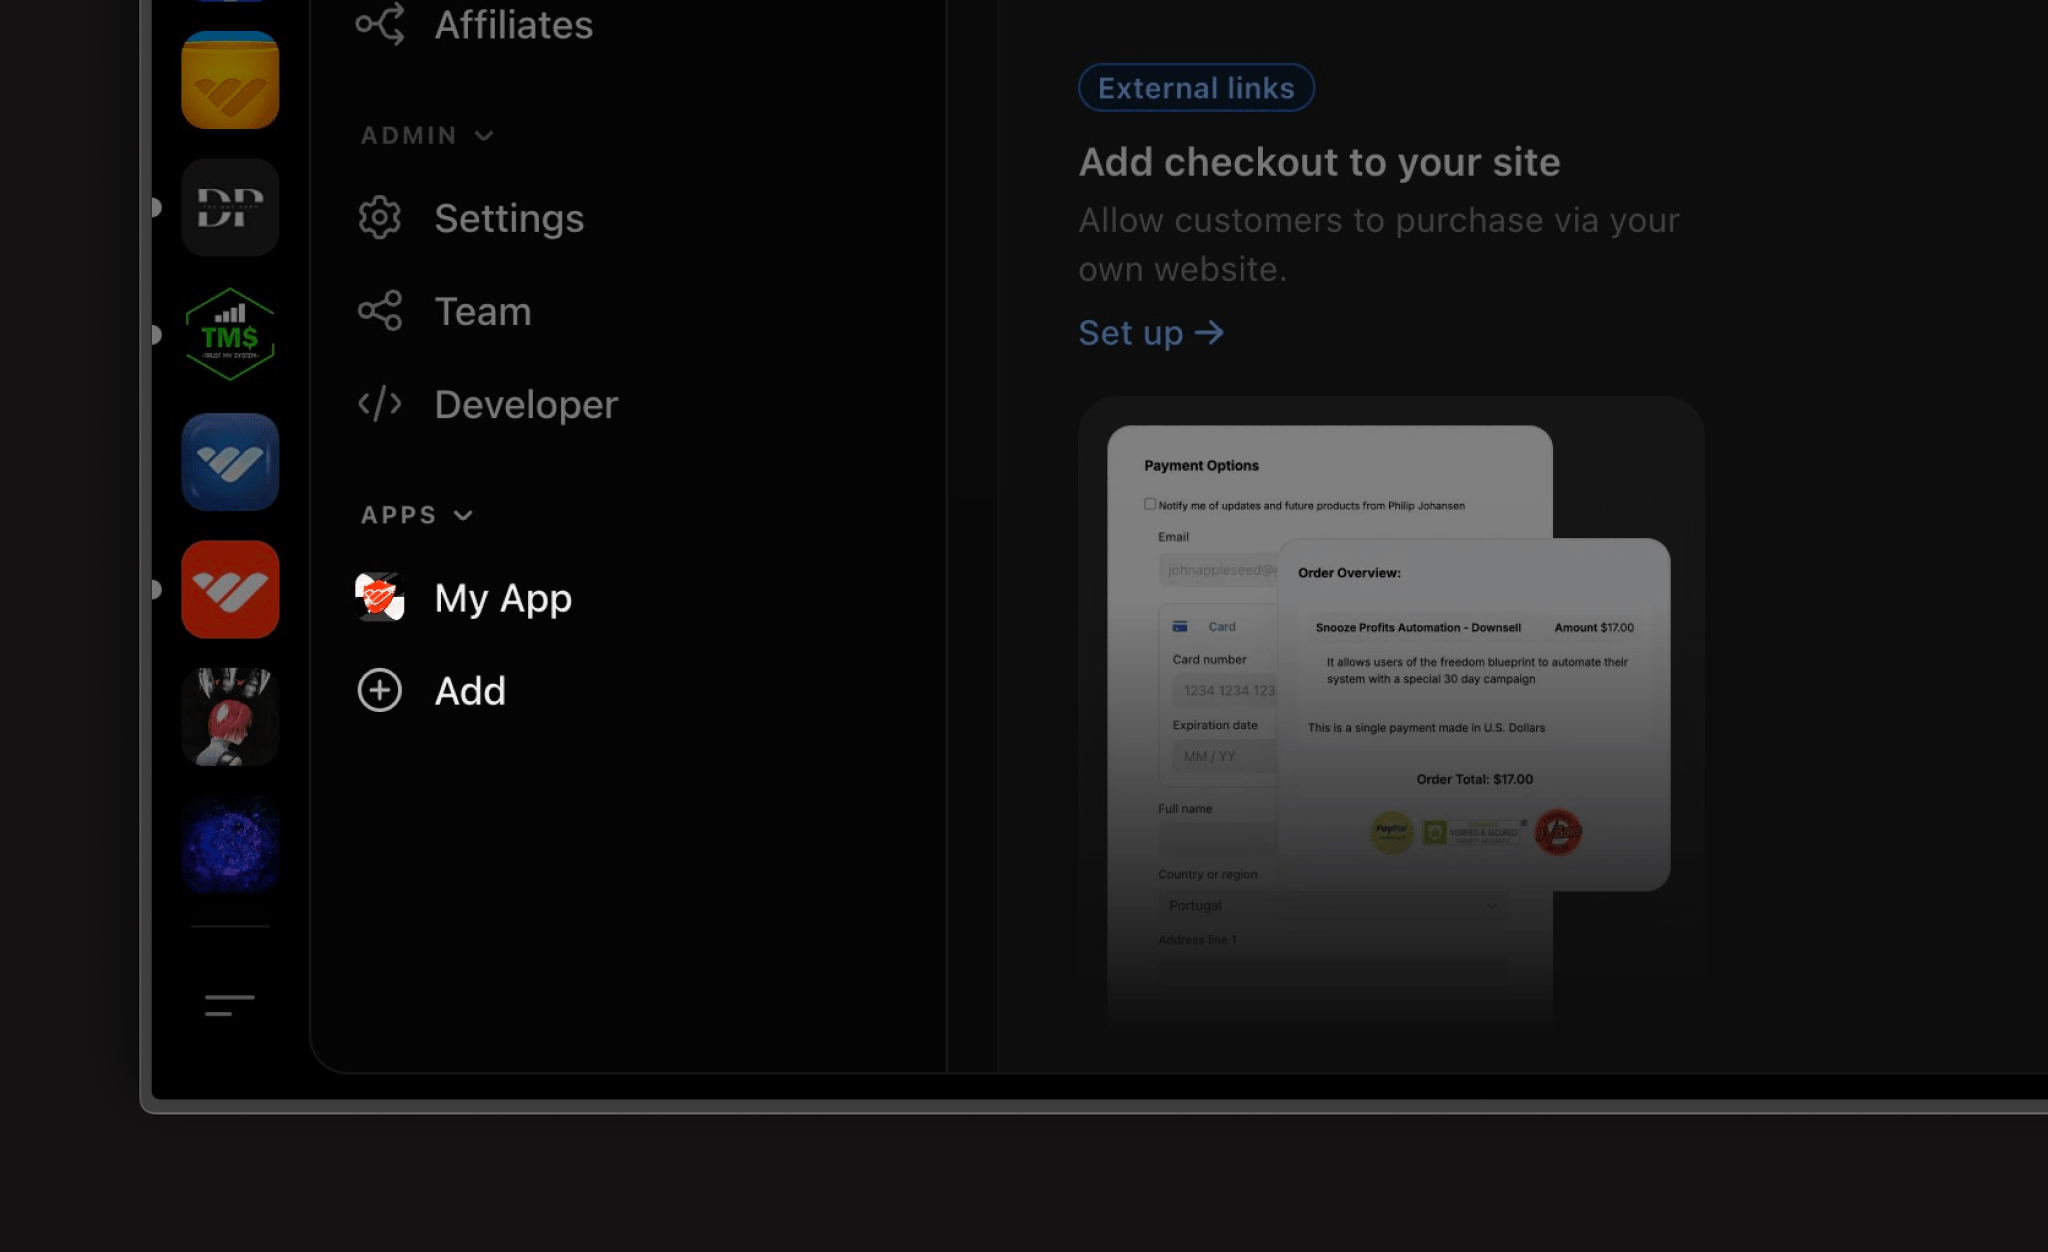
 If you've already installed your app, you can access it from your dashboard under the **apps** section.
 1. Open the dev tools by clicking the **cog** button
2. Set the environment to **localhost**
### Validate company access
Dashboard apps should only be accessible to admins of the company. Check access using the `checkAccess` method with the company ID.
```typescript theme={null}
import { headers } from "next/headers";
import { whopsdk } from "@/lib/whop-sdk";
export default async function DashboardPage({
params,
}: {
params: Promise<{ companyId: string }>;
}) {
const { companyId } = await params;
const { userId } = await whopsdk.verifyUserToken(await headers());
const access = await whopsdk.users.checkAccess(
companyId,
{ id: userId }
);
if (access.access_level !== "admin") {
return
1. Open the dev tools by clicking the **cog** button
2. Set the environment to **localhost**
### Validate company access
Dashboard apps should only be accessible to admins of the company. Check access using the `checkAccess` method with the company ID.
```typescript theme={null}
import { headers } from "next/headers";
import { whopsdk } from "@/lib/whop-sdk";
export default async function DashboardPage({
params,
}: {
params: Promise<{ companyId: string }>;
}) {
const { companyId } = await params;
const { userId } = await whopsdk.verifyUserToken(await headers());
const access = await whopsdk.users.checkAccess(
companyId,
{ id: userId }
);
if (access.access_level !== "admin") {
return Admin access required
;
}
return Welcome to the dashboard!
;
}
```
See [Authentication - Dashboard app](/developer/guides/authentication#dashboard-app-dashboard-view) for more information.
### Examples
* [Next.js](https://github.com/whopio/whop-nextjs-app-template/blob/main/app/dashboard/%5BcompanyId%5D/page.tsx)
* [React Native](https://github.com/whopio/whop-sdk-ts/blob/main/packages/create-react-native/template/src/views/dashboard-view.tsx)
## Choosing the right views
You can configure multiple views for your app depending on its functionality:
* **Consumer apps**: Use Experience View to serve members with interactive features
* **Business apps**: Use Dashboard View to help creators manage operations
* **Hybrid apps**: Use both views to serve both members and creators
Configure your views in the Hosting section of your app dashboard to get started.